
Of course you can. Personalizing the email address you use to send all notifications and reminders generated by TuCalendi to your customers is essential to increase the level of confidence and security of your customers when they have booked a meeting, appointment or event with you or your team. That is why it is a customization option you should not miss.
Once you have logged in with your TuCalendi username and password, go to the "Email accounts" option.
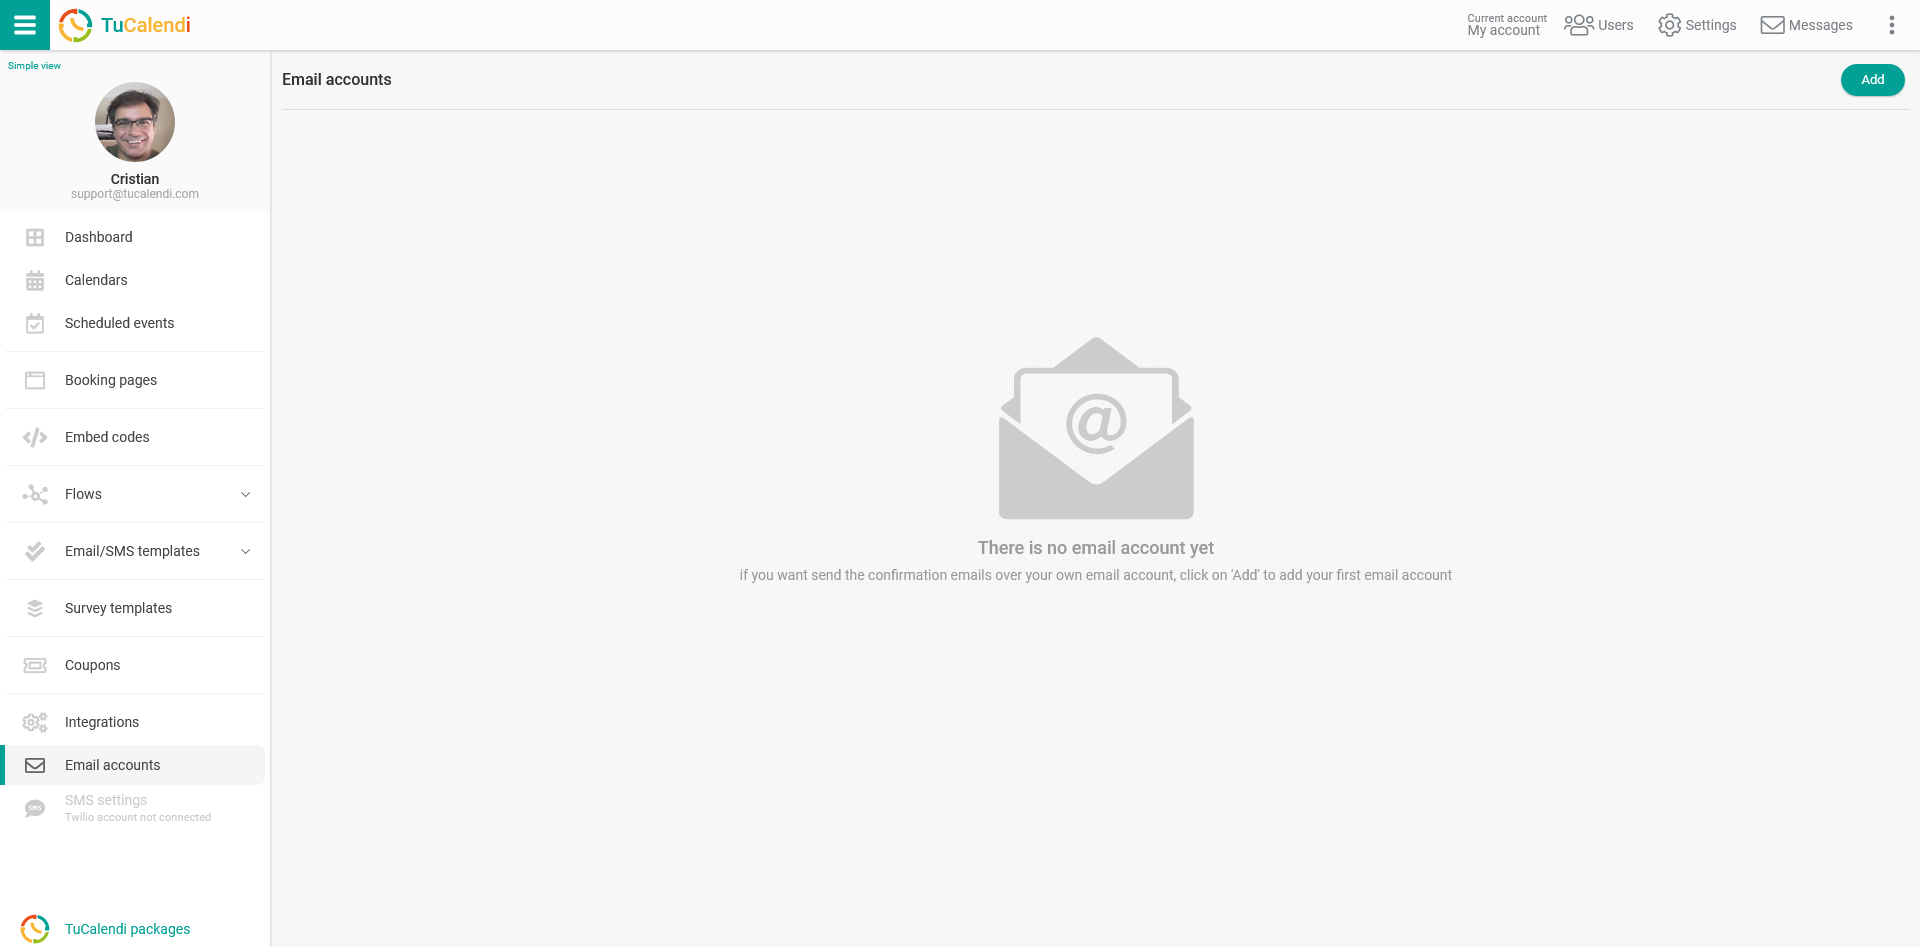
To have all emails sent through your own email account, click the "Add" button:
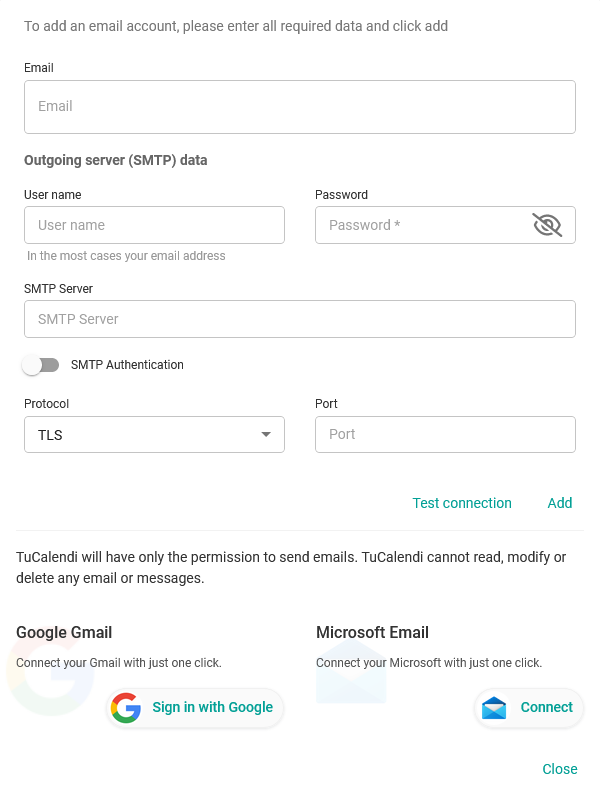
Fill in the fields with the requested information.
In the "Email" field, enter the email address you want to appear as the sender in the notifications that are sent.
Note that if you leave the "Email" field blank, the address used will be noreply@tucalendi.com.
In the "Outgoing server (SMTP) data" block, enter the data for your server:
- User name: Usually this is your email address, but sometimes you need to enter a different user name.
- Password: Your email account password.
- Server: Specify your outgoing mail server.
- SMTP Authentication: Enabled or disabled.
- Protocol: Scroll through the list and choose the corresponding option.
- Port: Specify the corresponding port.
If you do not know this information, contact your service provider to get it.
Once you have entered your email and server information, click "Test connection" to check that the connection to your server is working correctly.
When you have entered and checked the data, click "Add" and the information will be saved automatically.