
At TuCalendi, we have different replacement tags to indicate the date and time of the reservation. To avoid time confusion, you should use the replacement tag with your customer's local time in booking notifications.
Time confusion happens when you run virtual events and your customers may be in a different time zone than yours. On the other hand, if the services you offer are on-site at your place of work or you only offer your services locally, time errors don't usually occur.
The replacement tags that refer to the time and date are as follows:
- customerslocaldate: Customer's local date
- customerslocaltime: Customer's local time
- eventlocaldate: Event's local date
- eventlocaltime: Event's local time
The tags referring to the event show the time zone you specified when creating the event, which may not match the time zone where your customers are located. On the other hand, the tags that refer to the customers show the time zone from which the customer made the booking.
The TuCalendi widget automatically detects the time zone where customers are located when they open the widget, and this is the time zone displayed when customers access the calendar to make a booking.
Especially if your events are virtual, it's a good idea to use the {customerslocaldate} and {customerslocaltime} tags.
Let's see how to choose the right tags to refer to your customers' time zone.
Log in to TuCalendi with your username and password. Go to the "Email/SMS Templates" option:
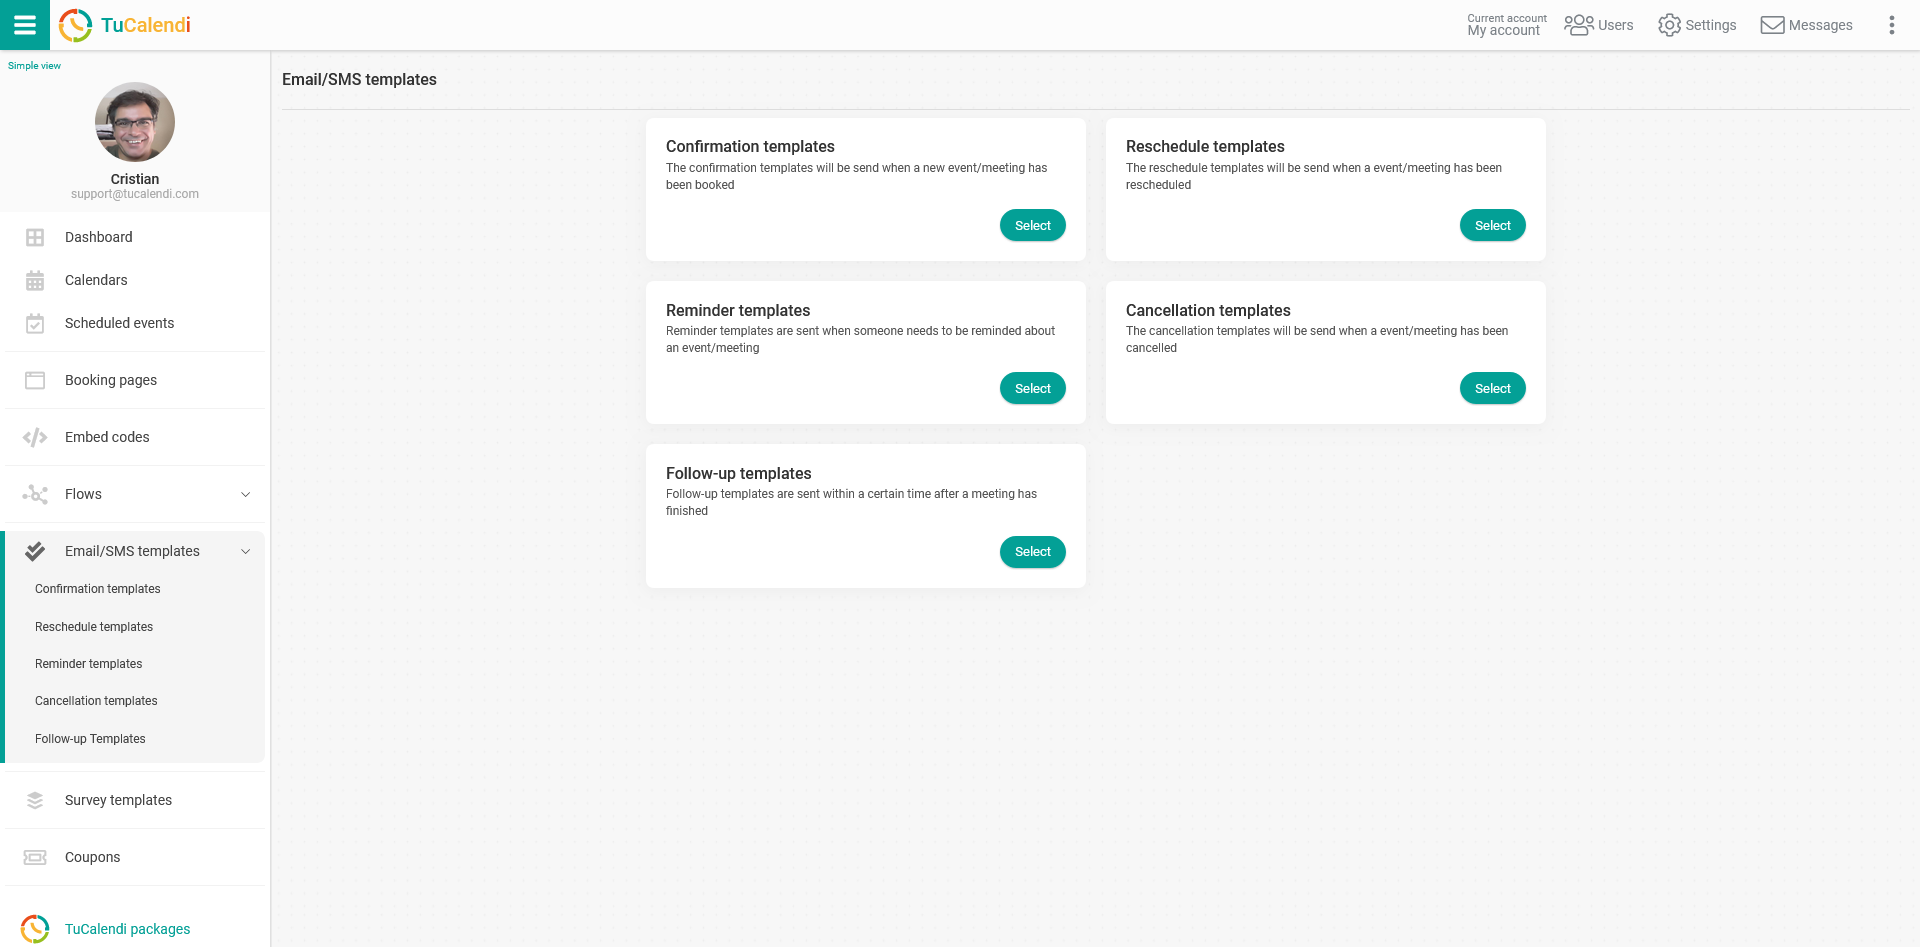
In the "Confirmation templates" option, click on "Select":
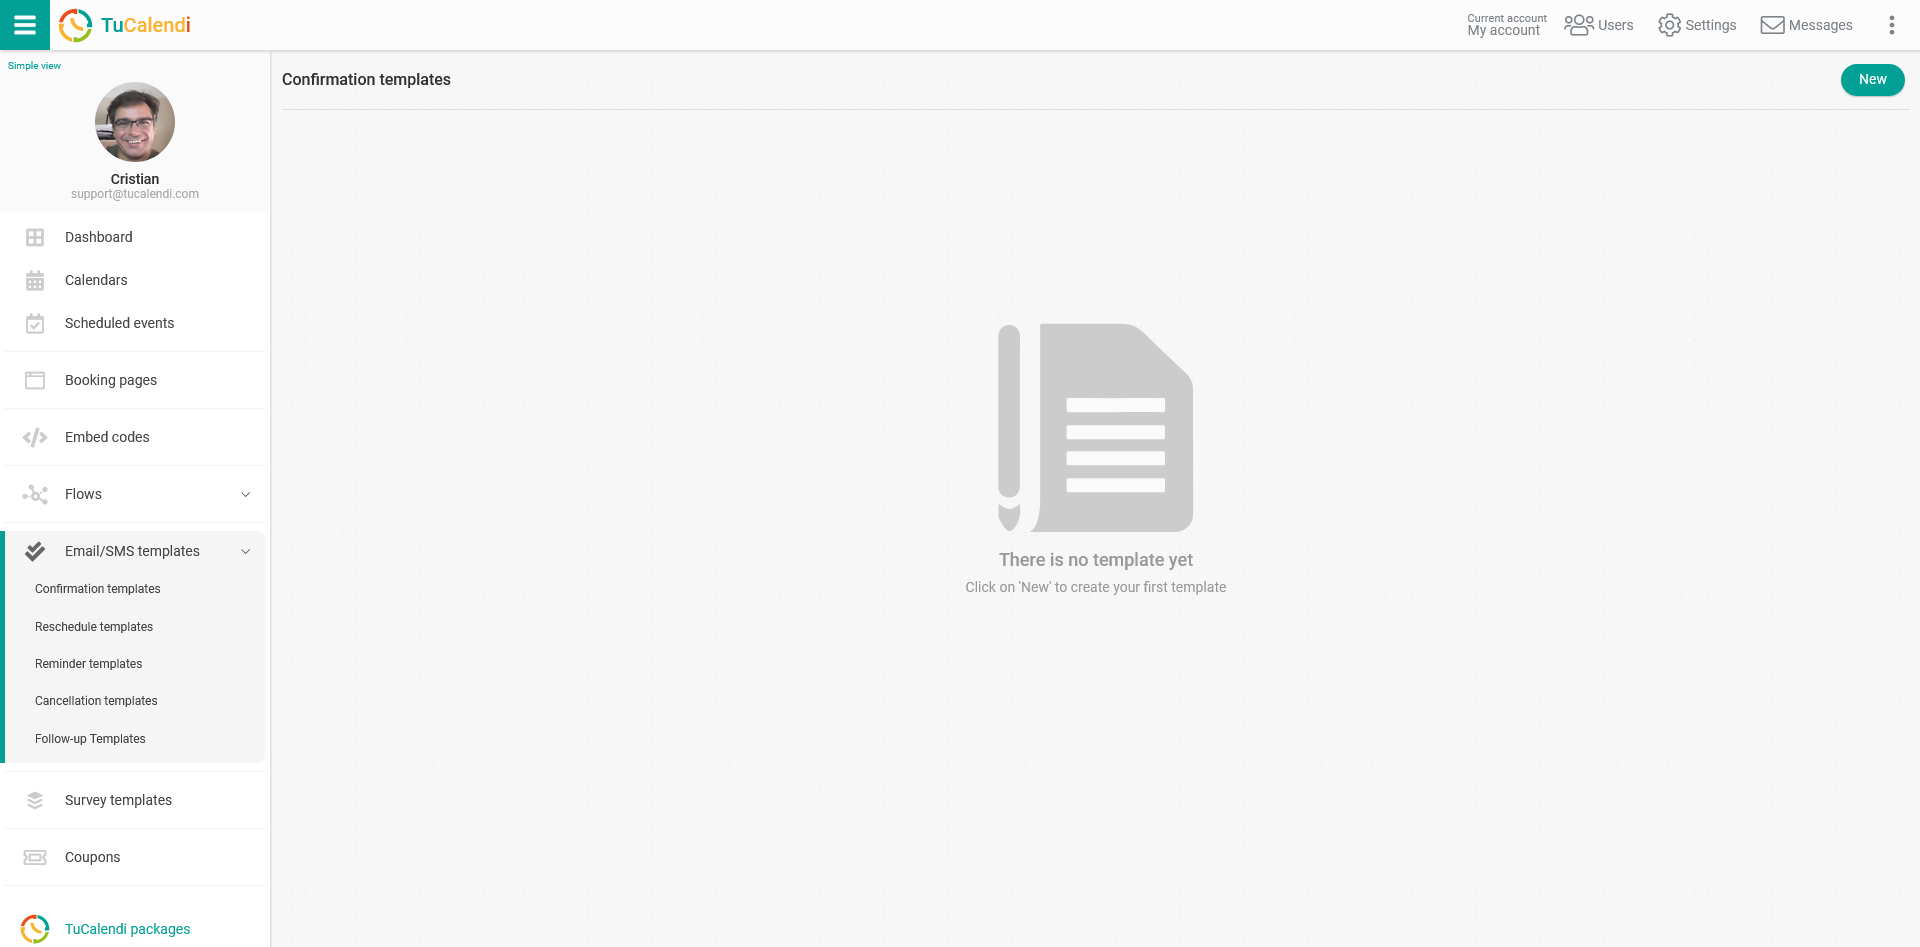
If you don't have a custom confirmation template yet, start by creating a new template from scratch. Click on the "New" button and enter the name you want to give the template you're about to create.
If you already have a template and need to modify it, just click on the template you want to edit.
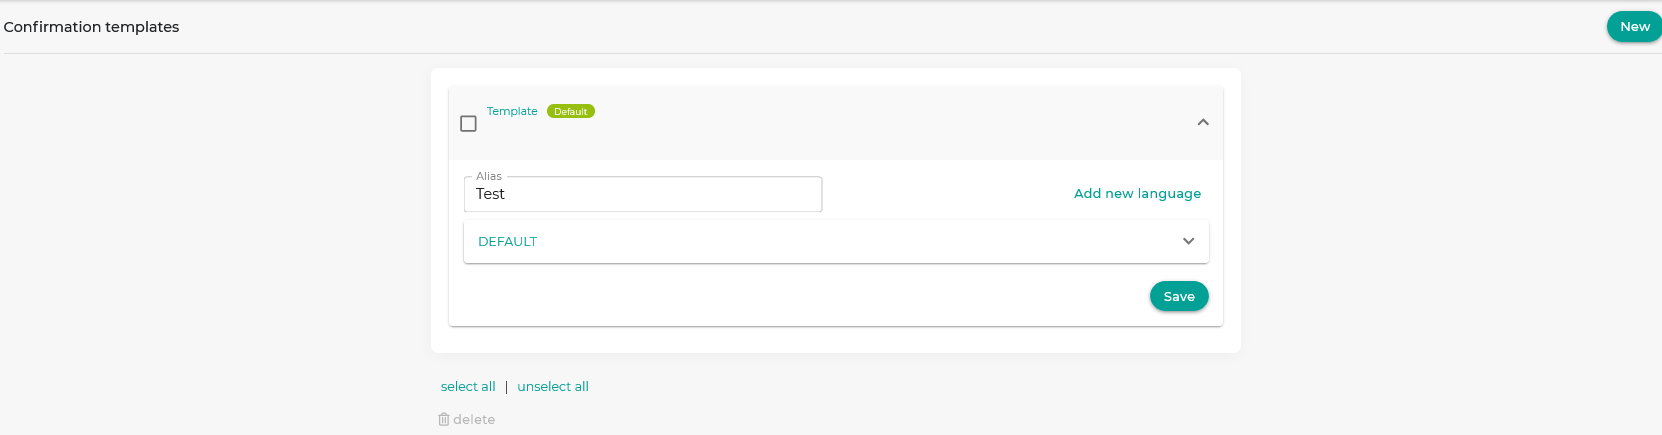
At first, the template is empty so you can fully customize it. Click on the field called "DEFAULT":
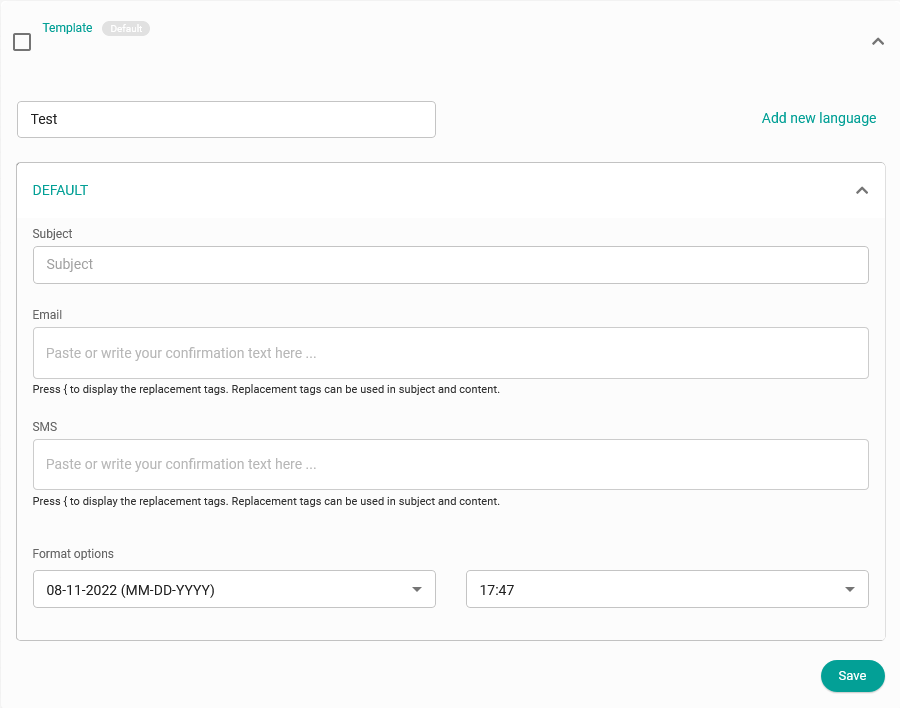
Clicking on the "Email" field opens the editor, where you can write the confirmation notification your customers will receive when they make a booking with you. You can also include the different replacement tags to customize the notification.
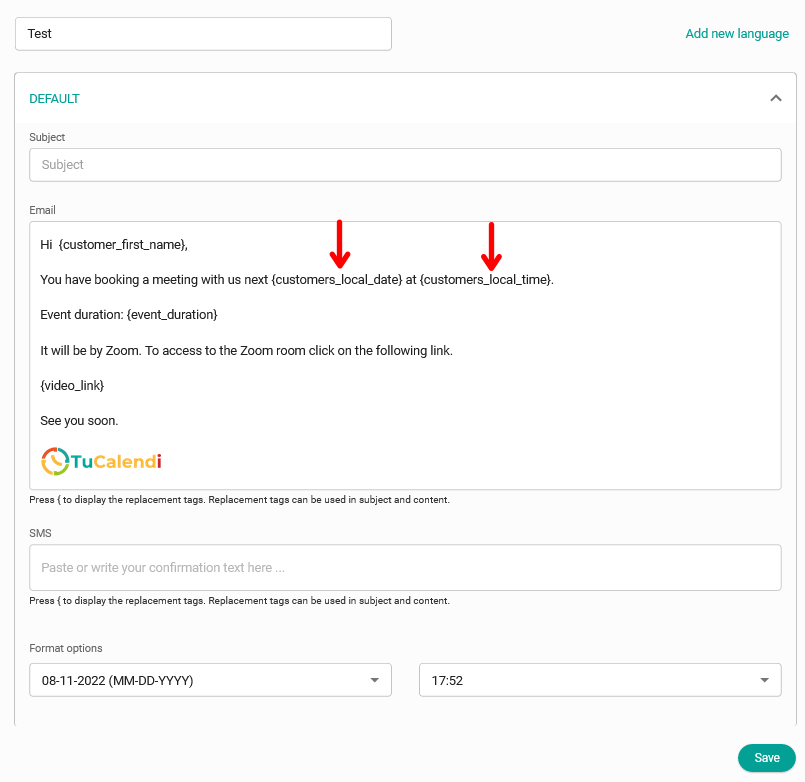
This is where you should use the {customerslocaldate} and {customerslocaltime} tags.
When you finish editing or creating the confirmation template, click "Save" and your customers will receive the confirmation email exactly the way you designed it.