
With TuCalendi's new flow functionality, creating forms with the information you request when someone wants to make a reservation with you is much more flexible and faster, because now when you create a form flow, you can assign it to the events you want.
If you create a form flow, you can associate it with the events you need. To customize the information requested in your events, you no longer need to do it individually in each event.
How do you create a form flow? You can create a flow for forms in an intuitive and efficient way, and without having to scroll through the different events you have created in your calendars, you can assign the flow to all the events you want from the same place.
Log in to TuCalendi with your username and password. In the side menu, click on "Flows":
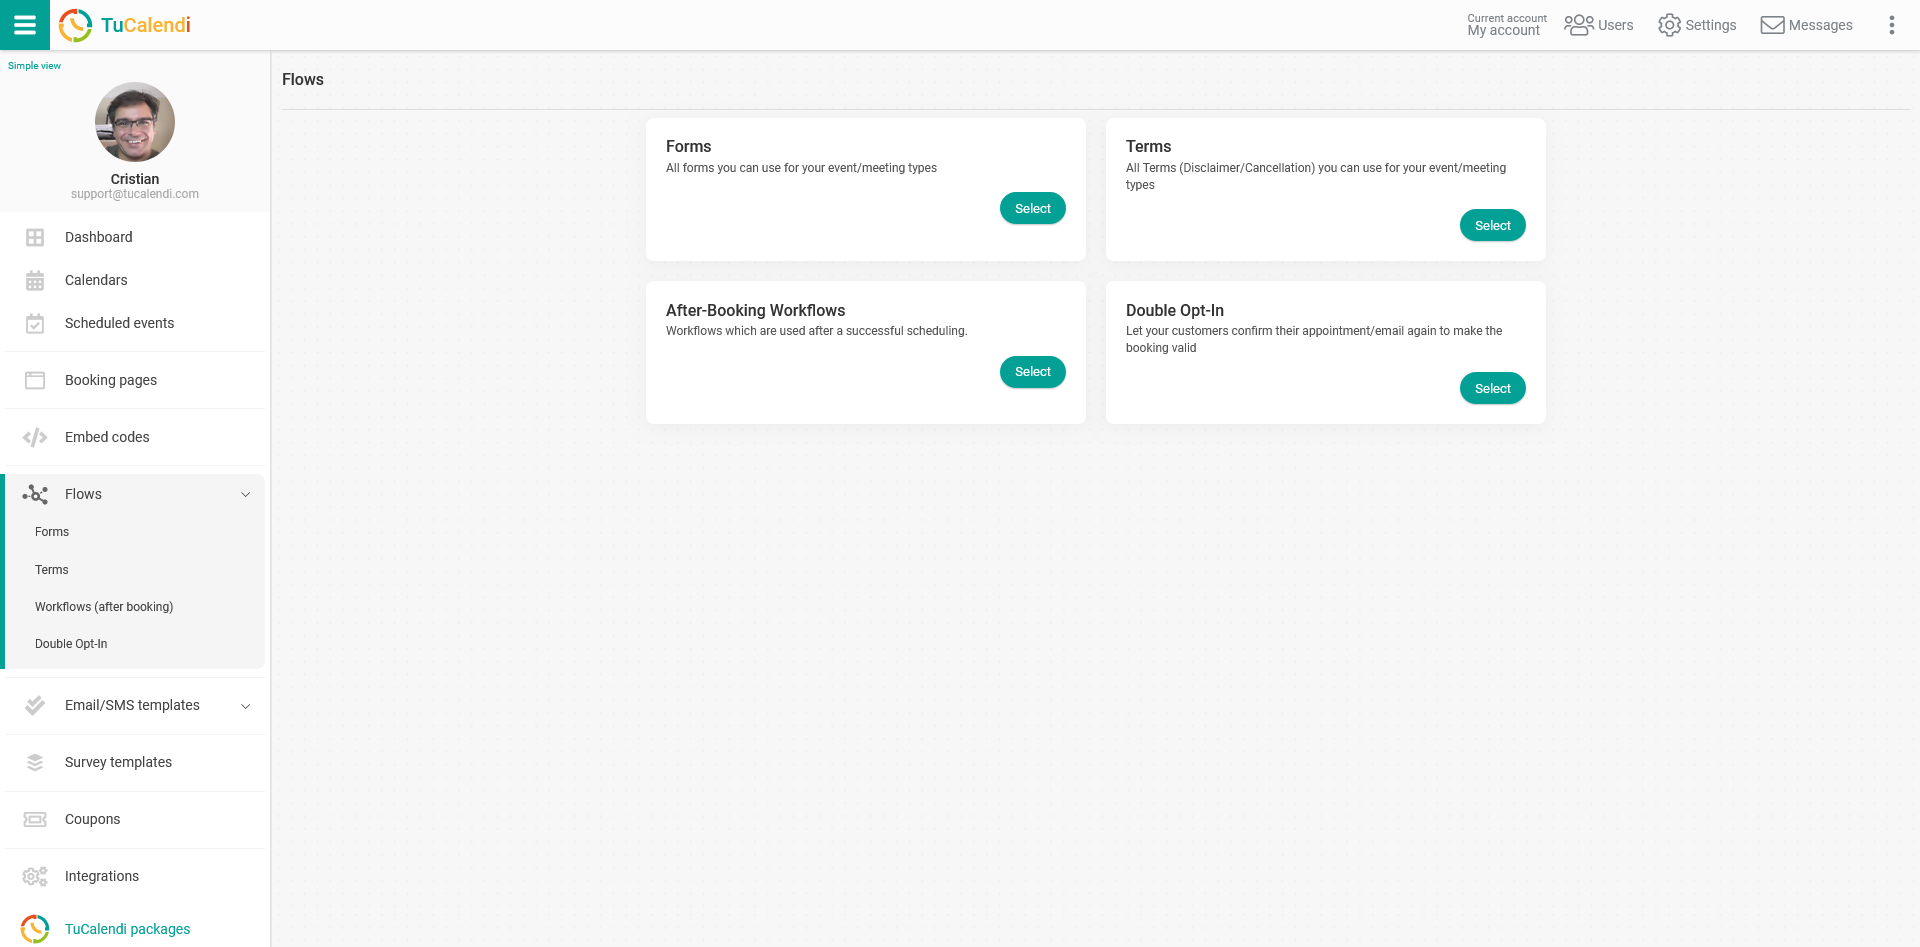
In the "Forms" option, click on "Select":
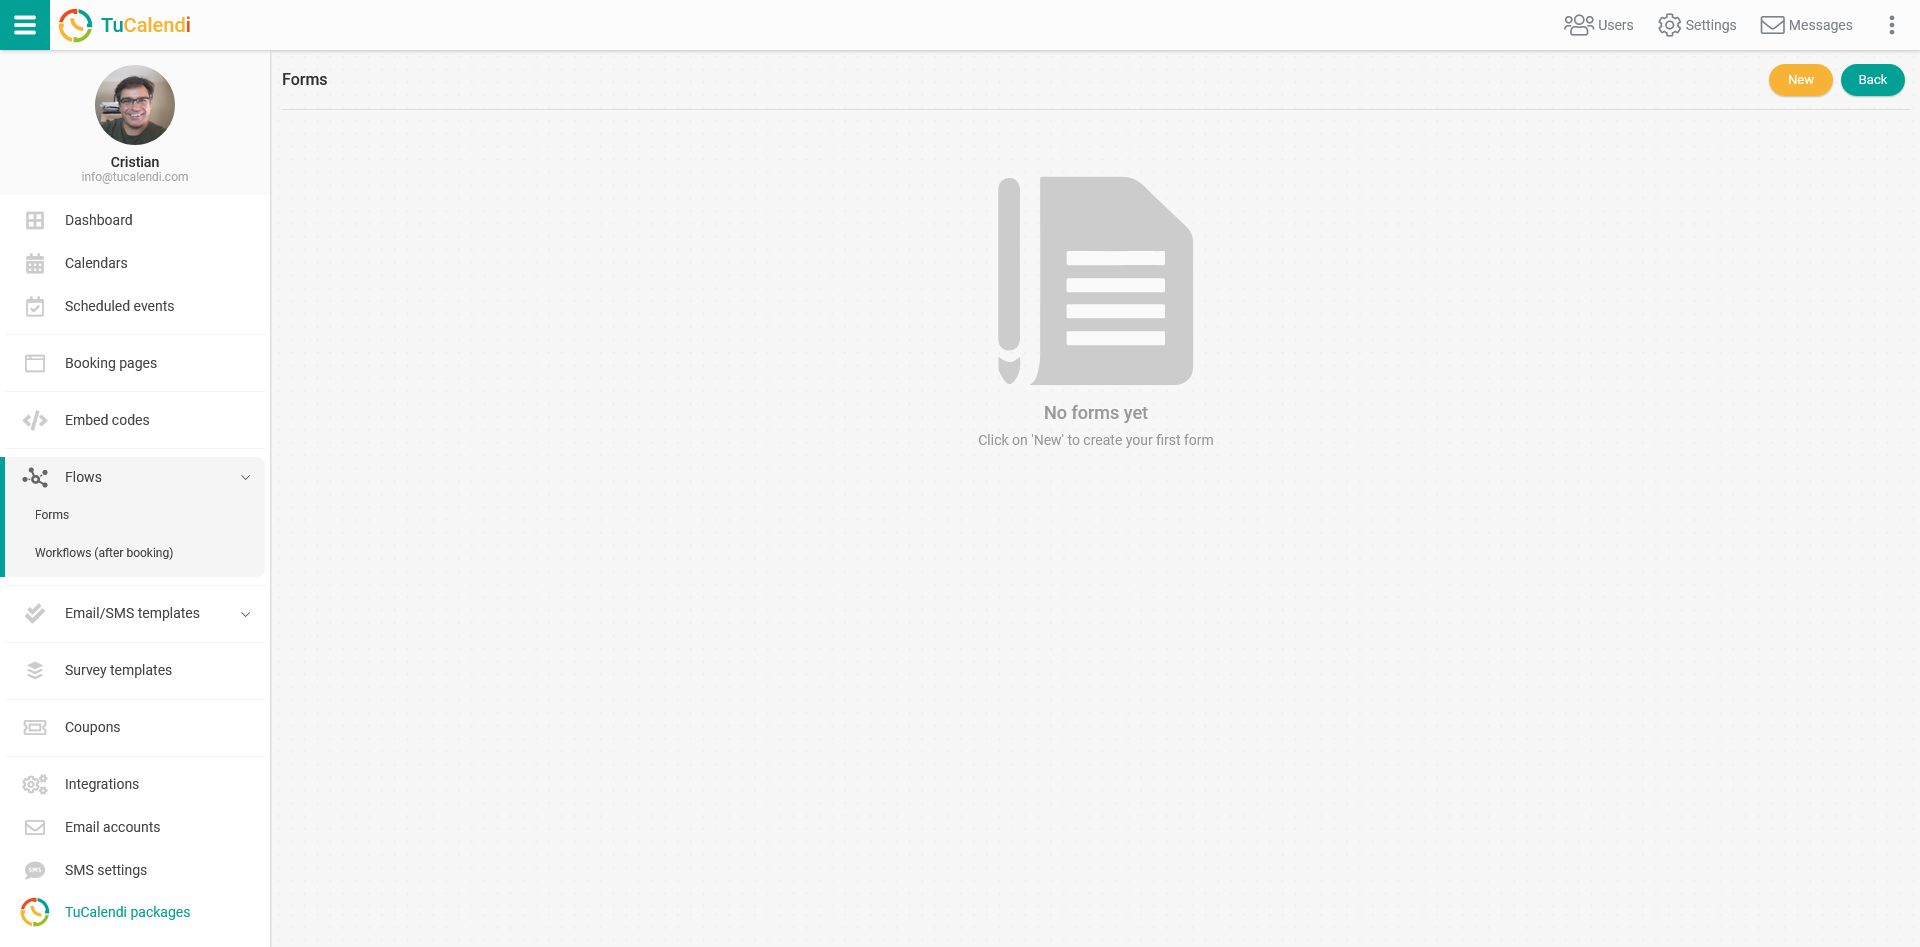
Since there is no form created yet, click on "New" to create a form.
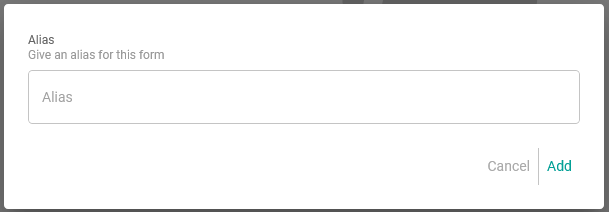
The first step is to give a name to the form you are going to create. Once you have it, click on "Add".
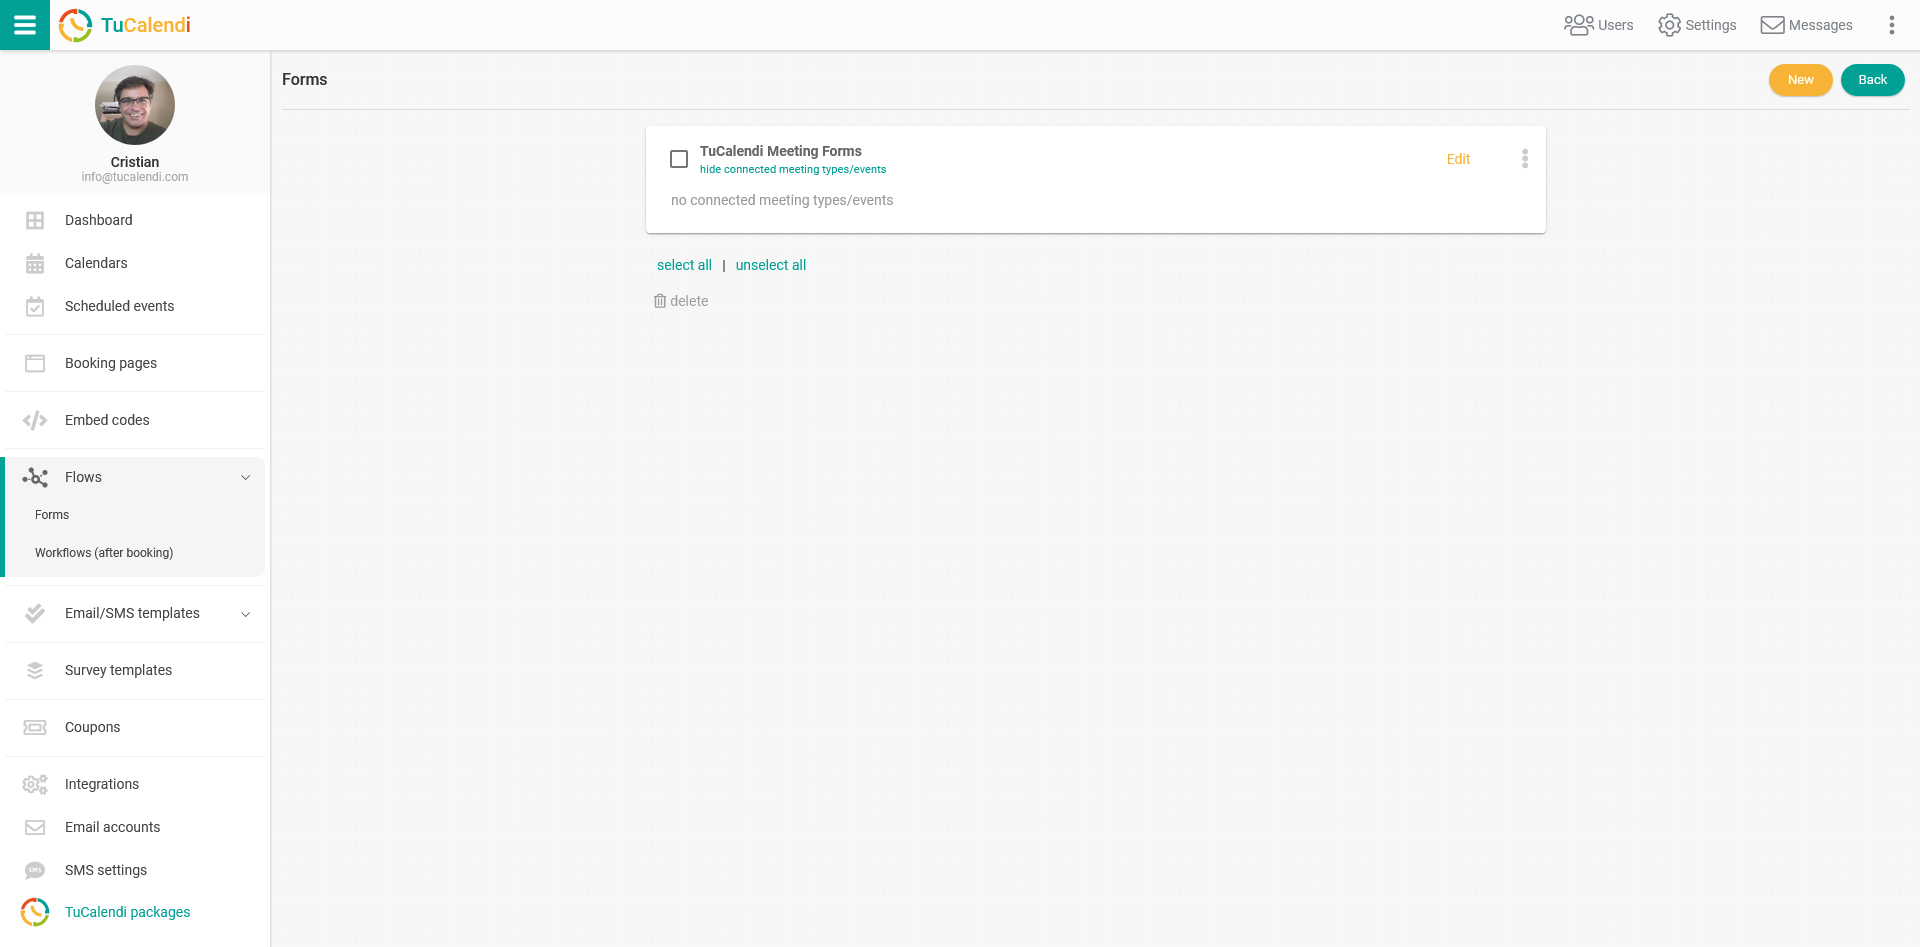
Next, you need to customize the information you want to collect with the form. Click "Edit":
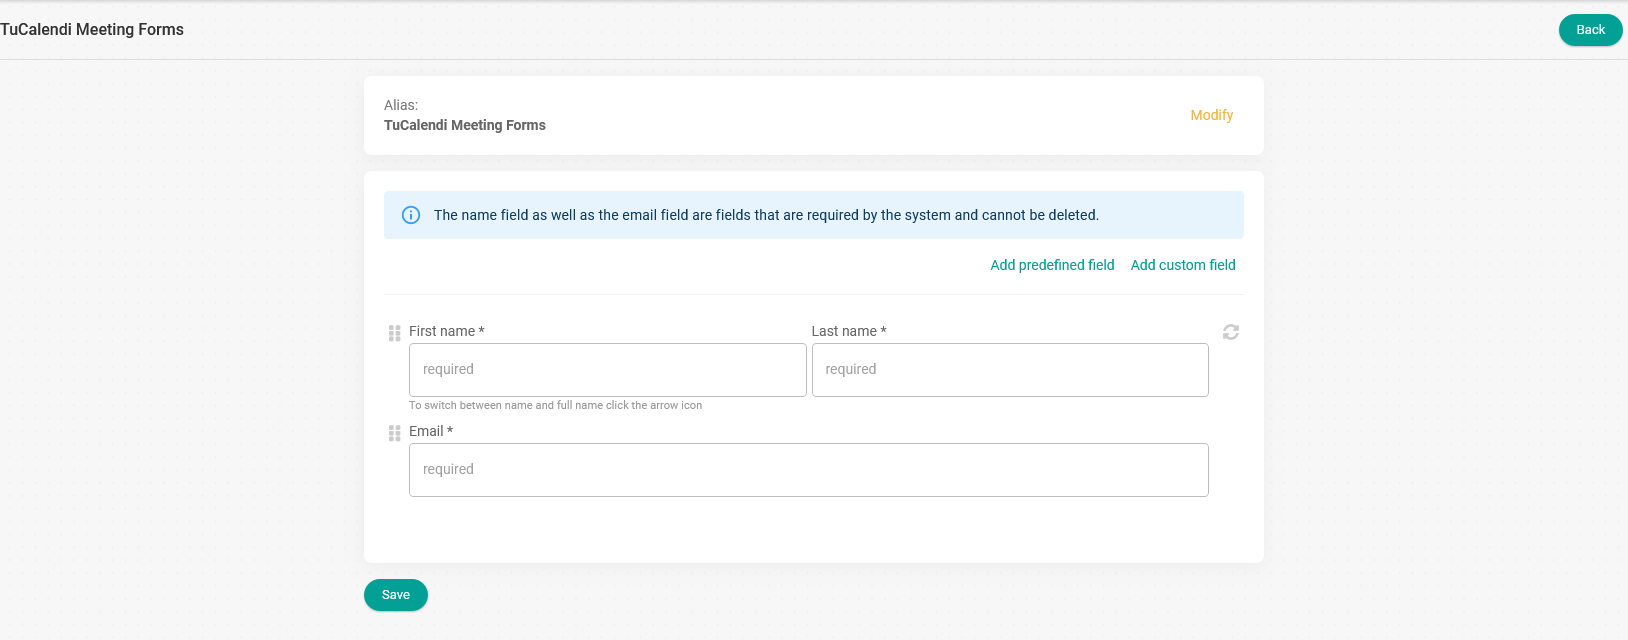
There are two types of fields you can add to the form:
- Predefined fields.
- Custom fields.
Predefined fields
Both the first name field and the email field are mandatory system fields and cannot be removed.
However, you can choose between requesting the first and last name or just the first name. Just click on the icon shown in the field:

There are also some predefined fields in the system that you can add and mark as required or not.
When you click on "Add predefined field", the available options will be displayed and you only have to select the ones you want.
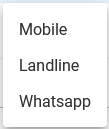
IMPORTANT: If you want to send SMS using the workflows, you must add the predefined field "Mobile" to the form flow.
In our case, we are going to add the "Mobile" field:
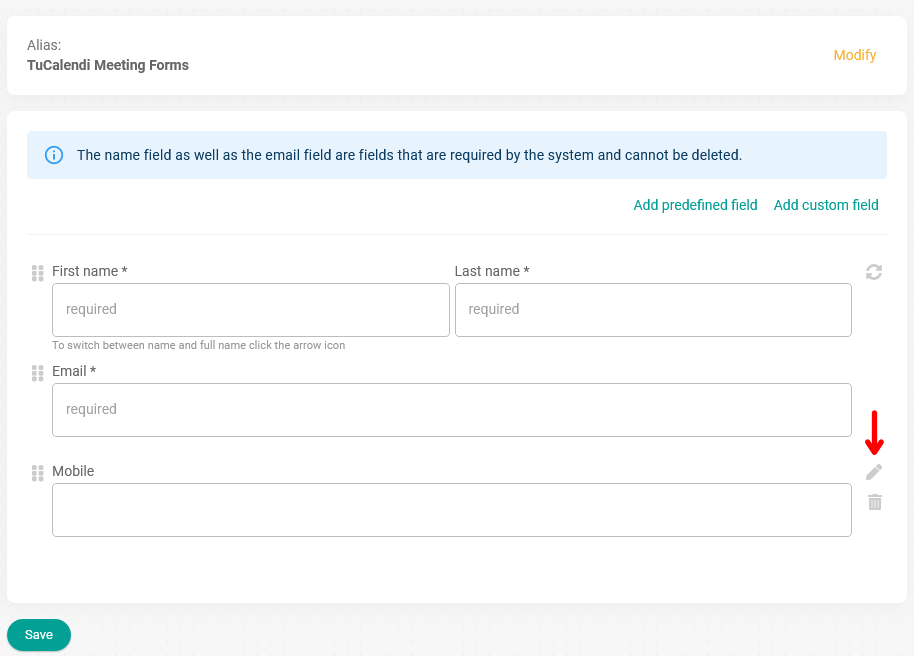
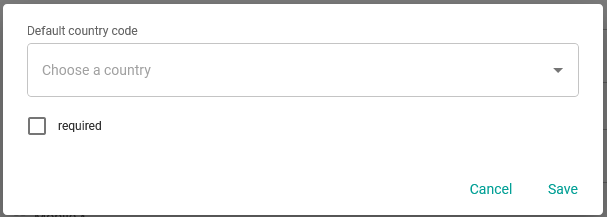
In the new field, by clicking on the "pencil icon", you can mark the mobile phone field as required and also select the country code.
When you are done, click on "Save":

Custom fields
With custom fields, the possibilities multiply, as you can choose from the different options available and add the same custom field several times with different options.
Clicking on "Add custom field" will display a menu with the options, and you only have to select the ones you need to get the information from the people who are going to book.
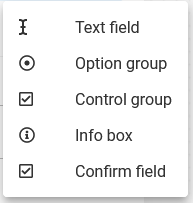
In our case, we will add a "Text" field and an "Option button" field with 4 possibilities. In both cases, the answers are mandatory.
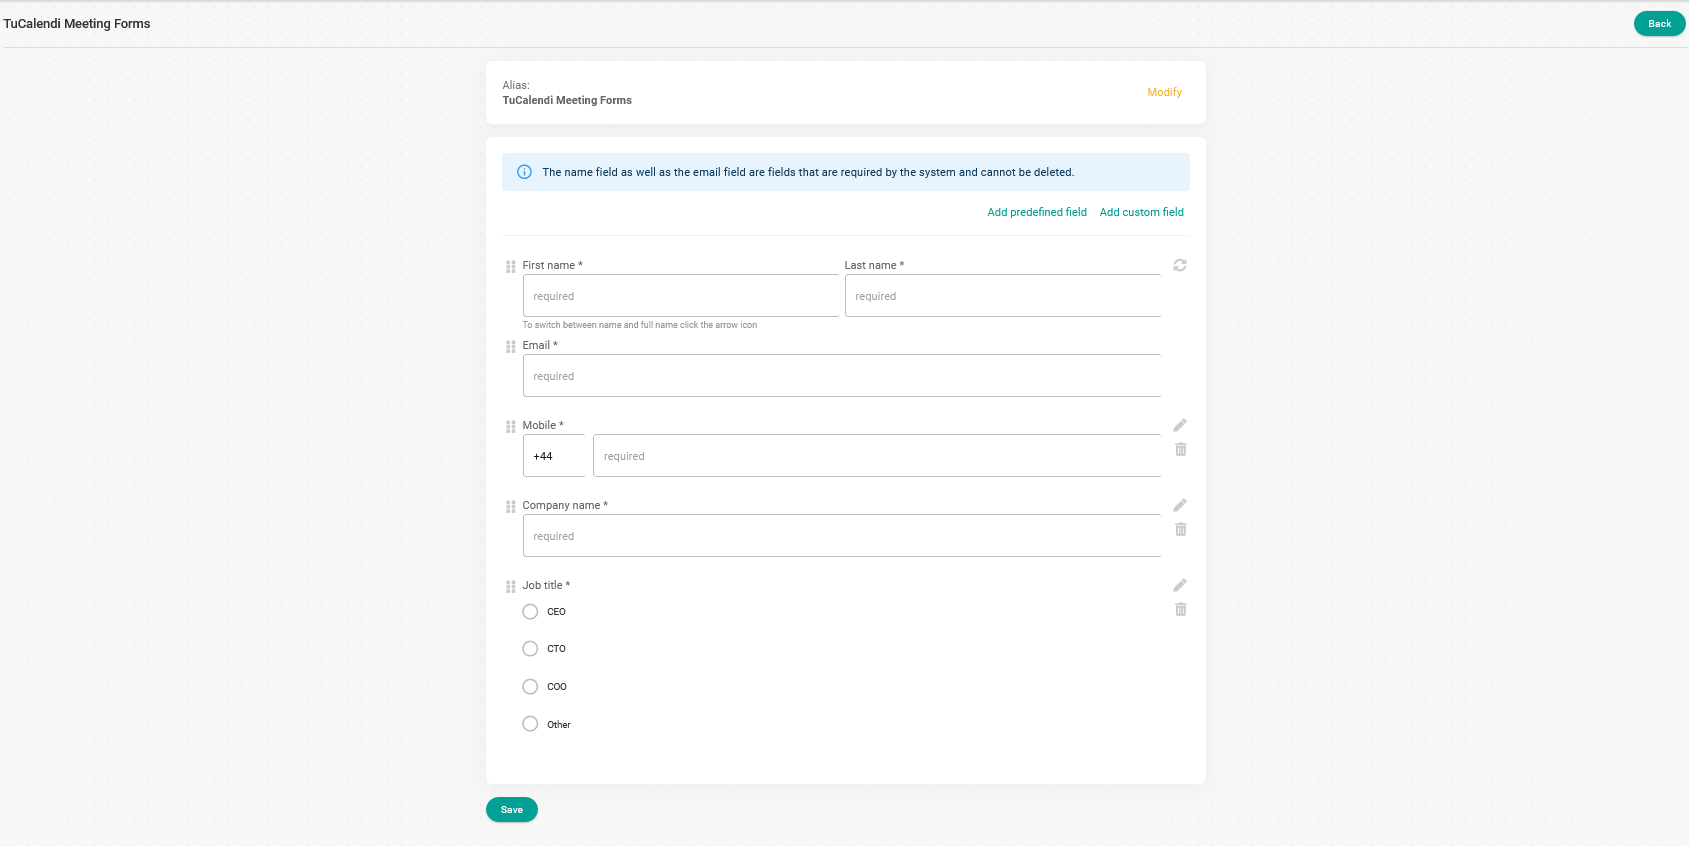
When you have added all the fields you need, click on the "Save" button and your form is created.
The next and last step to finish the form flow is to assign the events where you want the created form to be displayed.
Go back to the main form flow menu and click on the three vertical dots:
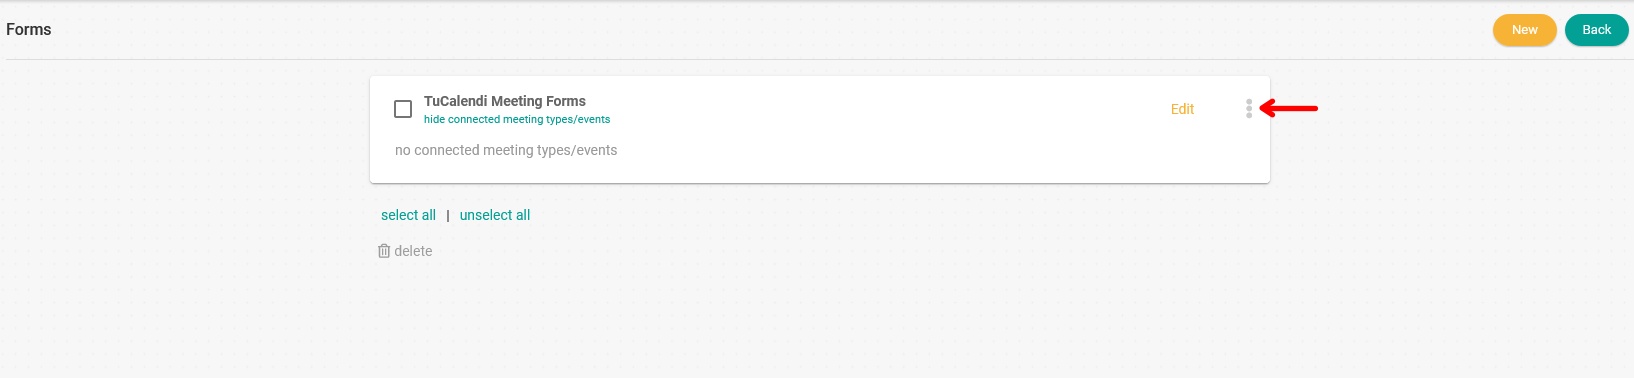
In the menu that appears:
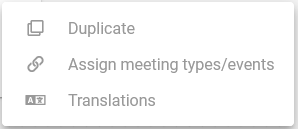
Click on "Assign meeting types/events". The list with all the events you have created in your different calendars will be displayed.
Just choose the events you want to assign to the created form:
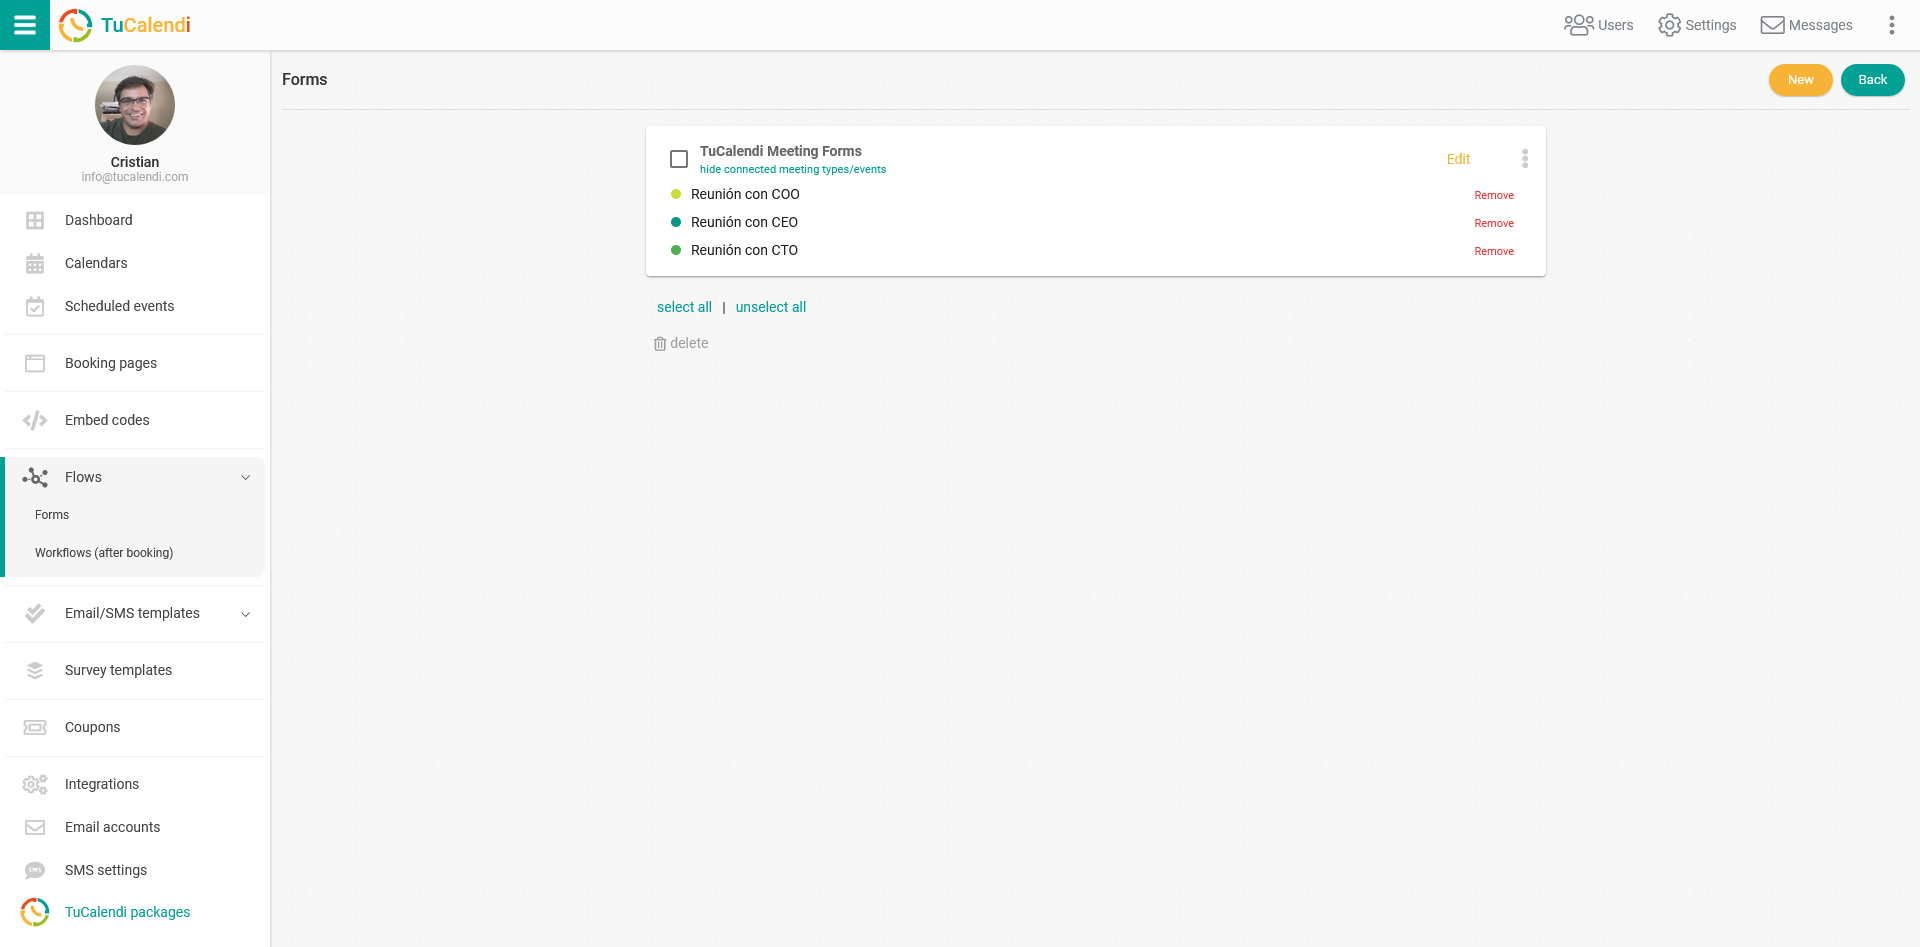
From now on, when someone books a meeting for any of the events assigned to the form, they must enter the requested information.
You can modify a created form at any time by adding or deleting fields. Of course, you can also add or remove the assigned events.