
With terms flows you can set the conditions and notices that are displayed in the widget for the meetings that are going to be scheduled with you. This way your customers are informed about important information before booking.
Let's see how to create a terms flow with TuCalendi.
Log in to TuCalendi with your username and password. In the side menu, click on "Flows":
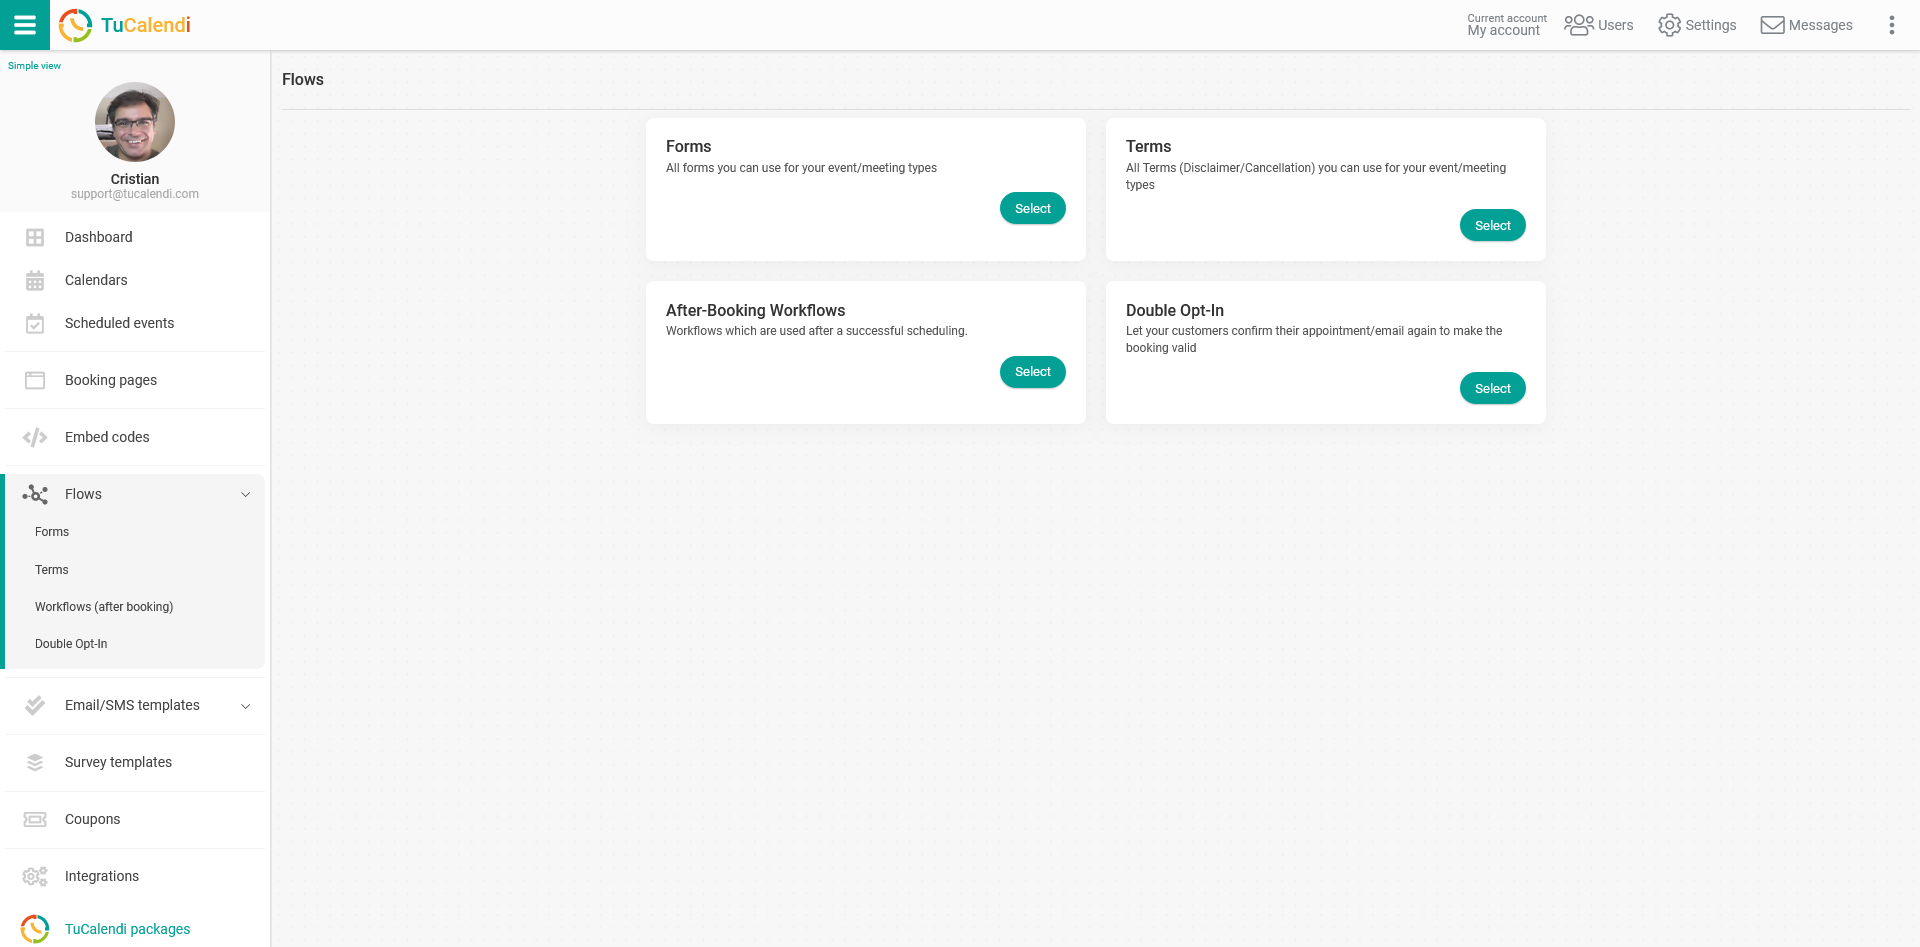
In the "Terms" option, click on "Select":
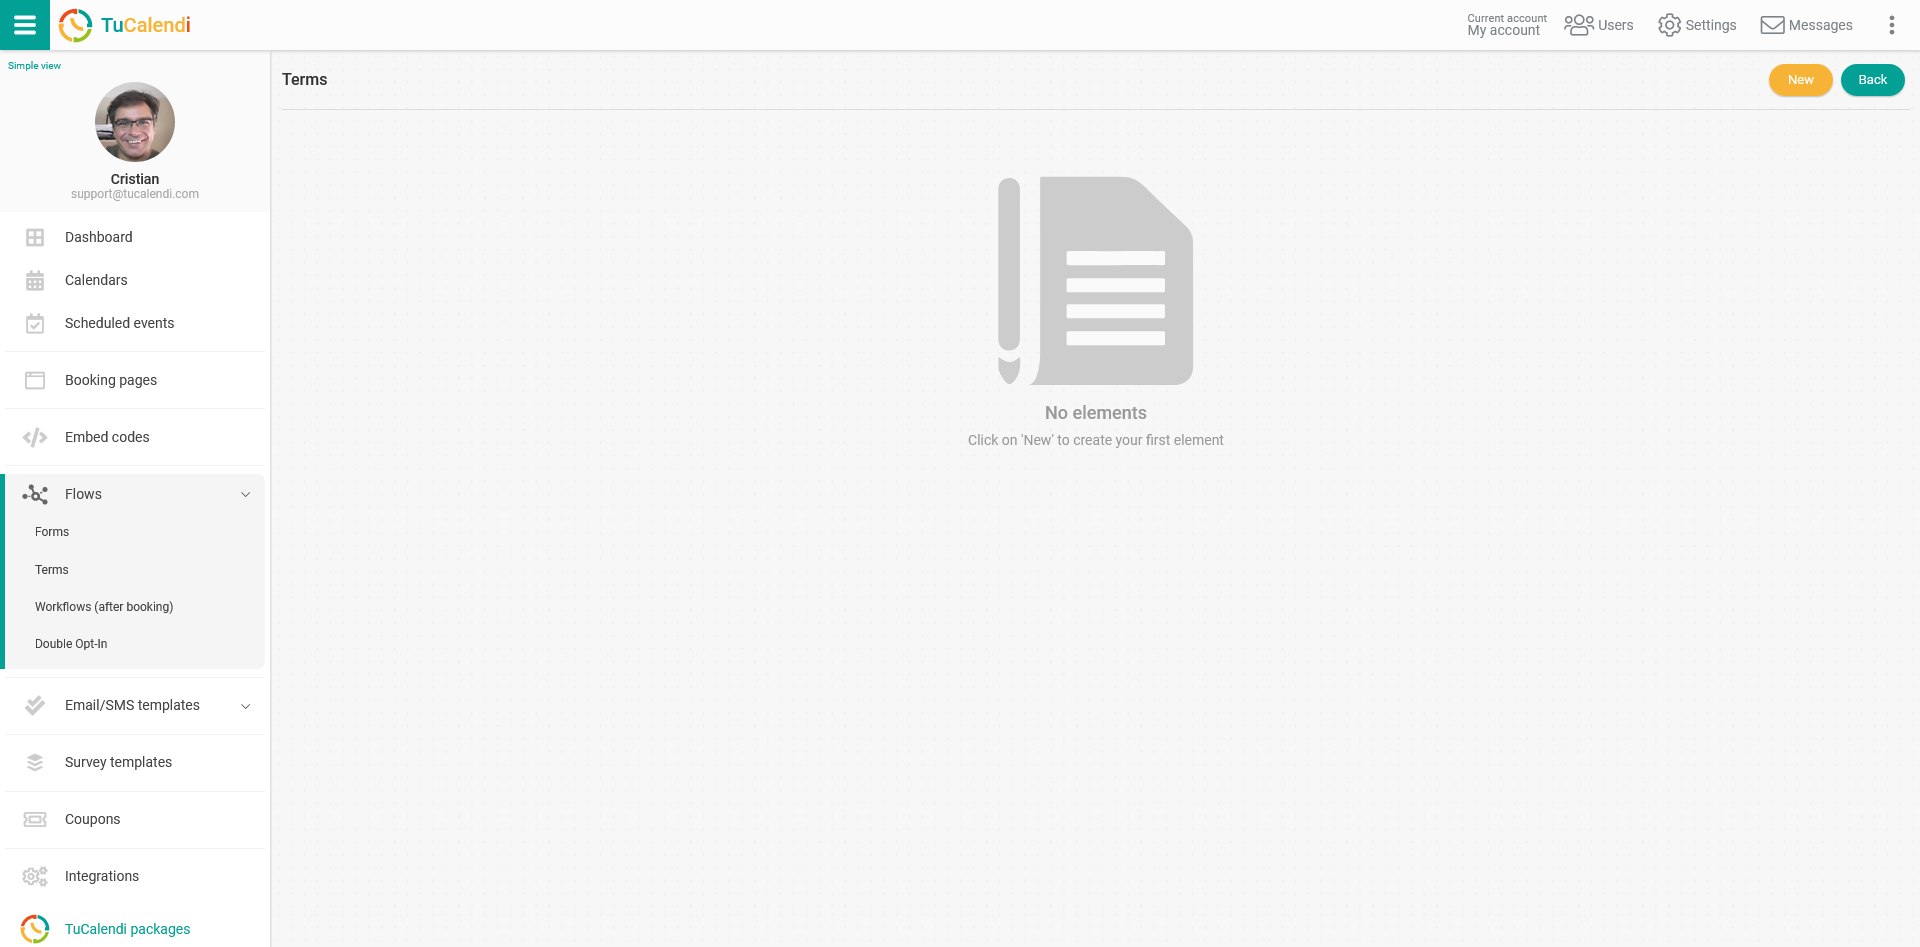
Create a terms flow
Since you haven't created any terms flow yet, the list is empty. Click on "New" to create the terms flow:
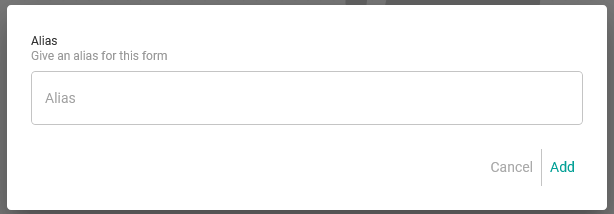
Start by giving a name or alias to the terms flow you are going to create and click on "Add":
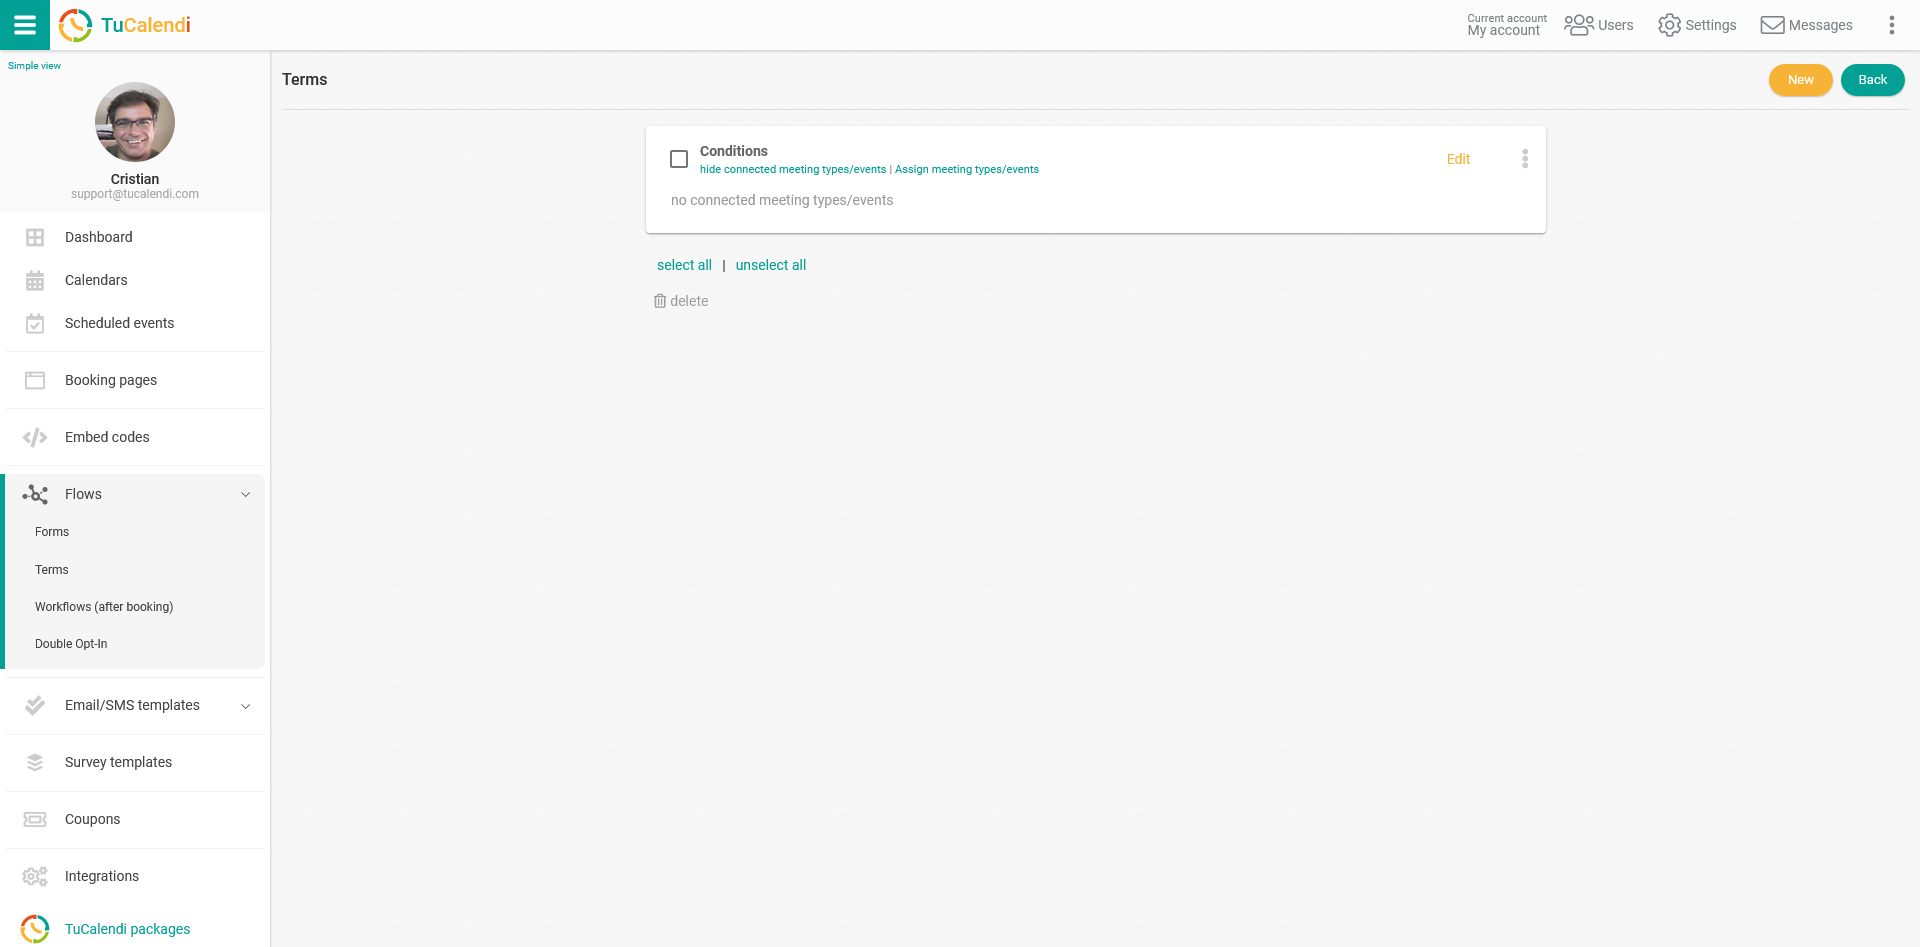
Next, to add the terms and conditions to the flow, click on "Edit":
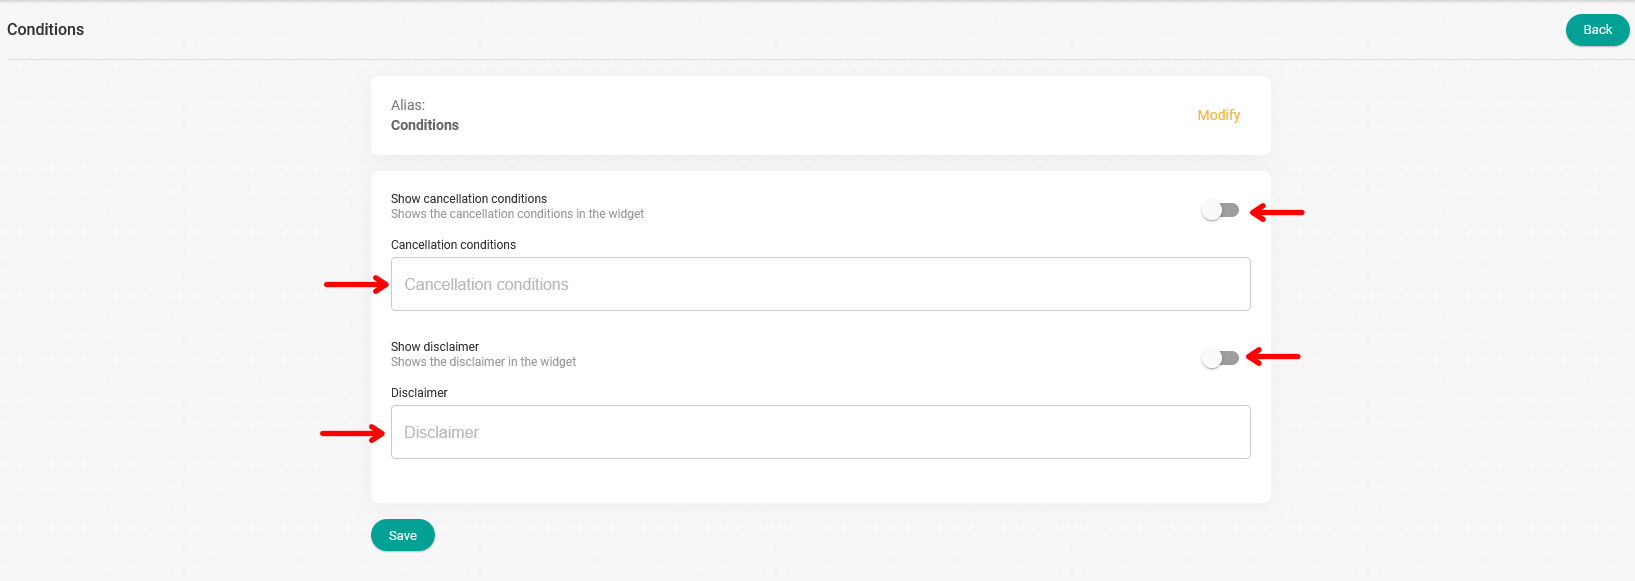
In the text fields:
- Cancellation conditions.
- Disclaimer.
When you click into each field, an editor opens where you can write the information that will be displayed in the widget regarding terms and conditions.
When you're done, just activate the toggle switch in the corresponding text fields and click "Save".
In the widget you can display both fields or only the one that applies to your case.
Assign events to the terms flow
To finish and make the terms flow operational, you must assign the events in which you want the information about terms and conditions to be displayed.
Go back to the main menu of the terms flow and click on the three vertical dots:

A menu with the following options will be displayed:
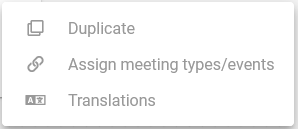
Click on "Assign meeting types/events". From the list showing all the events you have created and that are available, select the appropriate ones and click on "Save":
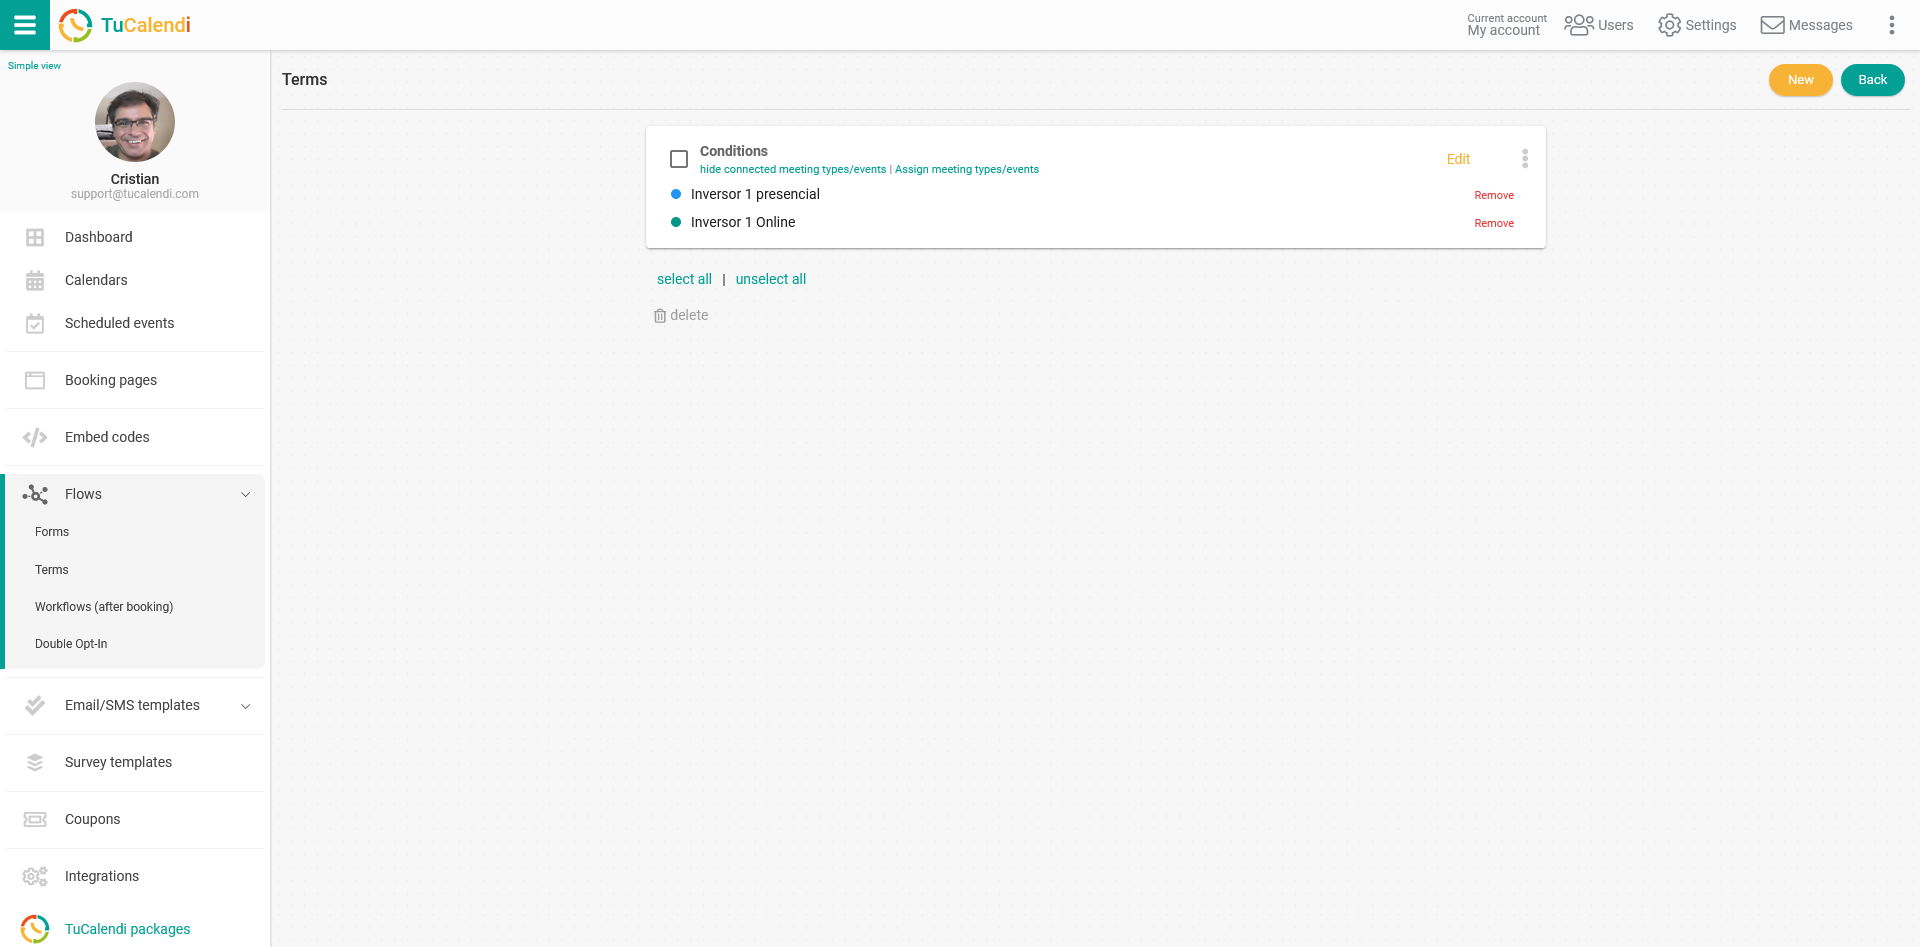
From now on, when someone wants to book an appointment with you, the widget will display the terms and conditions you set in the terms flow.
You can edit the terms flow at any time by adding or removing events, and of course whenever you change the terms or conditions of your meetings.