
We have developed the button designer so you can add a button to your website, customized with multiple options, that gives access to your online calendar.
Each button you design will have its own integration code that must be used to embed the button on your website.
Log in to TuCalendi with your username and password. Go to the "Embed codes" option in the vertical menu:
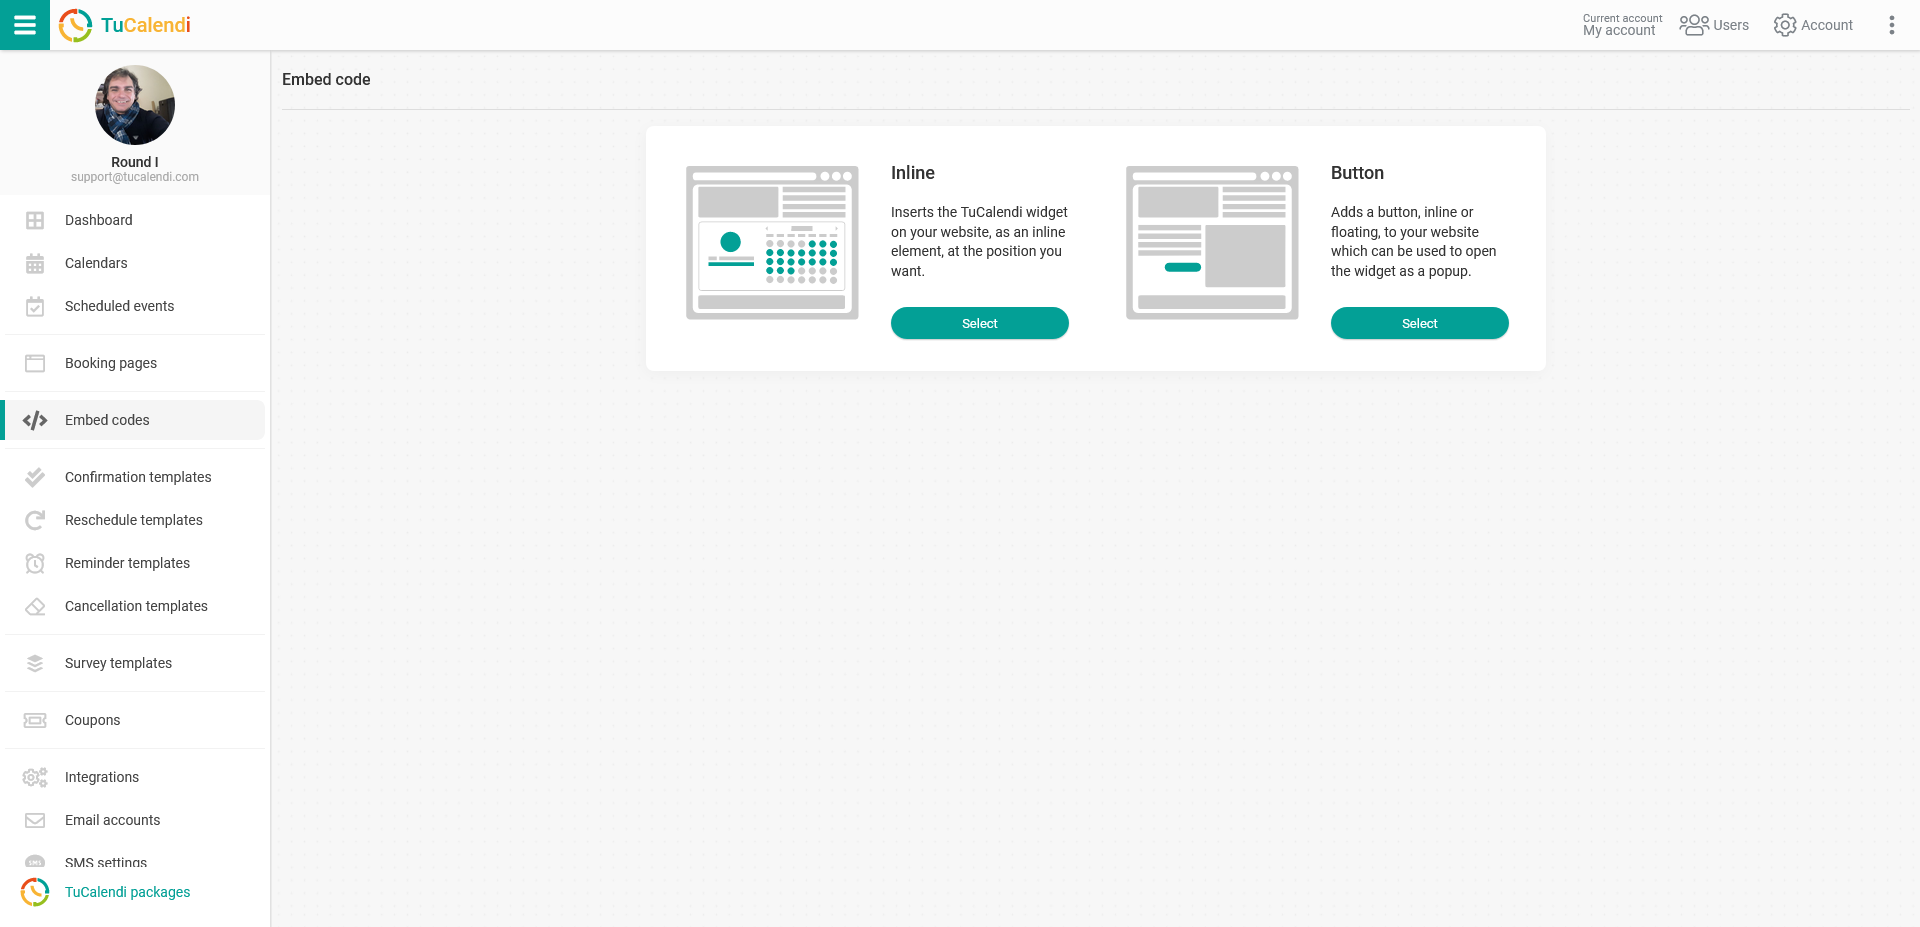
In the "Button" section, click "Select".
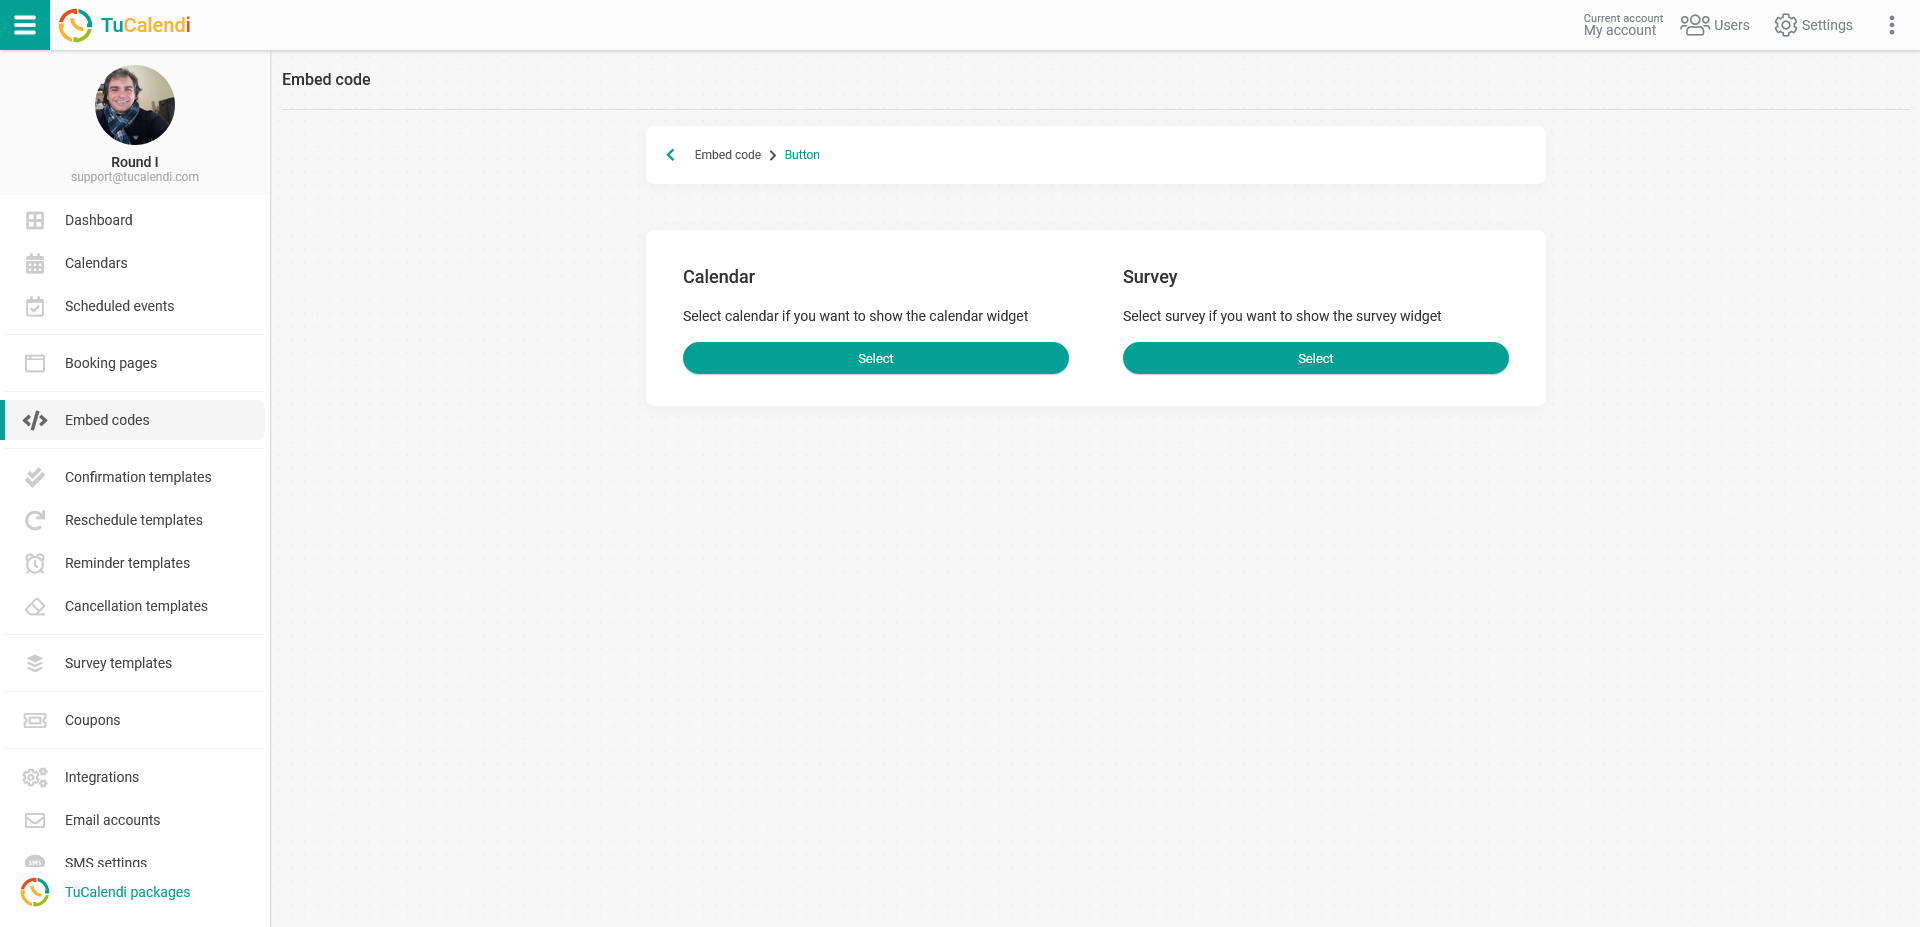
Choose the type of widget you want to embed on your website.
- Calendar.
- Smart Survey.
The process is exactly the same for both widget types.
Select "Calendar":
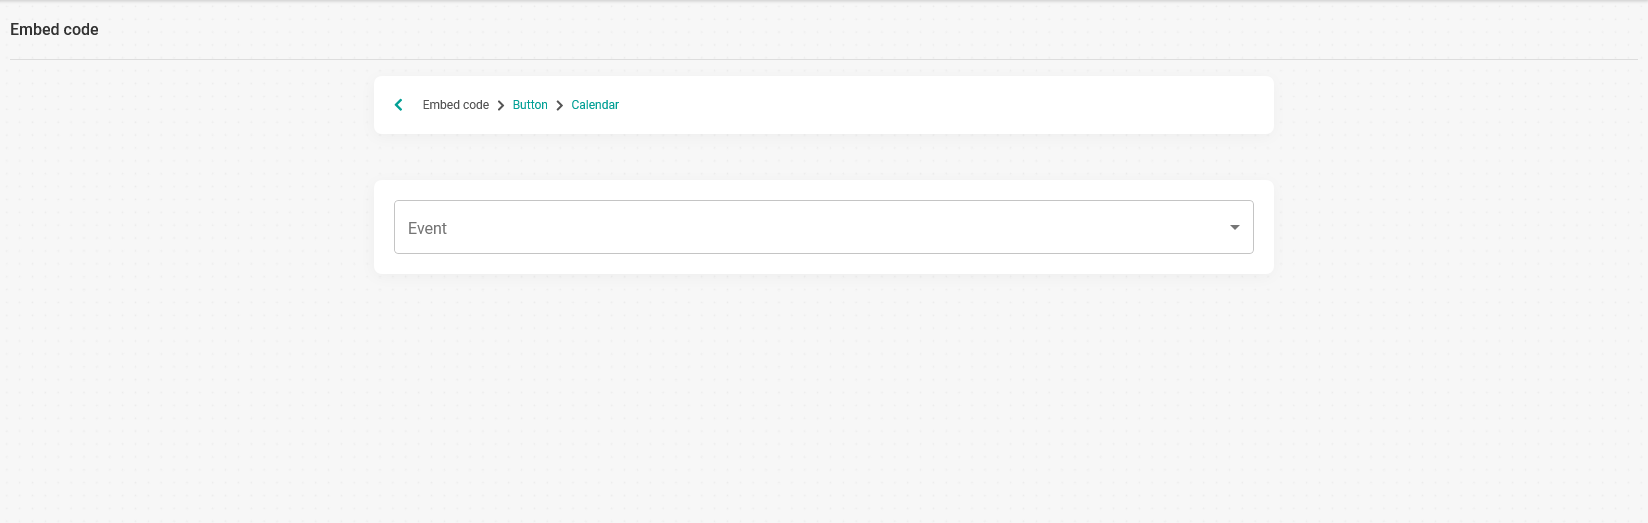
Click the drop-down menu and choose the Calendar or Event you want to display when someone clicks the booking button.
In this case, we have chosen the event called "First Event (30 Min)".
Activate the "Use button designer" option.
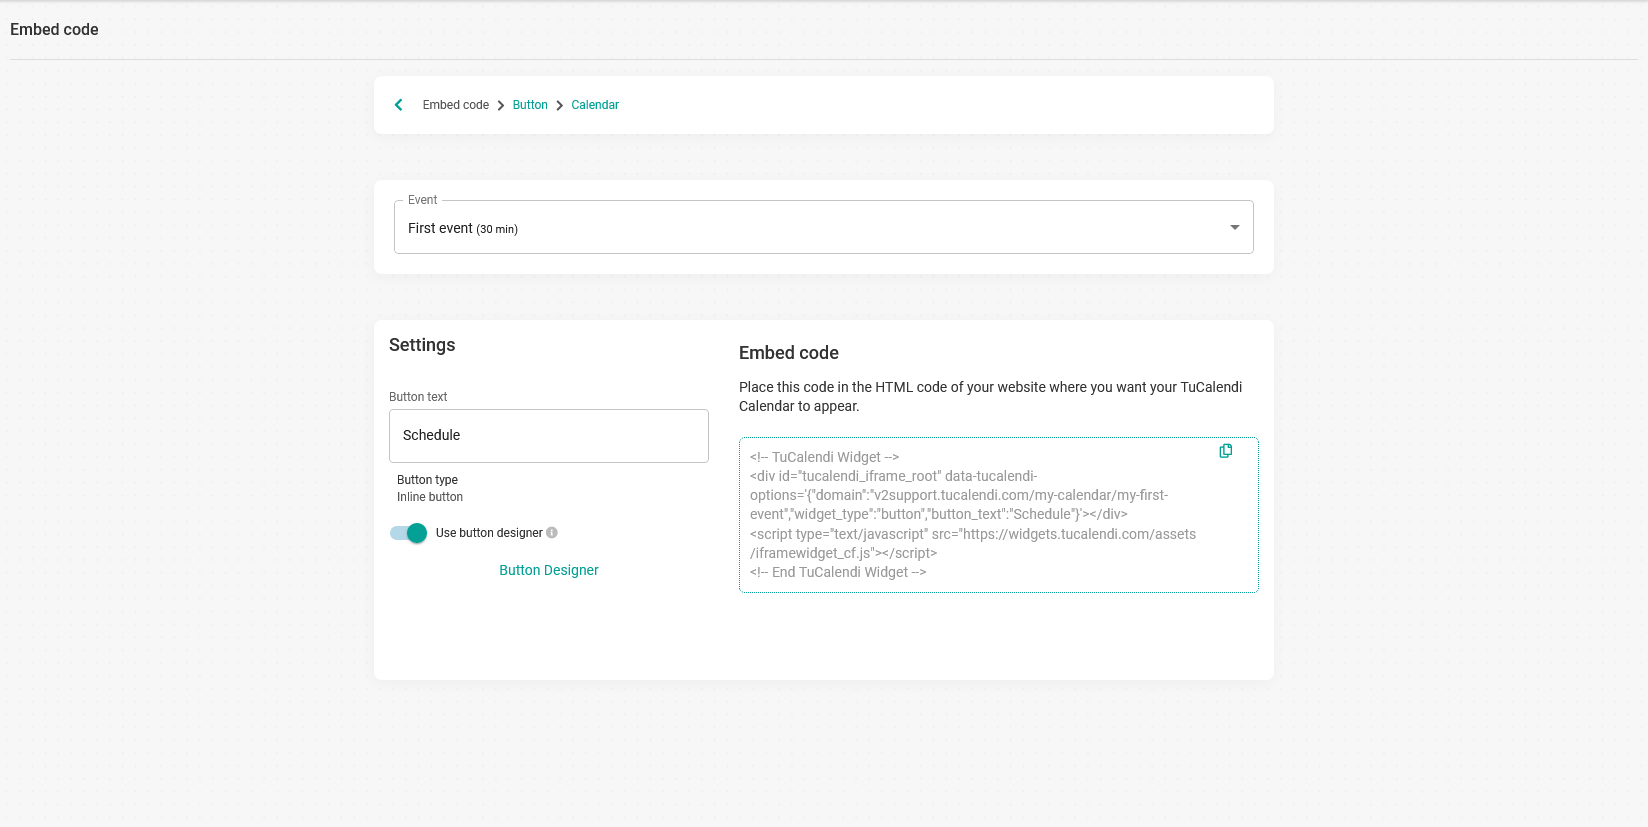
Clicking "Button designer" takes you to the designer, where you'll find numerous options to create the button just the way you want.
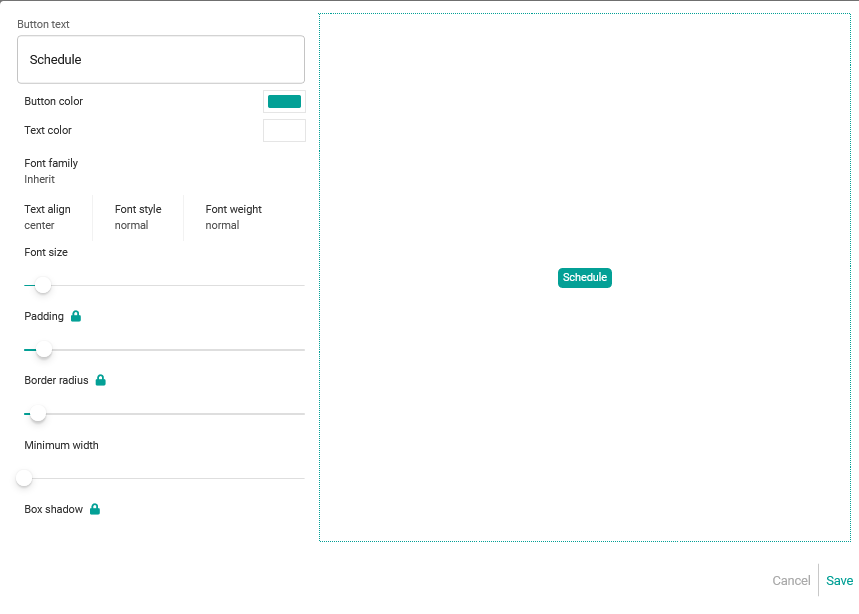
There are many ways to design and customize your buttons:
- Button text. The message displayed on the button. You can create an attractive call to action that will make your customers want to click and book an appointment.
- Button color.
- Text color.
- Font family. You can choose between different fonts for the button text.
- Text align. Aligns the text on the button.
- Font style.
- Font weight. Lets you choose the font weight.
- Font size. Change the font size by simply moving the slider to increase or decrease the size.
- Minimum width. The minimum width of the button.
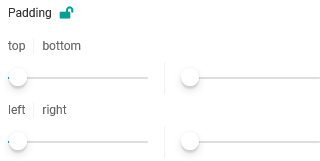
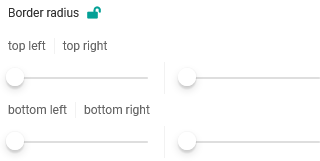
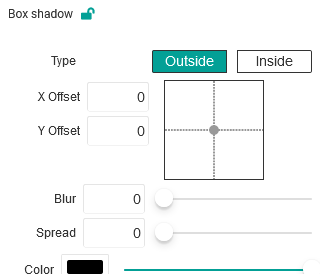
There are also other options that, besides having a slider to change the value, get unlocked when you click the "Padlock", so you can experiment more with these settings.
- Padding.
- Border radius.
- Box shadow.
When you have designed the button:
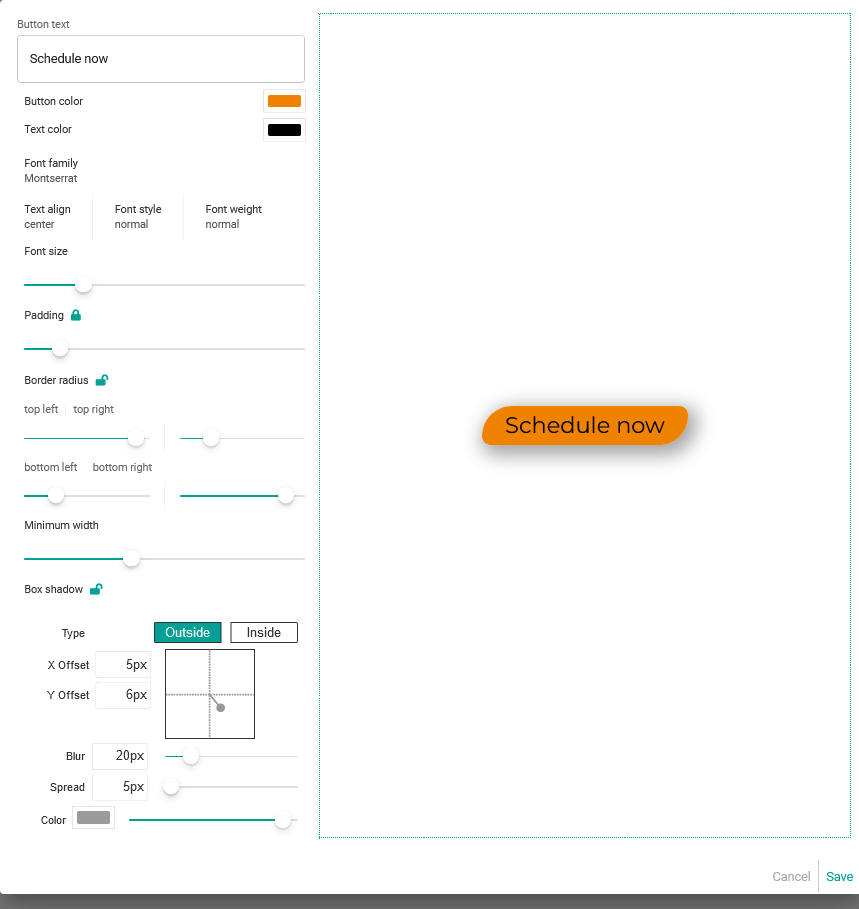
Click "Save" and the embed code for the button you have designed will be generated:
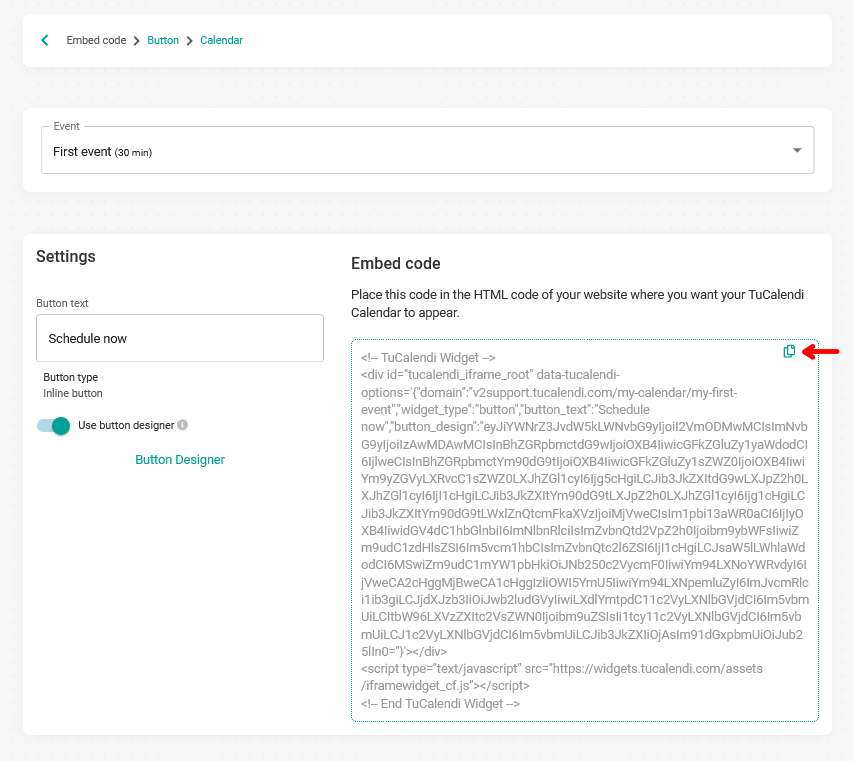
You only need to copy the code and paste it into your website to display the button exactly as you designed it.