
We have developed a straightforward and intuitive way to get the embed codes for the TuCalendi widget, either the calendar widget or the smart survey widget with routing.
Let's see how to embed the TuCalendi widget as a button on a website with just a few mouse clicks and the simple action of copying and pasting an HTML code.
Log in to TuCalendi with your username and password and go to the "Embed codes" option in the vertical menu:
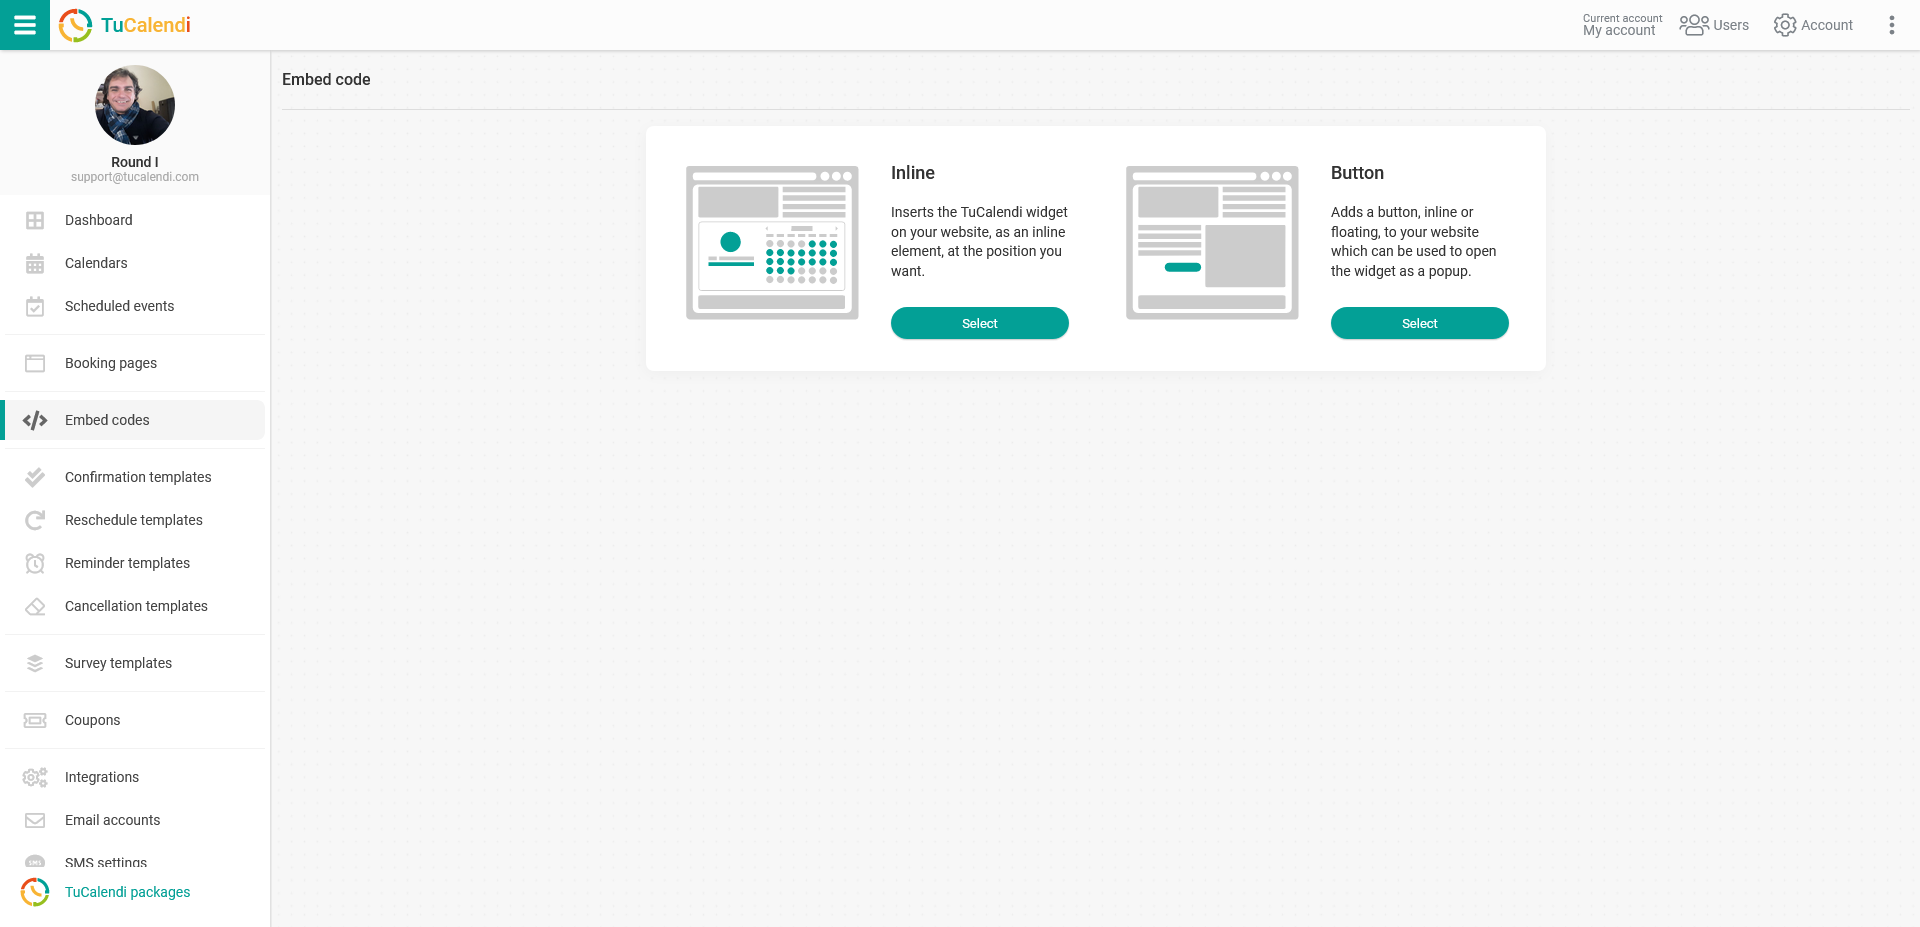
You must select the way you want to embed the TuCalendi widget on a website.
- As an online calendar.
- As a button.
In this tutorial we will choose to embed the TuCalendi widget as a button.
Adding the TuCalendi button, either inline or floating, on your website causes the widget to open as a popup.
In the "Button" option, click on "Select".
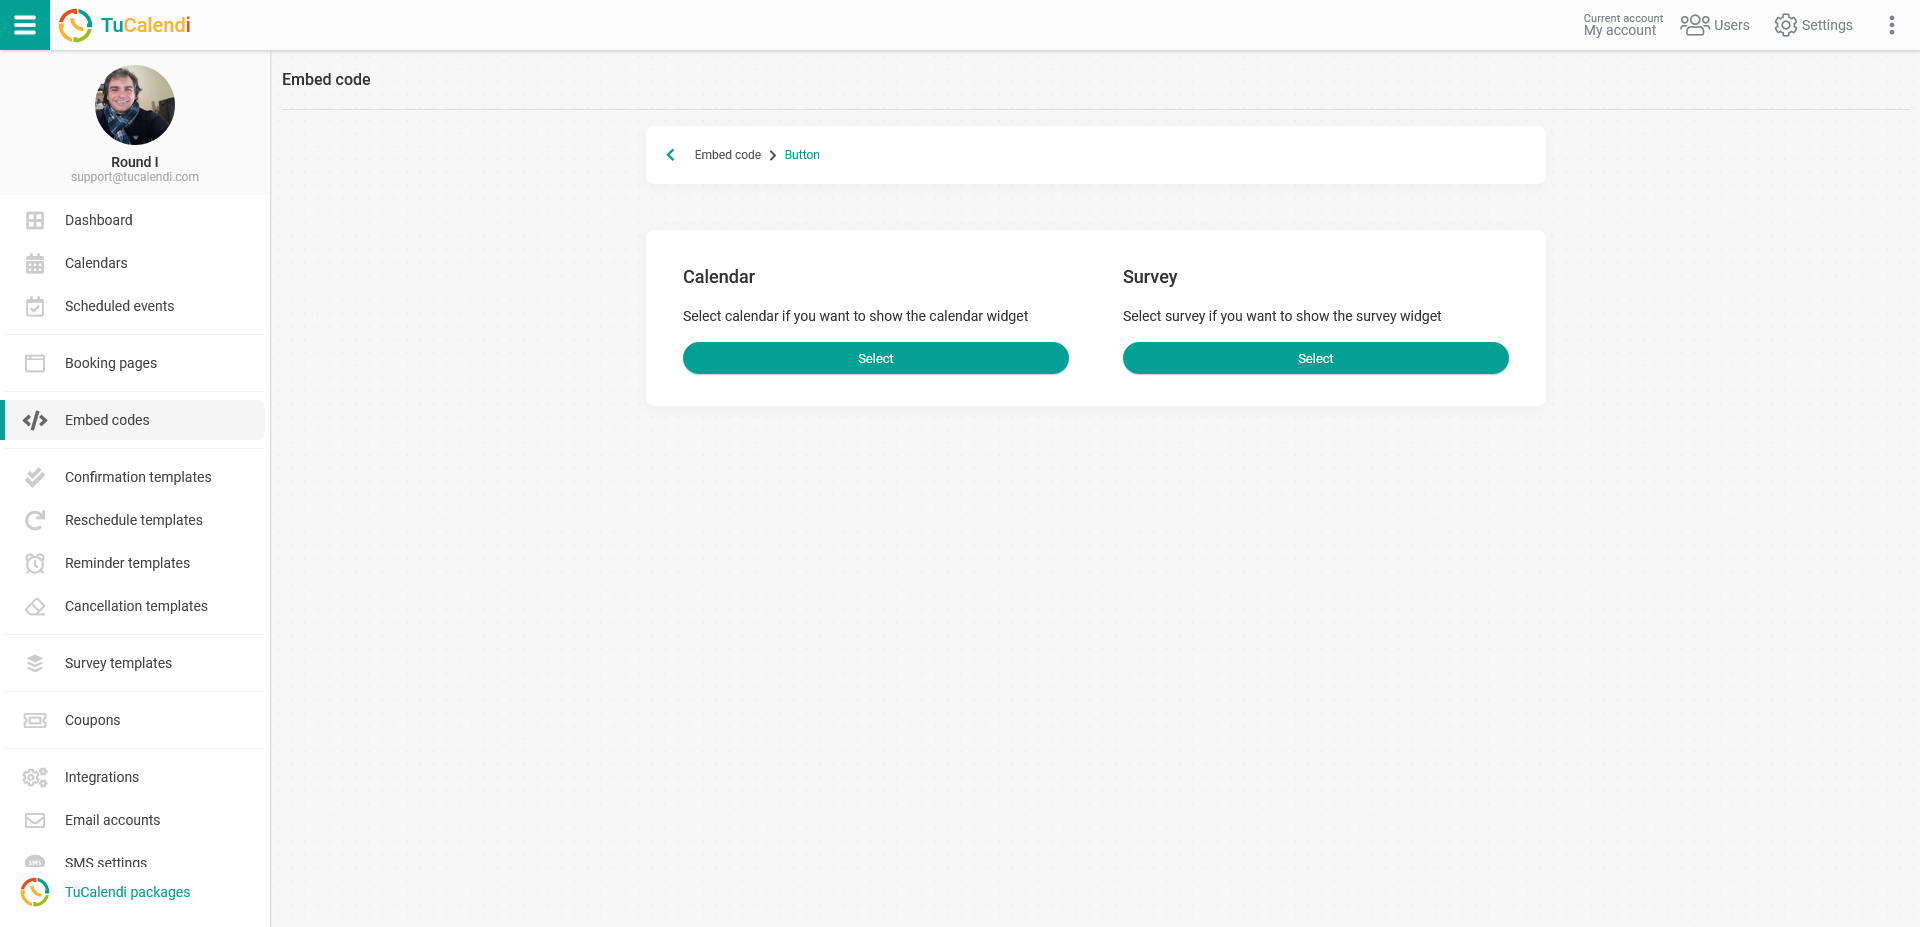
There are two types of widget that you can add to your website:
- Calendar widget.
- Smart survey widget with routing.
You need to choose the widget you want to embed.
Calendar Widget
To get the embed code for a calendar with all its events or just one event, in the "Calendar" section click on the "Select" button:
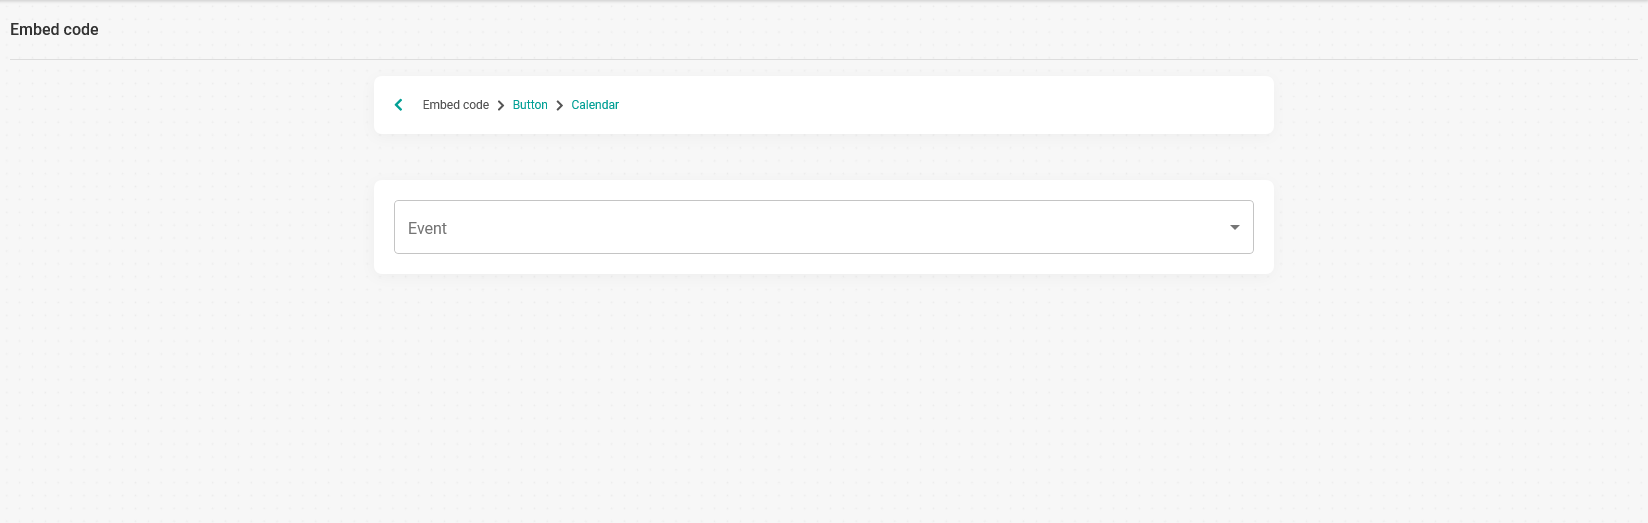
Click on the dropdown and it will show the different calendars (Brands) you have created and also all the events (Meeting types) you have in each calendar, so you can select what you want to be opened when people click on the button:
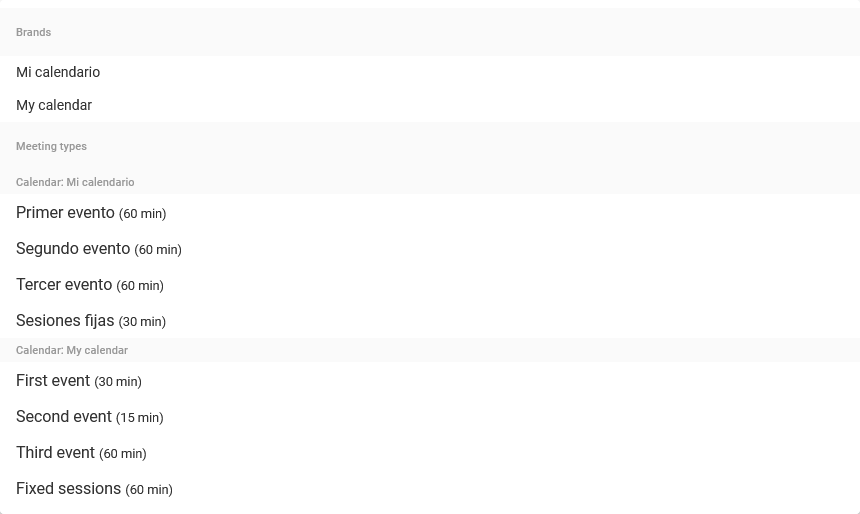
If you choose a calendar, the widget will show all the events that calendar has. On the other hand, if you select a specific event, the embed code will only show one event in the widget.
For this practical example we will choose a specific event, the one called "First event (30 Min)", and get the embed code for that event.
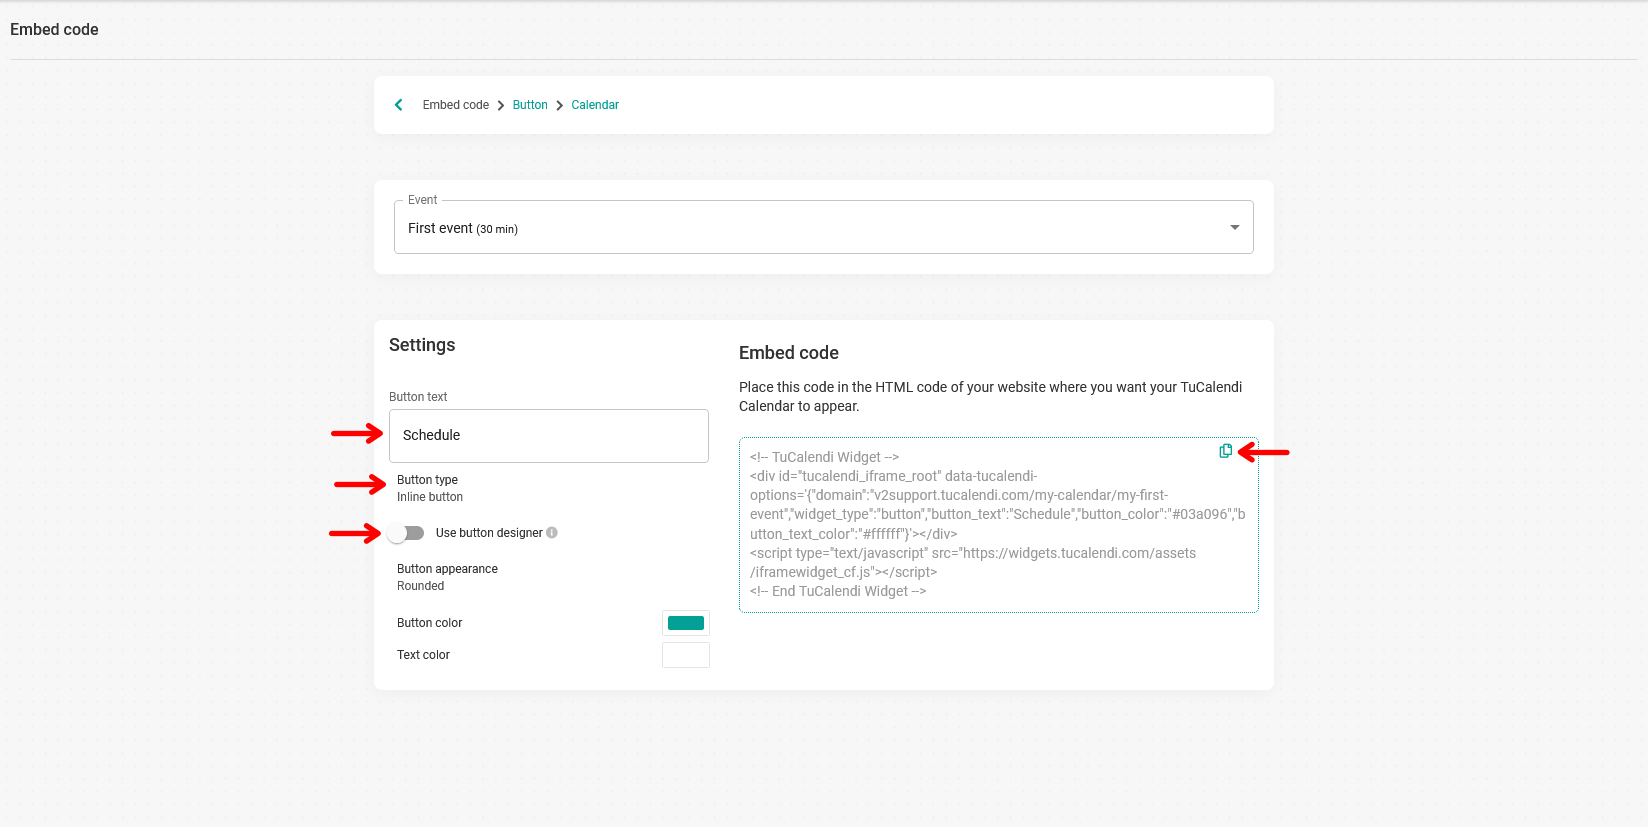
For the button you have several settings:
- Button text. This is the message displayed on the button.
- Button type. You can choose between an inline or a floating button.
- Default options for button appearance and colors.
- Use button designer.
If you want to design your own button, activate the "Use button designer" option.
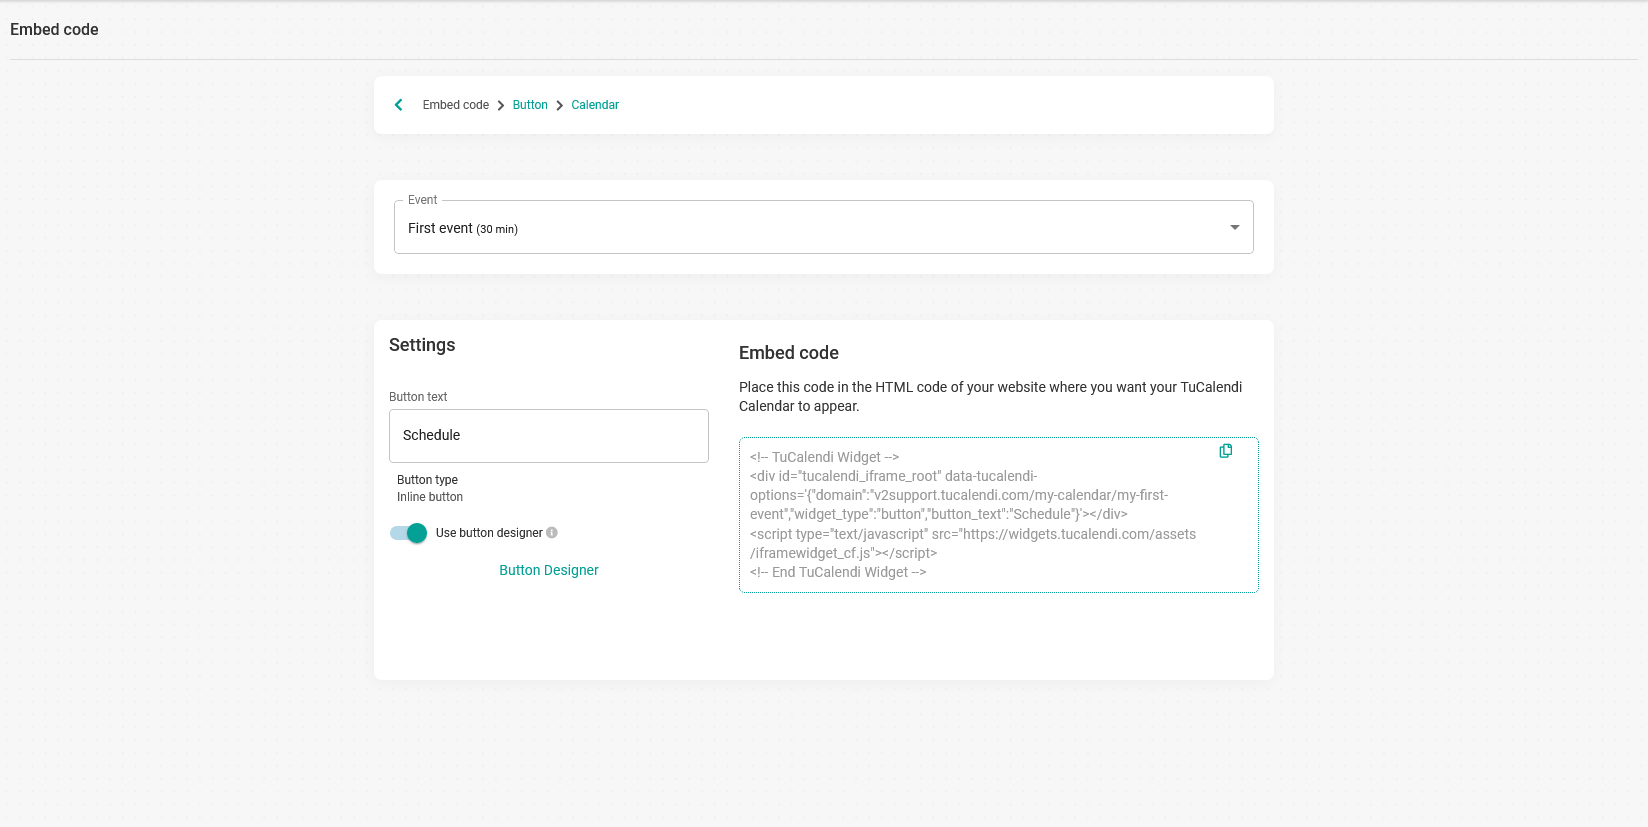
Then click on the "Button designer" option so you can create and design your own button.
When your button looks the way you want, just click on the icon in the top right corner of the code to copy the HTML code and paste it into your website so your customers can start booking with you.
Smart Survey Widget with routing
To get the embed code for the smart survey with routing, in the "Form/Survey" section click on the "Select" button:
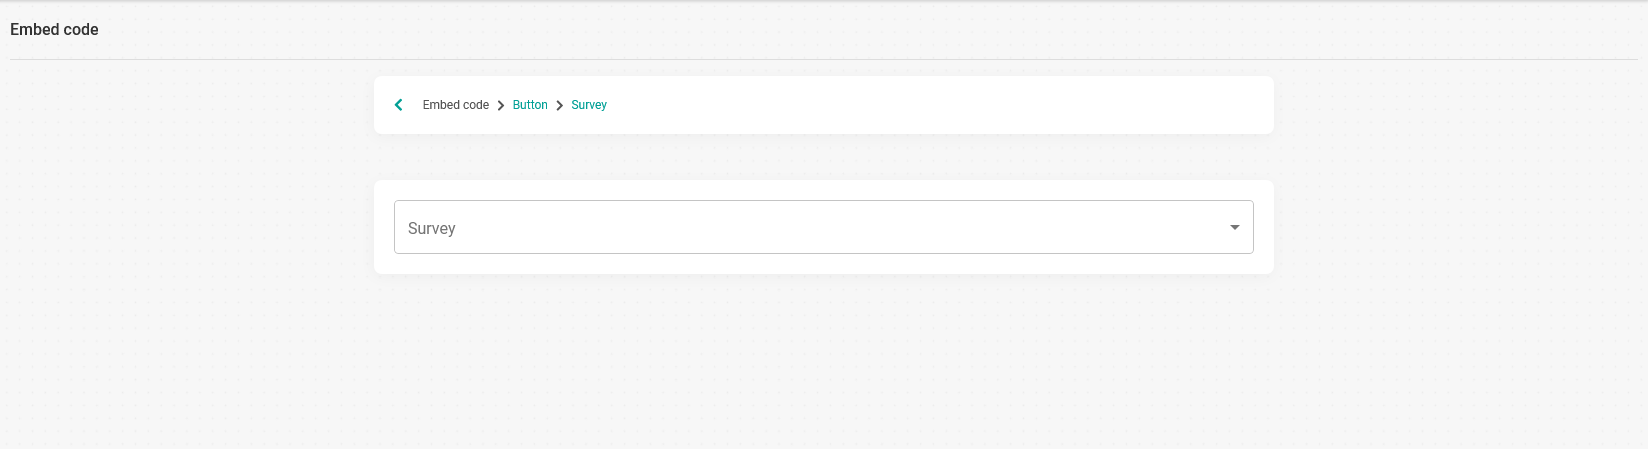
Click on the dropdown. It will display the different surveys you have created so you can choose the survey you want to get the embed code for:

In this case we are going to select the survey called "Demo survey with routing" and get the embed code for that smart survey:
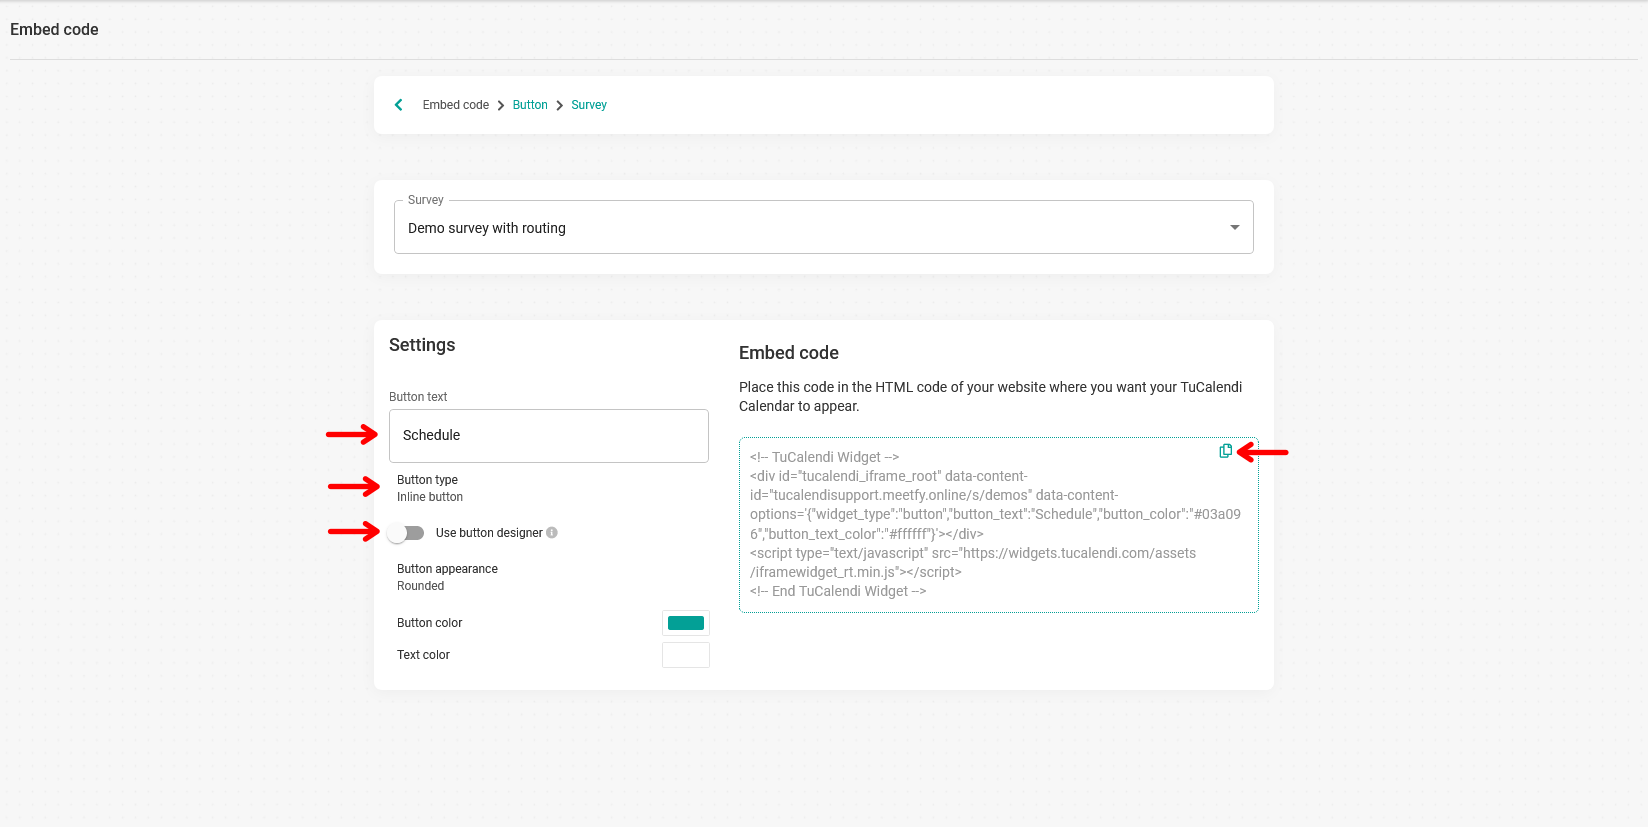
Just like with the calendar widget, the button has several settings:
- Button text. This is the message displayed on the button.
- Button type. You can choose between an inline or a floating button.
- Default options for button appearance and colors.
- Use button designer.
If you want to design your own button, activate the "Use button designer" option.
When you have designed the button for the smart survey widget with routing, just click on the icon in the top right corner of the code to copy the HTML code and paste it into your website so that your customers can start booking with you.
In another tutorial we will discuss the button designer in detail.