
To configure the custom groups, you will start by activating the role system, creating custom groups and adding users to the custom groups you have created.
Custom groups are groups that can be adapted to your business. You can create, modify or delete groups. Once the custom groups have been created, you can add or remove the users that will belong to each group.
Log in to TuCalendi with your username and password. In the upper right corner, click on the three vertical dots to access the menu.
In the menu, select "Role system/permissions":
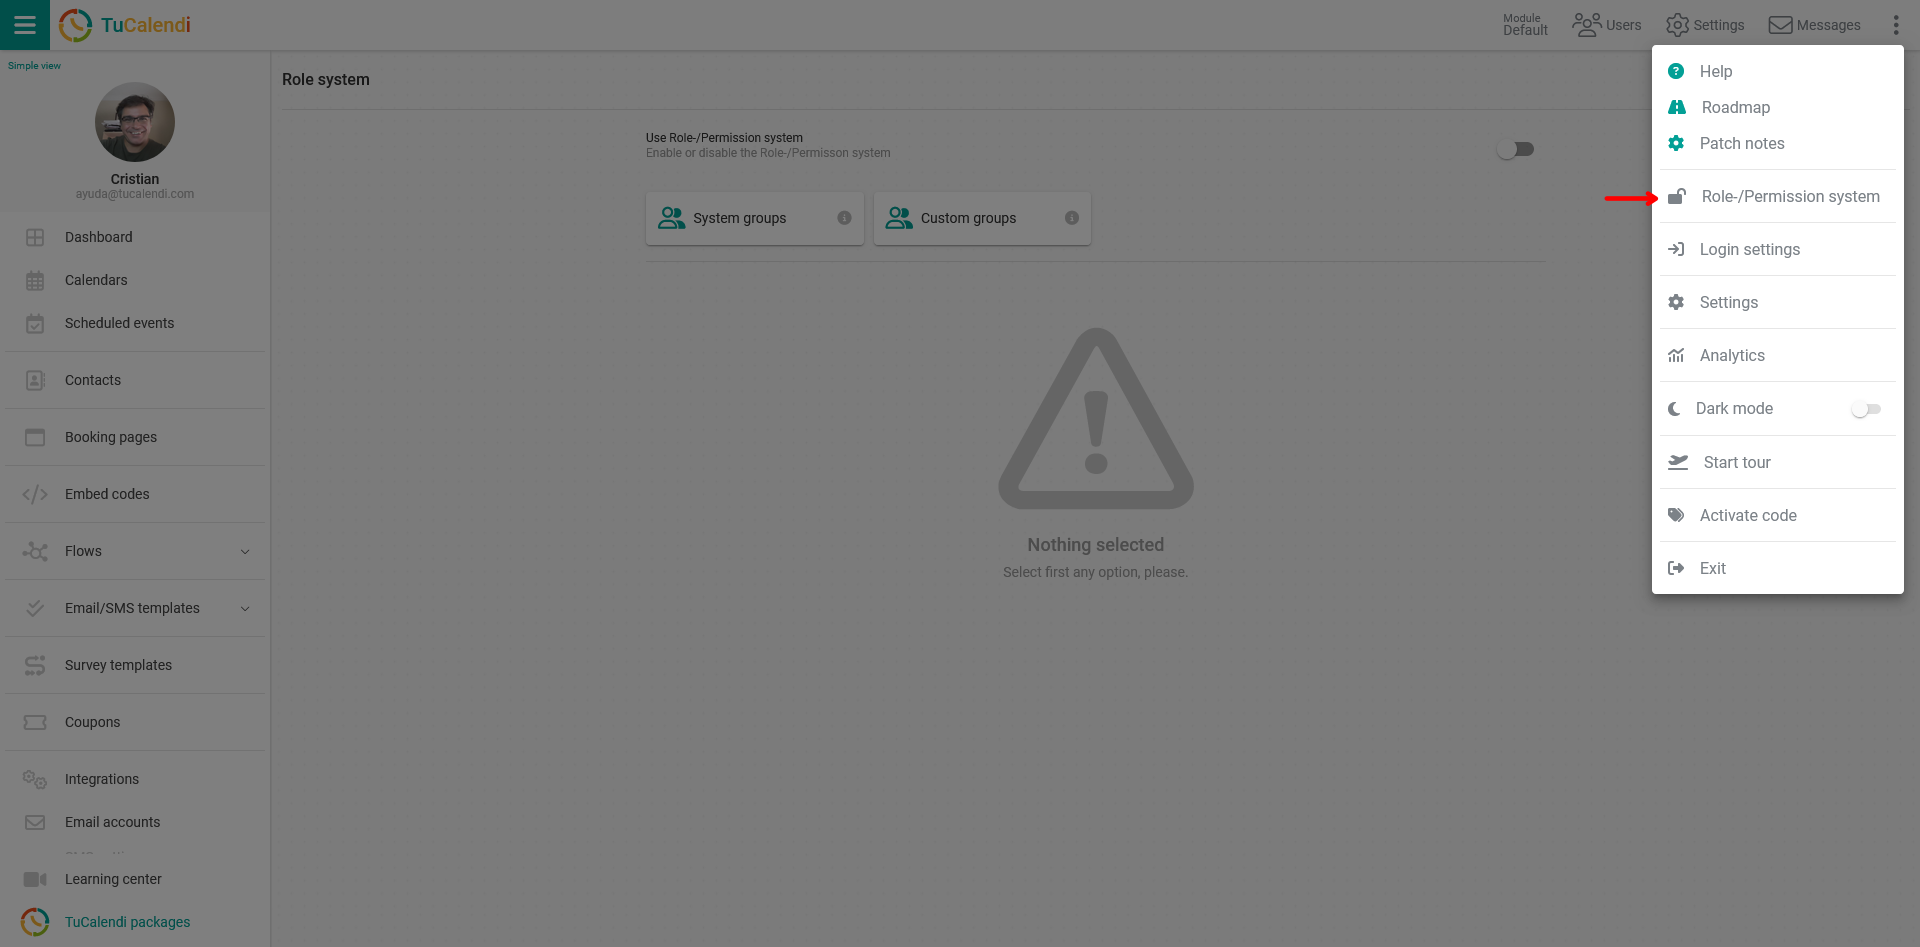
By default, the role system is disabled. If you want to use the role and permissions system, you must enable it.
Activate role and permissions system
In the "Use the role/permission system" field, activate the option so the role system starts working.
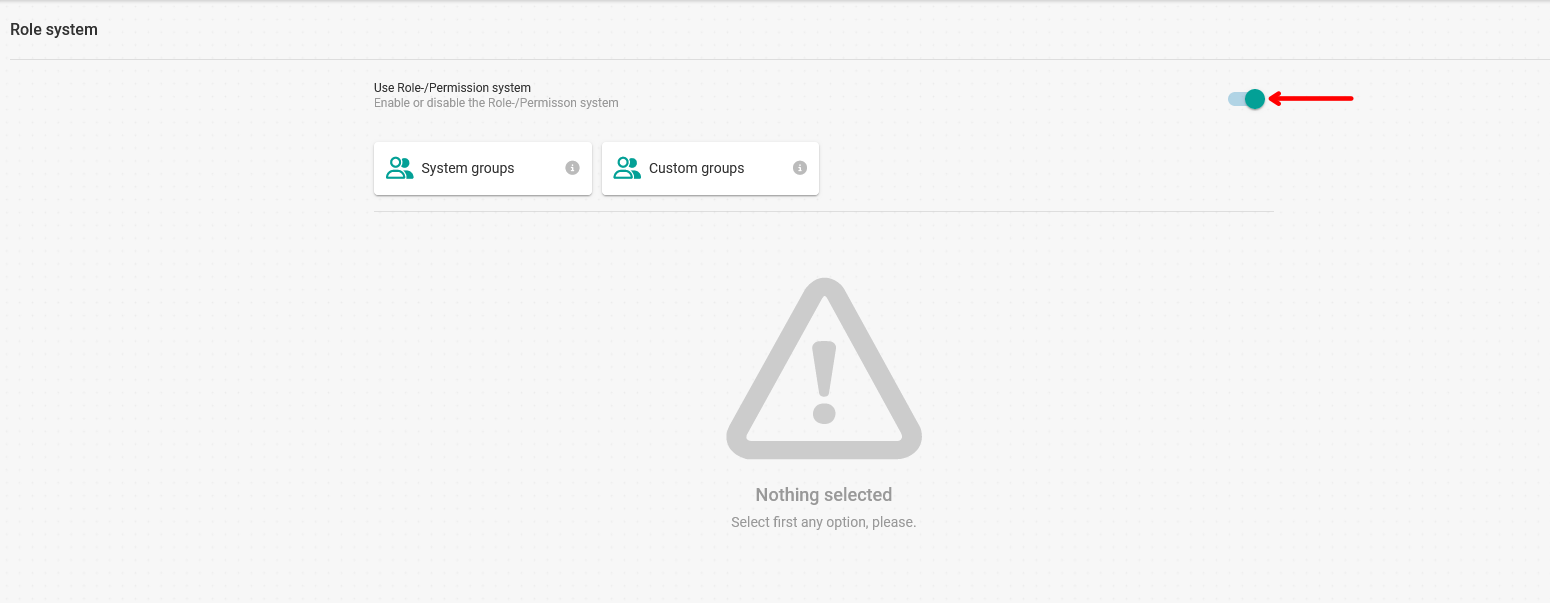
Once the role system has been activated, click on "Custom groups":
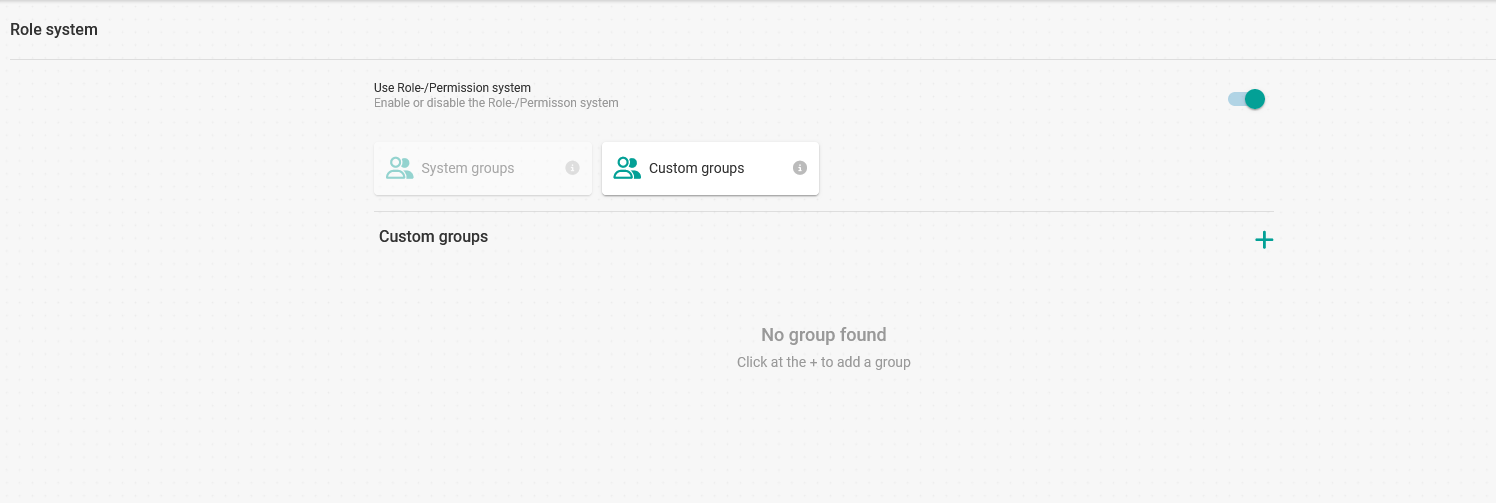
No custom groups have been created yet, so none appear.
Create custom groups
To create a custom group, click on "+":
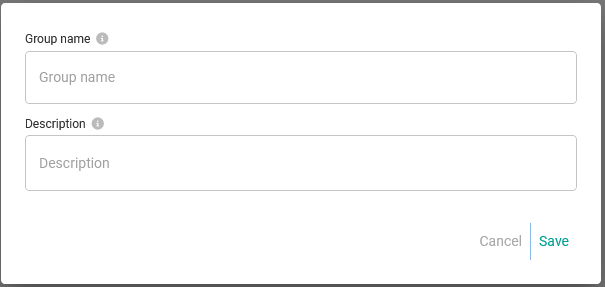
Enter the "Group name". Although it is optional, you can also type a "Description" for the group.
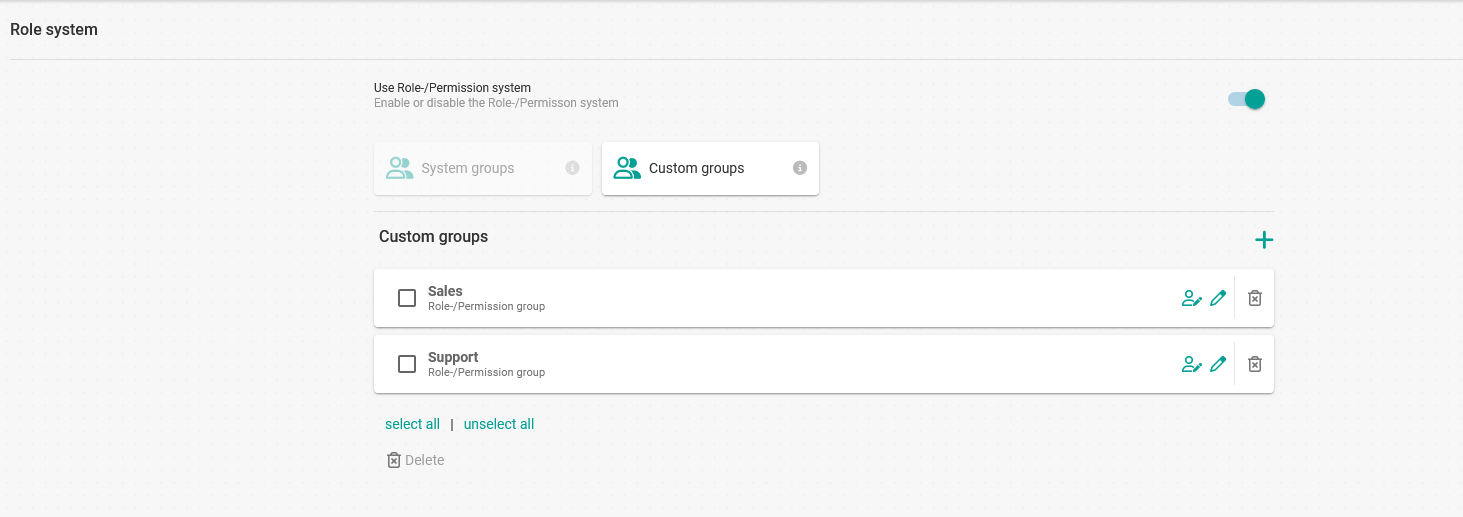
In this example, two custom groups have been created, one for the sales team and one for the marketing team.
Each group has three options:
- Add users.
- Edit the group. Allows you to change the group name and description.
- Delete the group.
Next, you need to add the users that belong to each custom group.
Adding users to a custom group
Click on the "Users icon" of one of the groups:

Click "Add user" to select the users that will belong to this group:
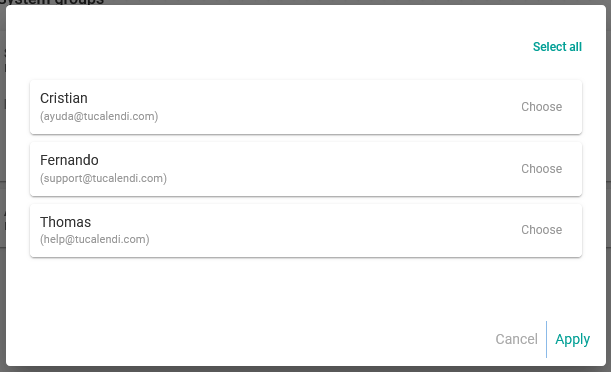
Choose the users and click "Apply".
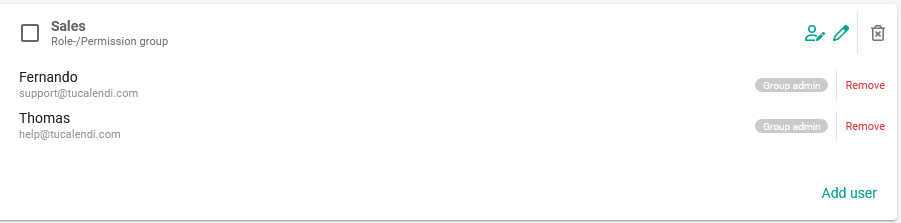
Two users have been added: "Fernando" and "Thomas".
At the moment, both Fernando and Thomas have the role of basic users, meaning they do not have permissions to manage the group and cannot do anything for now.
When you want to remove a user from a custom group, just open the corresponding group and click on "Remove" next to the user you want to remove from the group.
To make one of the users an administrator of the group, just click on "Group admin".
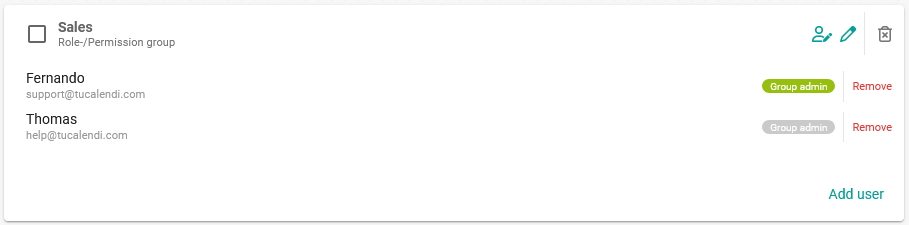
Now "Fernando" is a group admin.
Custom group admins are users who can manage the group, creating calendars, events and giving privileges to the different users that belong to the group.
Proceed the same way for the rest of the groups.
The next step is to give privileges to users who are not group administrators.