
By creating a smart survey with routing, you can add different fields to the survey: questions, informative fields, extra options to change the meeting duration or the amount to be charged, the users who will attend the meeting and the corresponding event. This way, you create an intelligent flow in the survey that your customers fill in to make a booking.
We have improved the visual editor to make it easier to add survey fields and connect them to create the flow.
Log in to your TuCalendi account with your username and password. Go to the "Survey Templates" option:
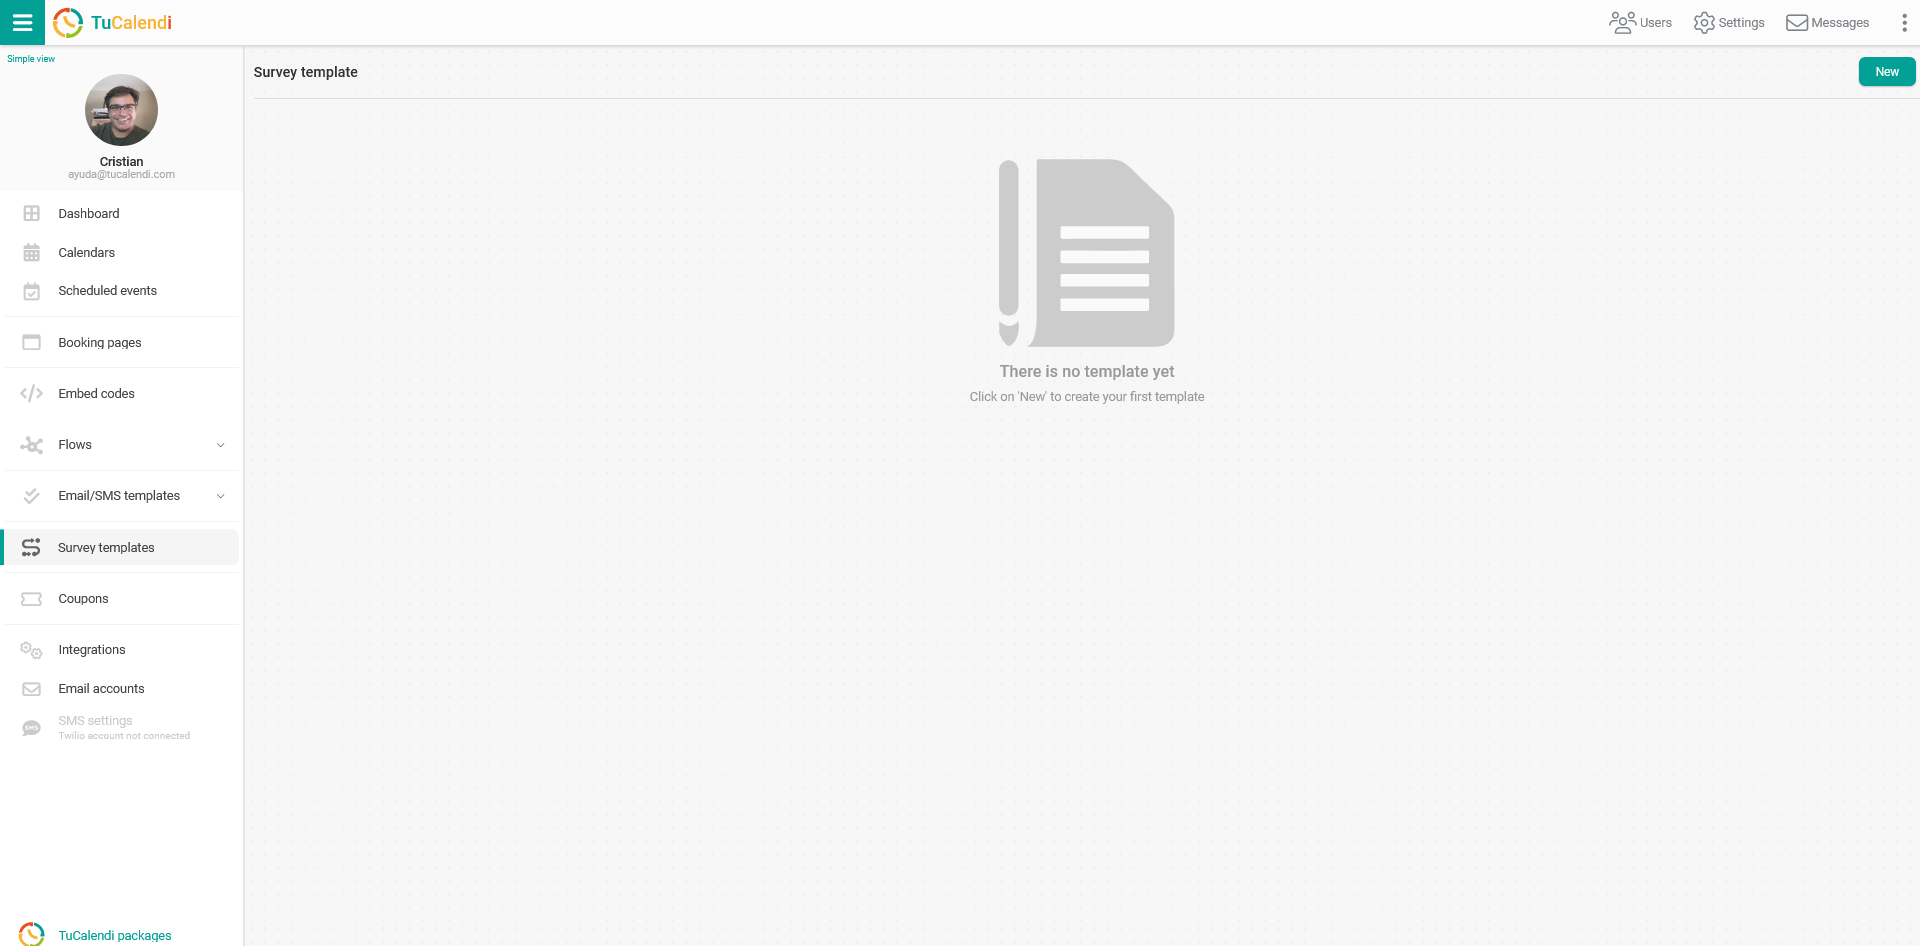
Click the "New" button to choose the type of survey you want to create.
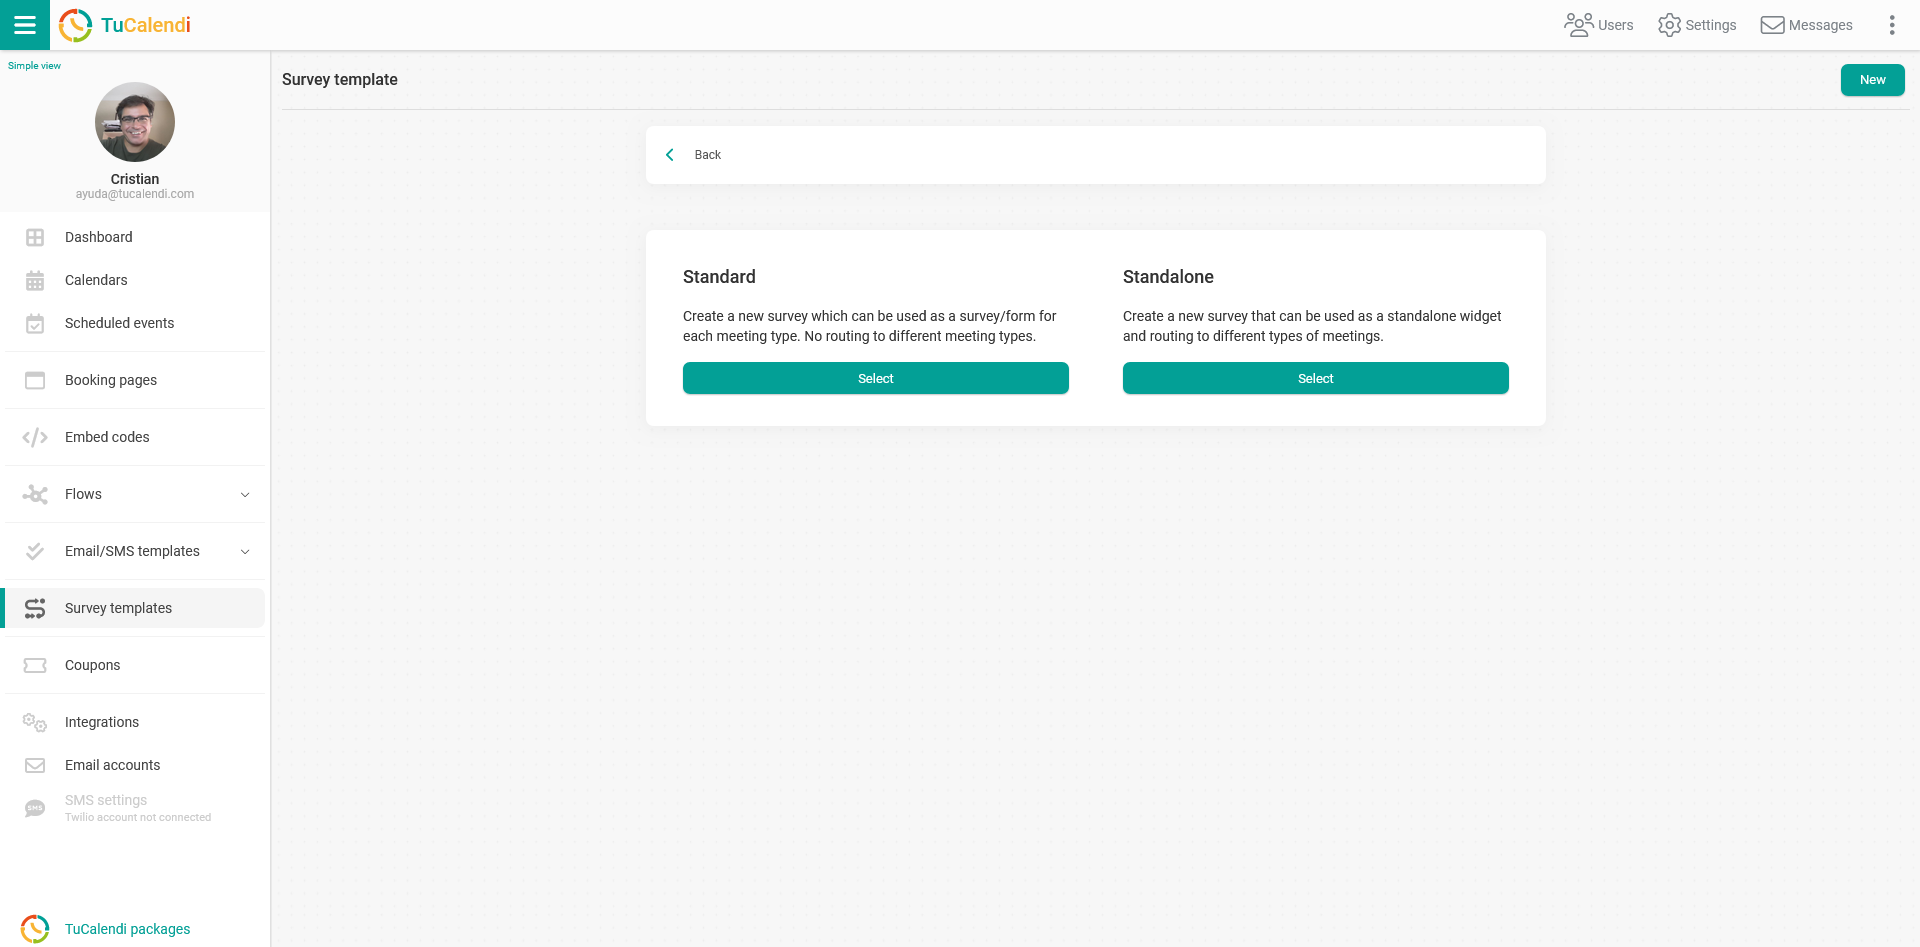
Since we are going to create the smart survey with routing using the "Standalone" option, click the "Select" button.
You will enter the survey flow editor:
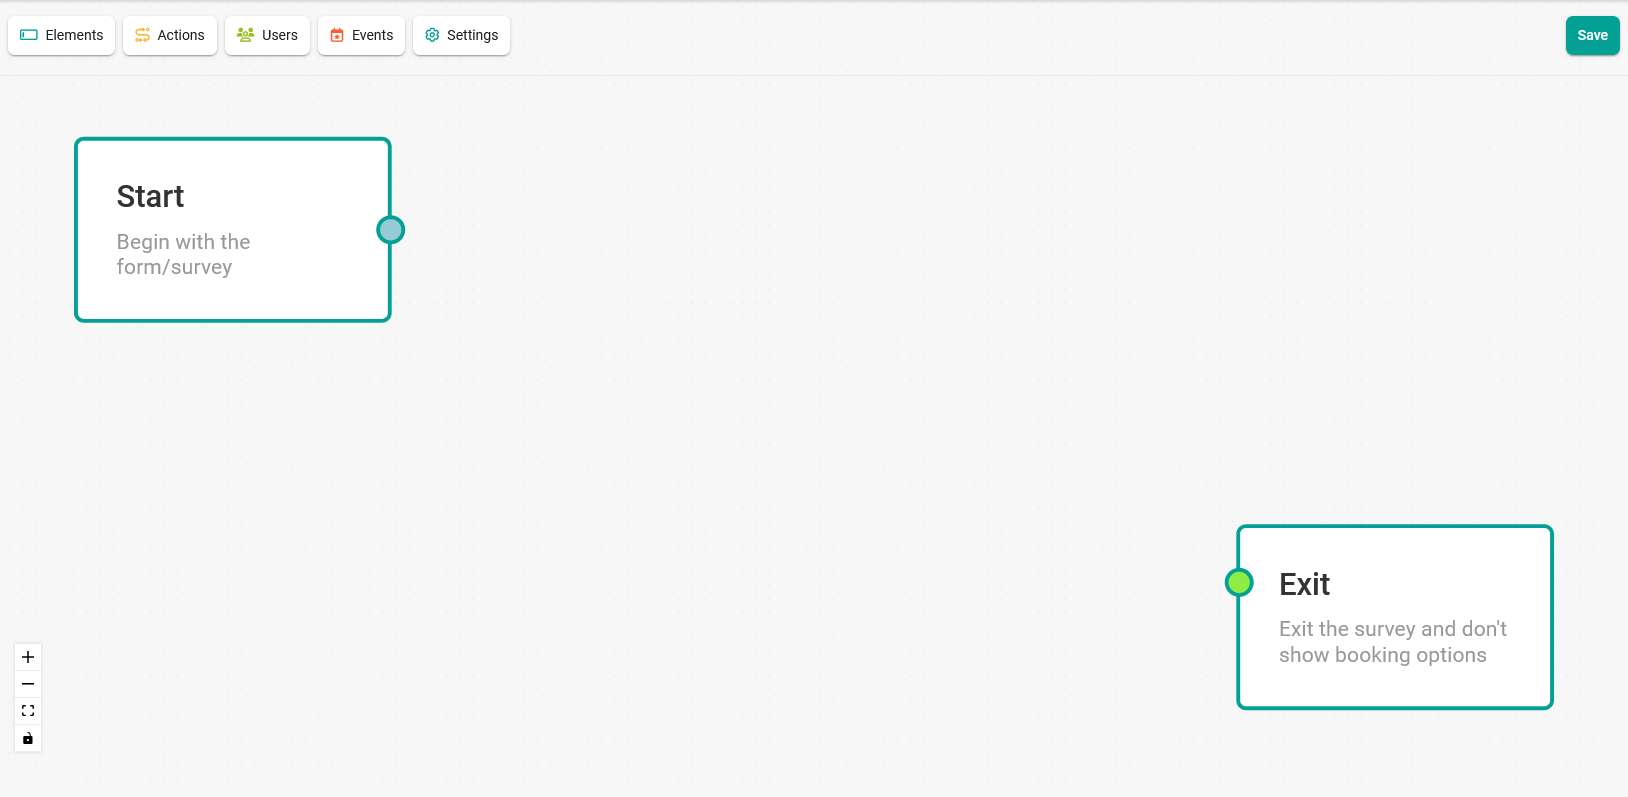
In the upper left part of the survey editor, there are buttons that let you select and add the different options to the survey flow.
- Survey items button: shows the different elements available to include in the survey.
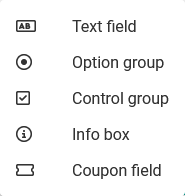
- Actions button: shows the possible actions you can add to the survey.
- Users button: shows the users available to assign to the survey.

- Events button: shows all the events that can be routed in the survey based on the answers.
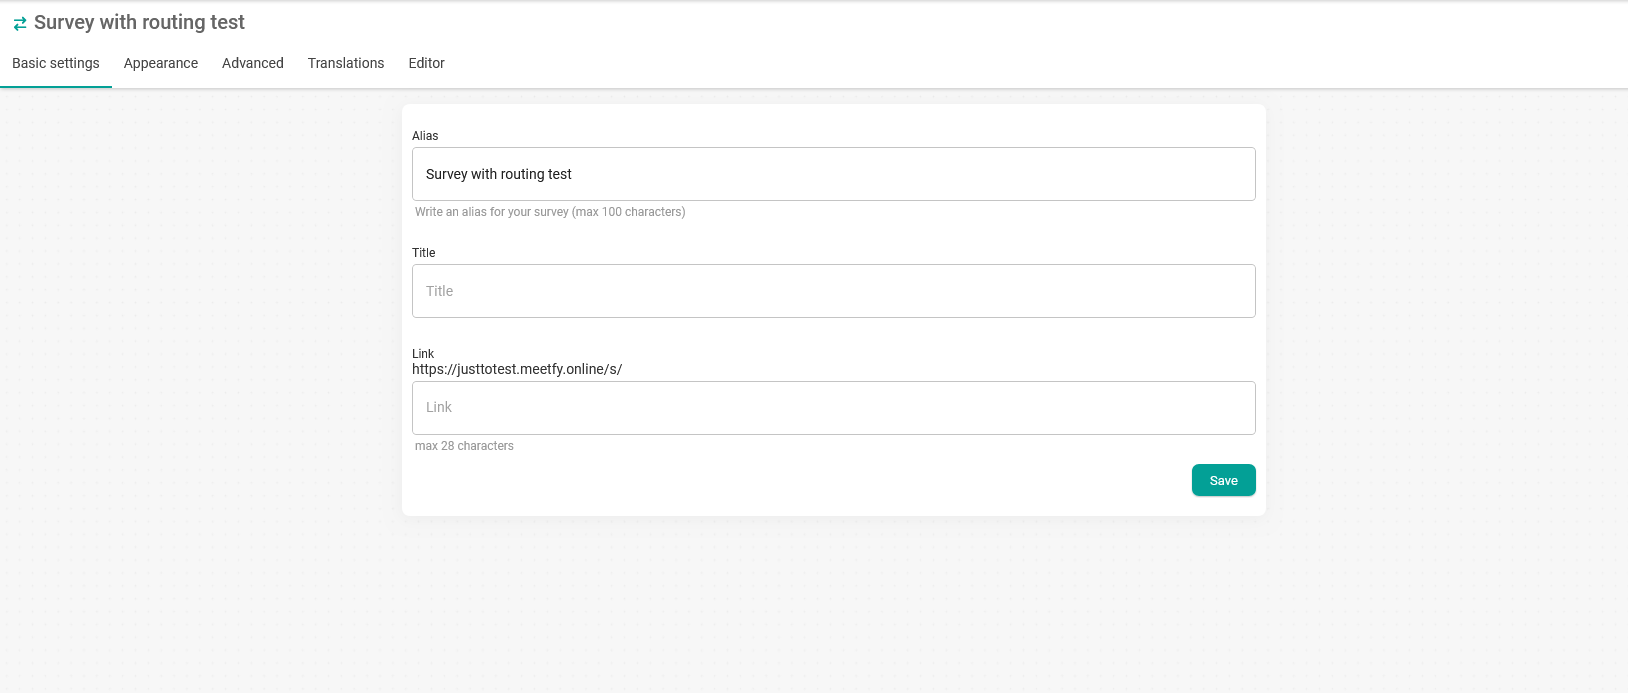
- Settings button: gives you access to the survey settings.
Simply click each button and then follow these steps:
- Select the option you want to add to the flow.
- Fill in the required information for each survey field.
- Connect the flow.
The result is a dynamic flow that leads to booking the corresponding event type:
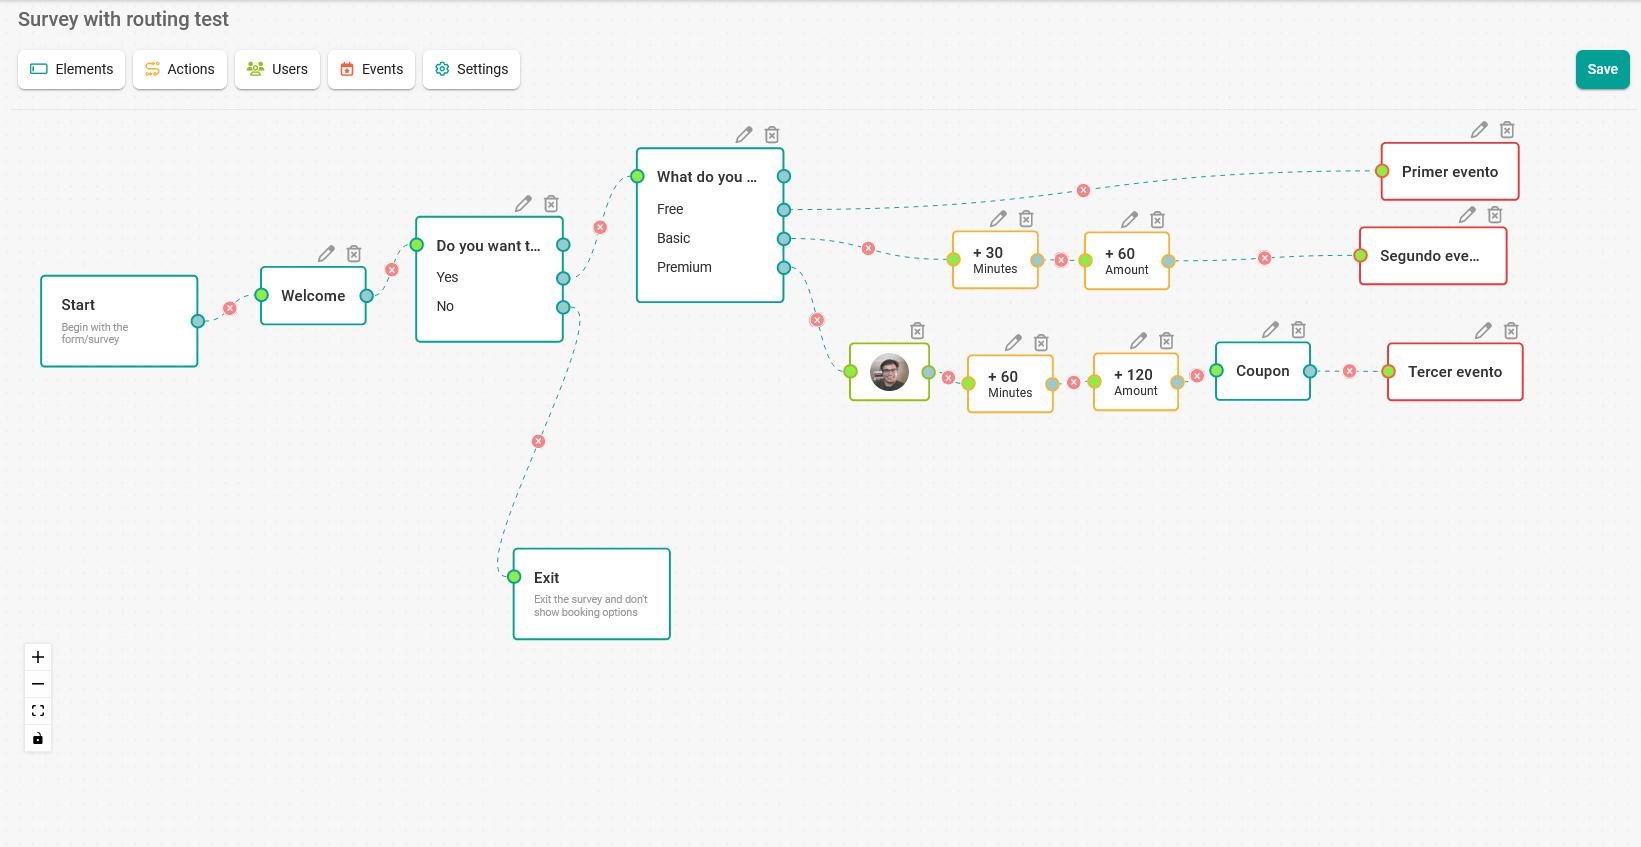
IMPORTANT: When you add a field to the survey flow, you must connect each field by linking the start and end points. To connect the boxes, click the point on the right of the start box, keep the mouse button pressed and drag the line to the point on the left of the box you want to connect.
When you have created the flow, click the "Save" button:
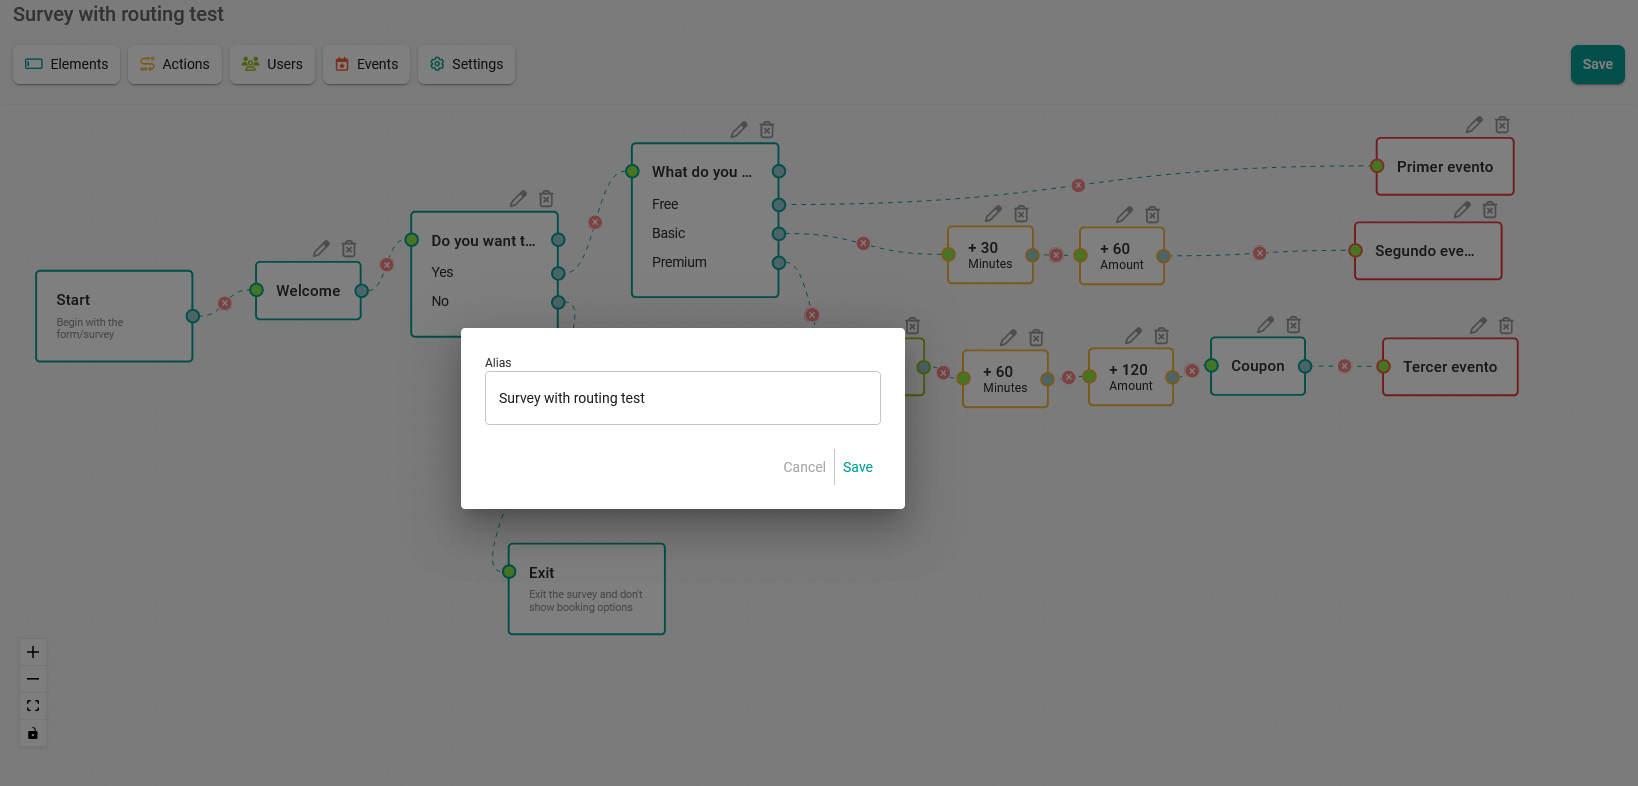
Enter the name or alias of the survey and click "Save", so the survey you created is saved and appears in your list of surveys.
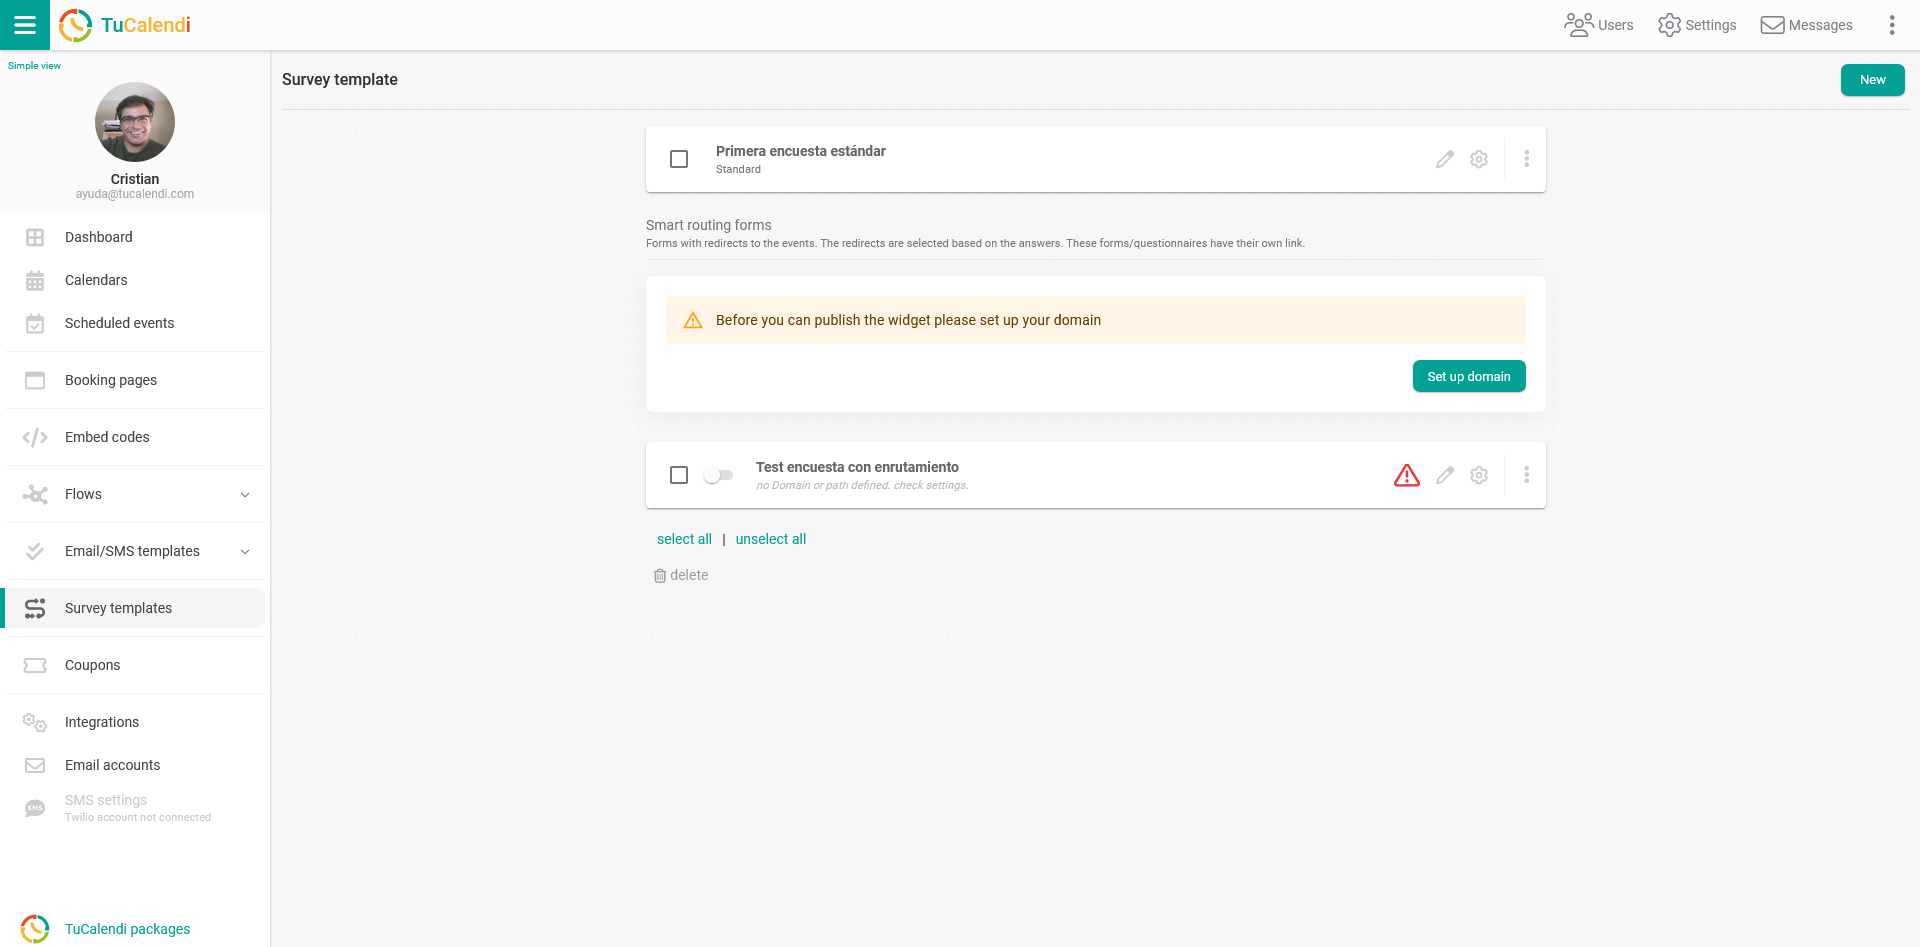
In this case, since we have not yet created the domain on Meetfy.online, which is mandatory for surveys with routing to work correctly, a warning message appears informing you that the domain must be created on Meetfy.online for the survey to be operational.
Once the domain has been created on Meetfy.online, or if you created it previously, the "Survey Templates" menu shows the created surveys as follows:
- At the top, the "Standard" surveys.
- At the bottom, the current domain for the booking page and the surveys with "Routing".
Right after you create the survey with routing, it is not yet operational, because you still need to define the path to the survey.

Click the red triangle to access the settings needed to start the survey with routing:
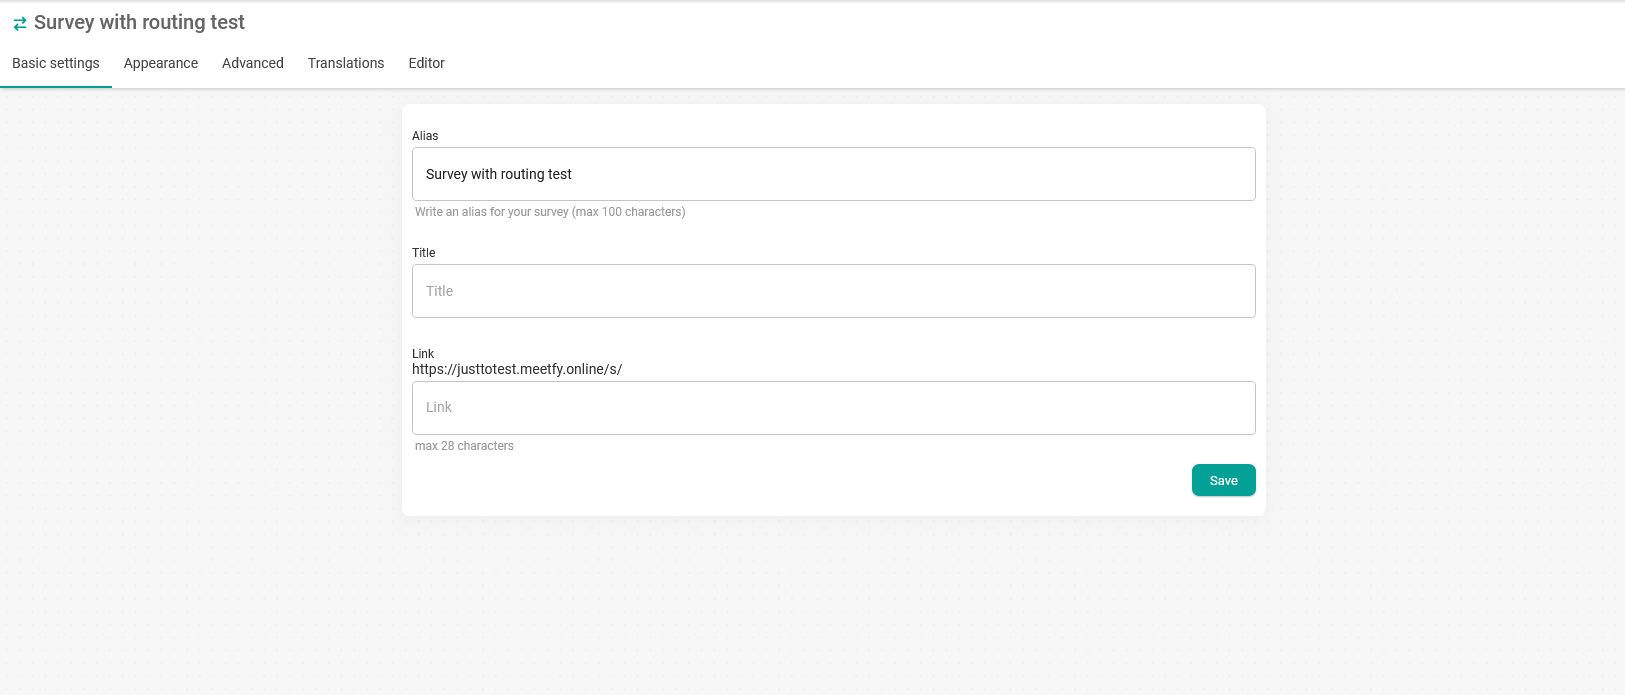
In the "Link" field, enter the path to the survey and click the "Save" button. In our case, we have named it demo.
When you return to the list of surveys, you will see that the path to the survey has been created, and you just need to move the switch to enable the survey with routing and make it available from the link.
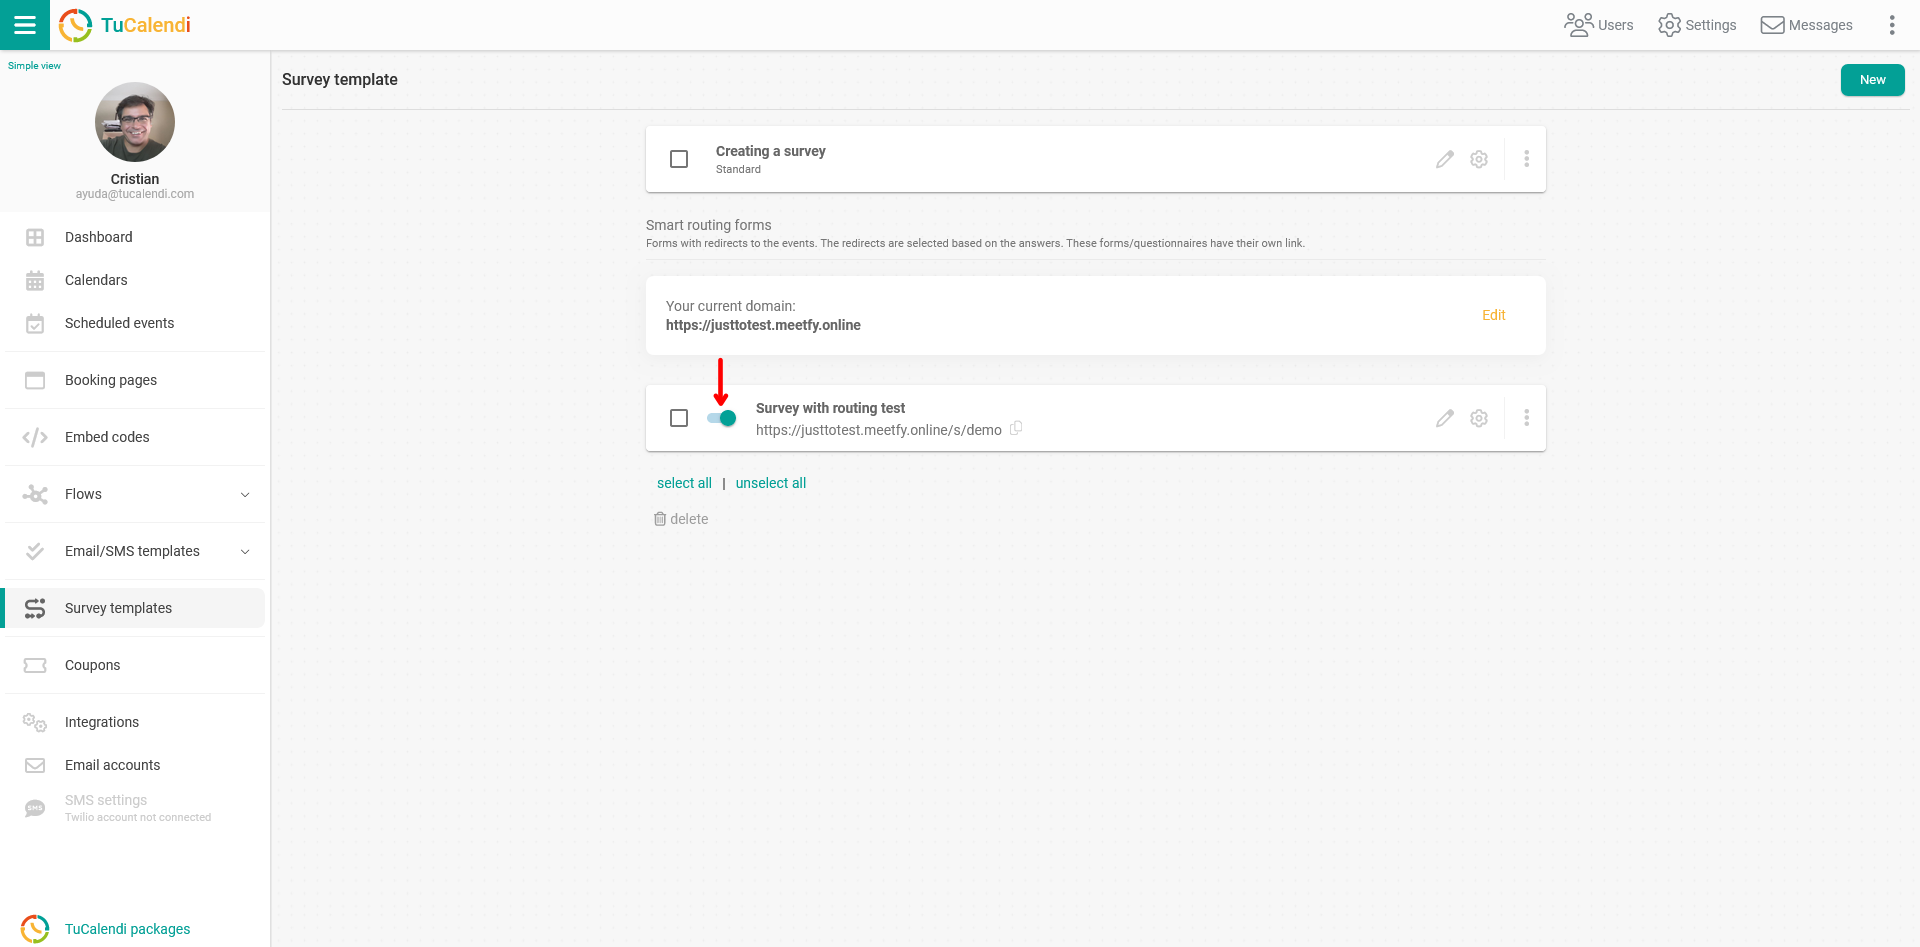
From now on, the survey with routing is available from the link.
