
For a workflow you've created to be operational, you need to assign the events that you want to use this workflow.
IMPORTANT: The same event cannot be assigned to two different workflows.
Once the workflow has been created, let's see how to assign events to it.
Log in to TuCalendi with your username and password. In the side menu, click on "Workflows":
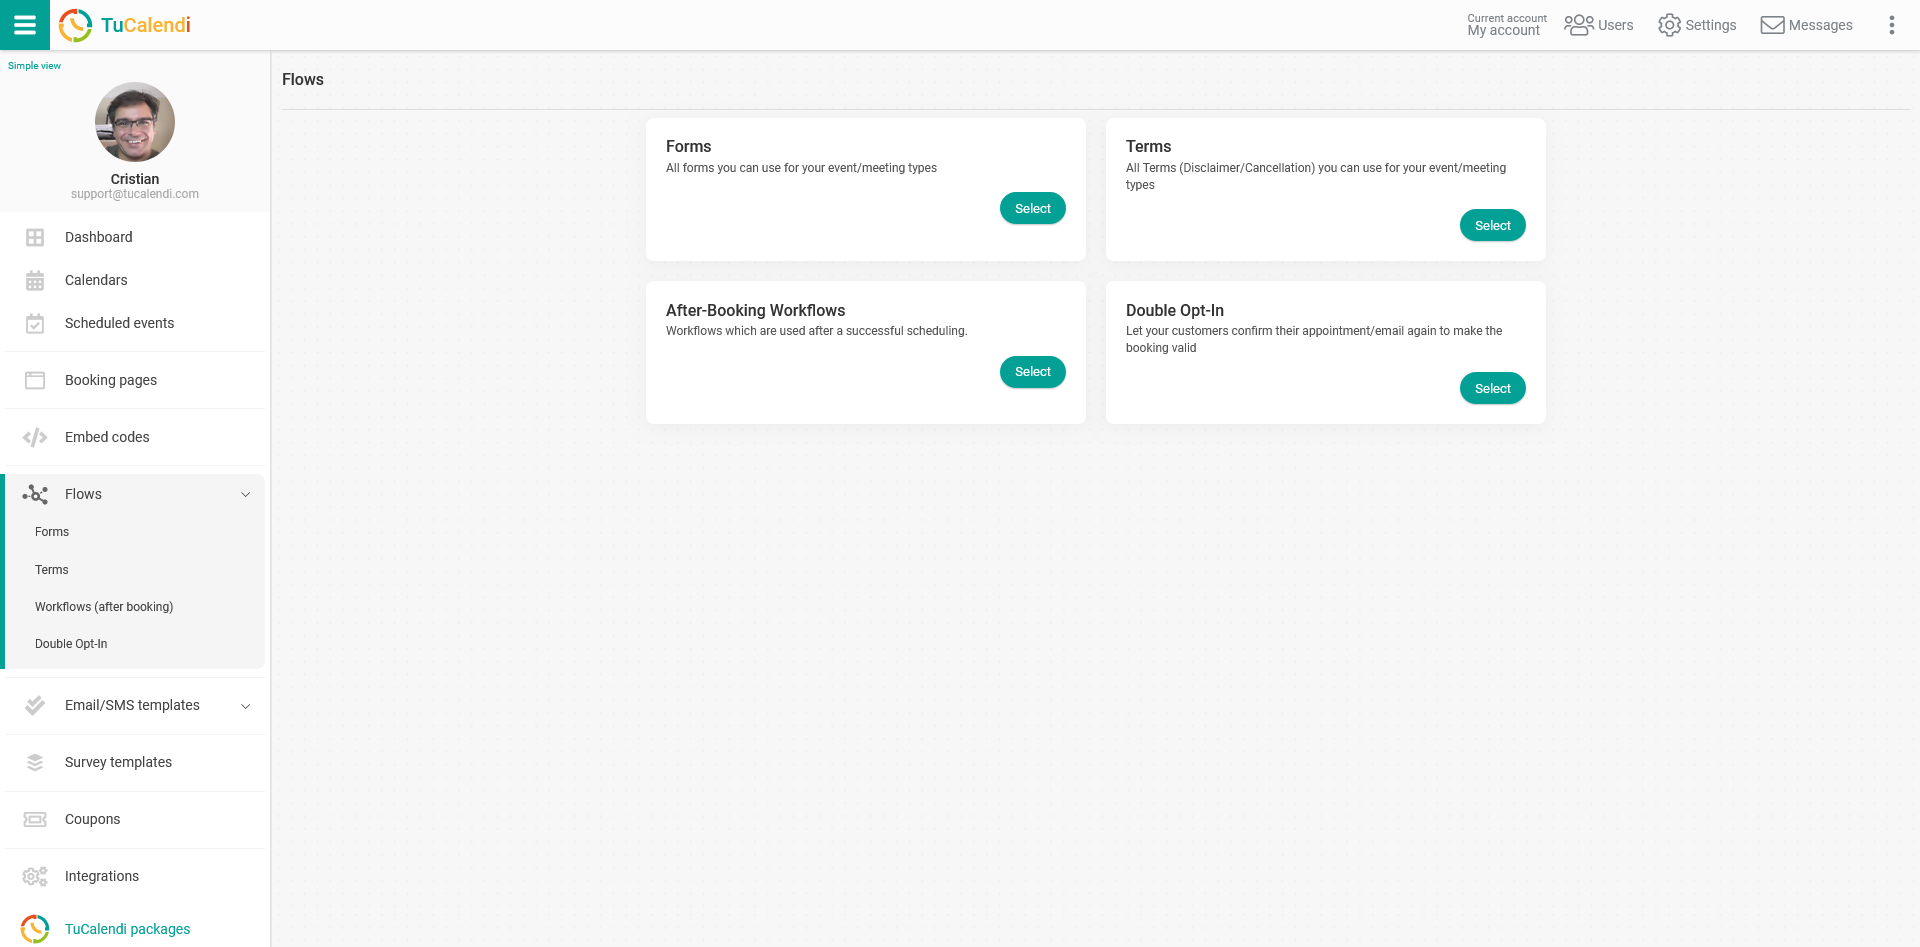
In the "Workflows (after booking)" option, click on "Select":
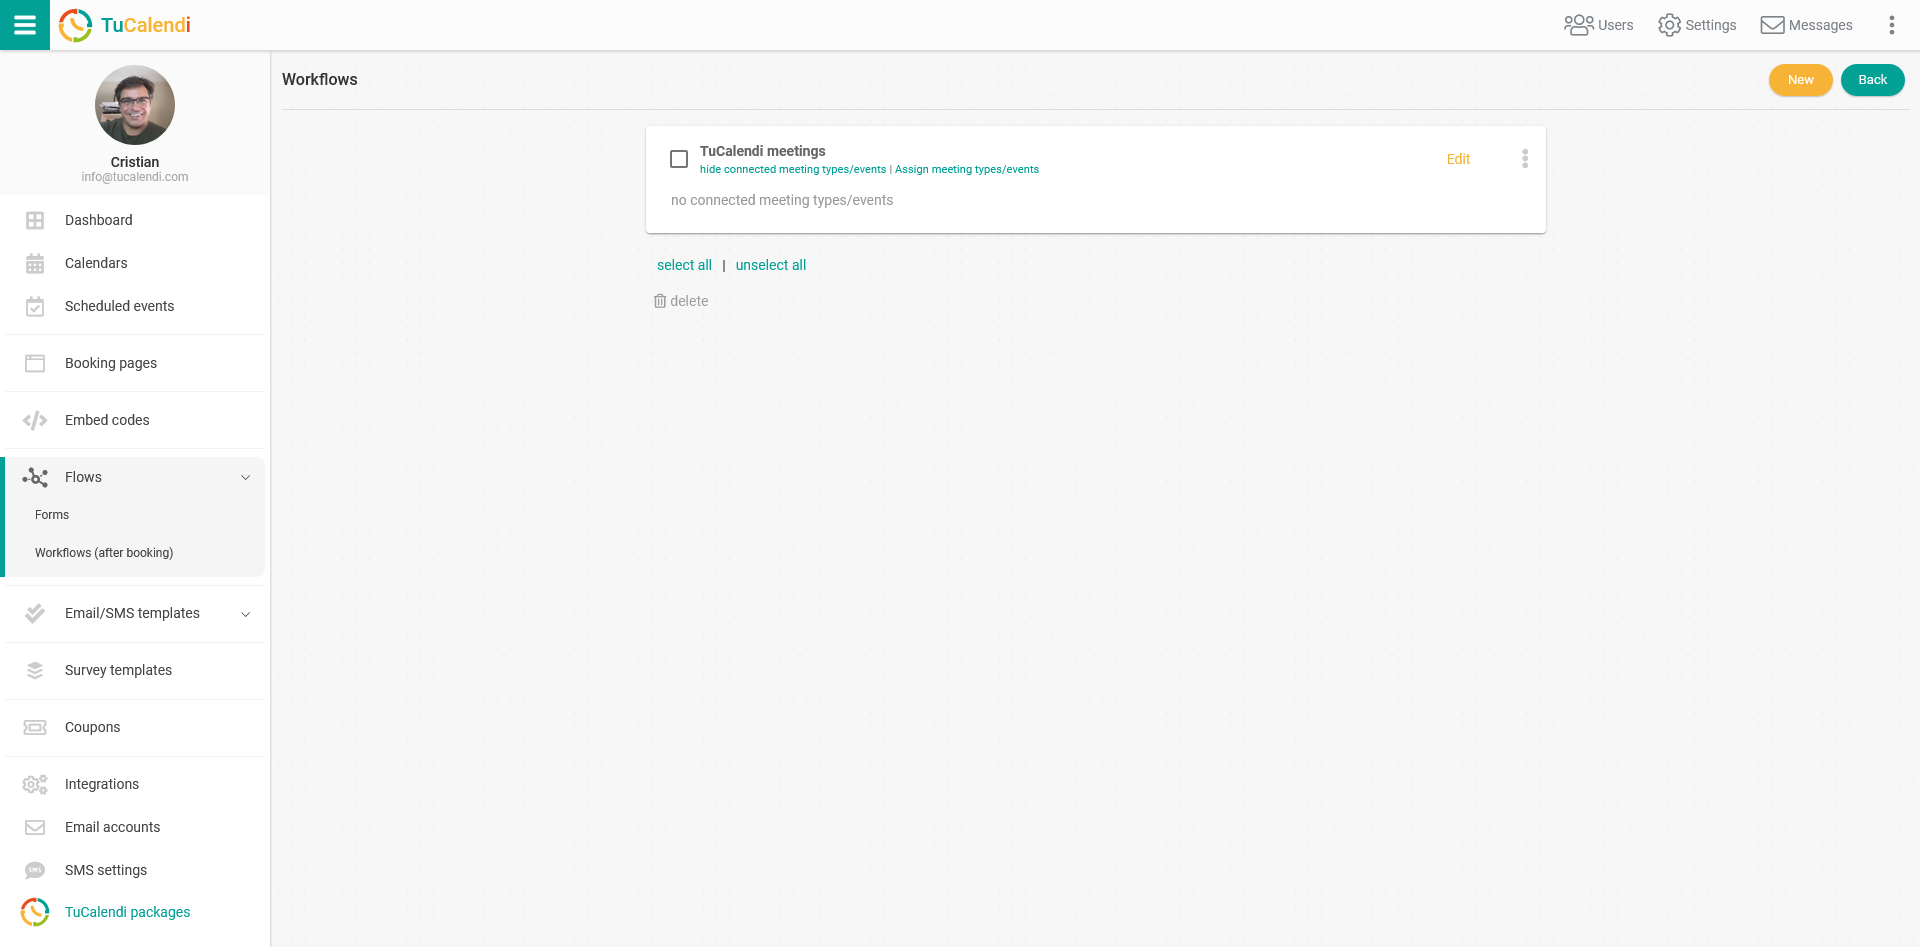
Since the workflow has already been created, you now need to assign the desired events to it to make it operational.
Click on the three vertical dots in the workflow:
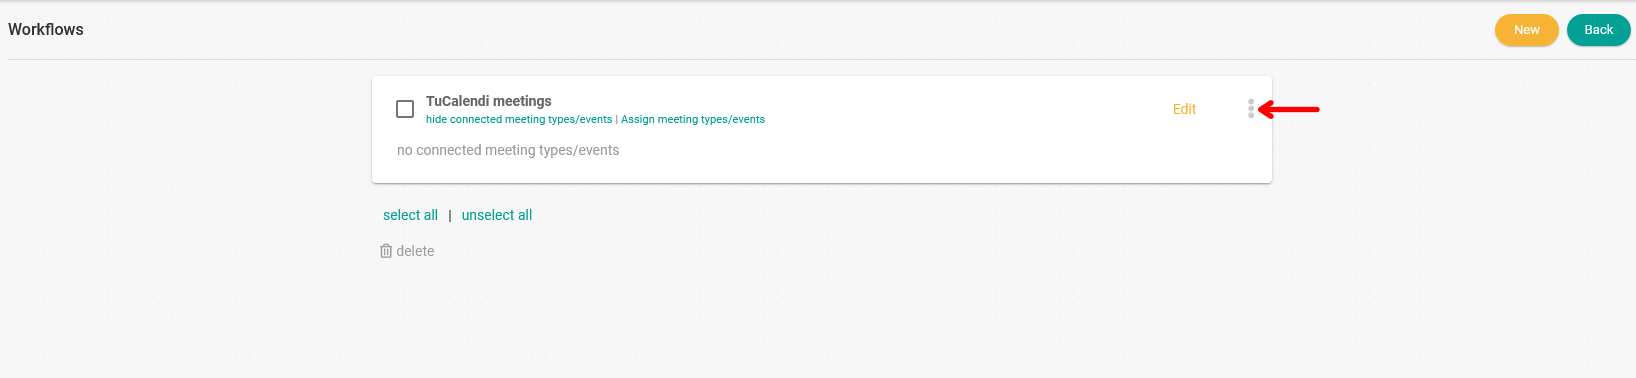
The options menu will be displayed:

Click on "Assign meeting types/events" and the complete list of events you've created in your calendars will appear. You only need to select the events that you want to use the workflow:
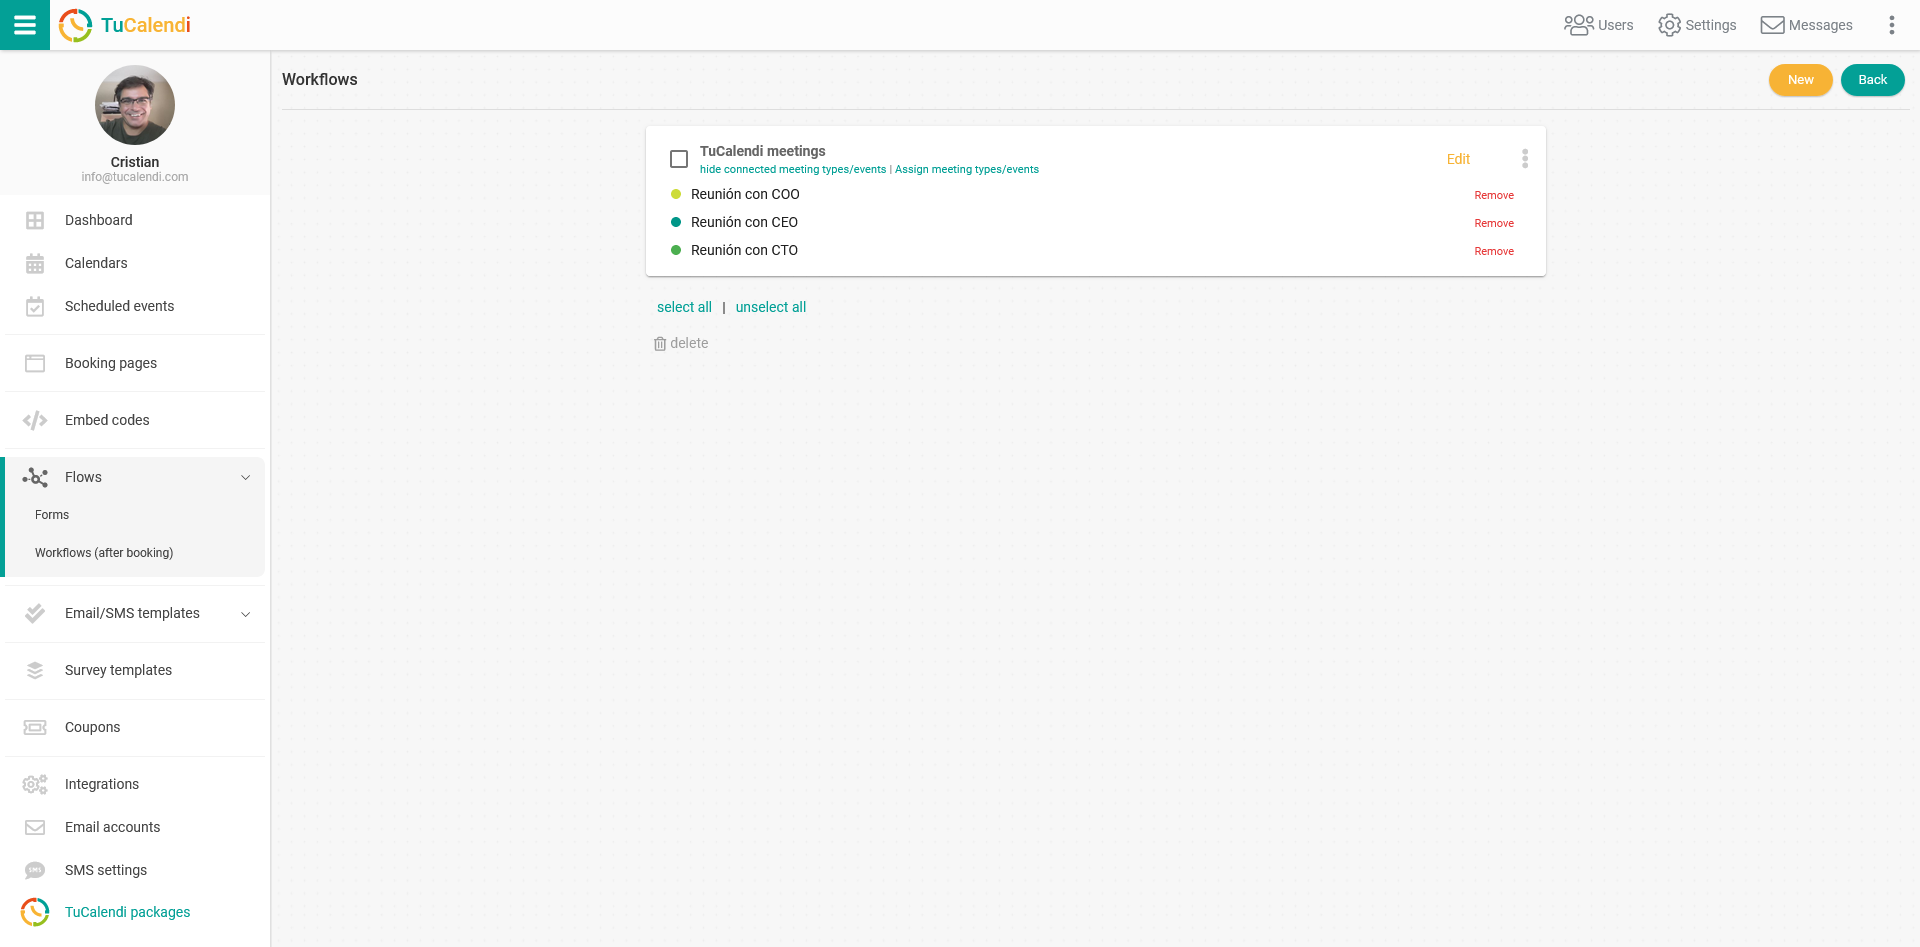
In our case, we want three events from our list to use this workflow, so those are the ones we've assigned.
From now on, whenever someone books a meeting from any of the events assigned to the workflow, the automations included in it will be performed.
You can add or remove events assigned to a workflow at any time.