
In a previous tutorial we explained what TuCalendi workflows are. Now let's see how to create a workflow that runs after a booking has been successfully completed.
Log in to TuCalendi with your username and password. In the side menu, click on "Flows":
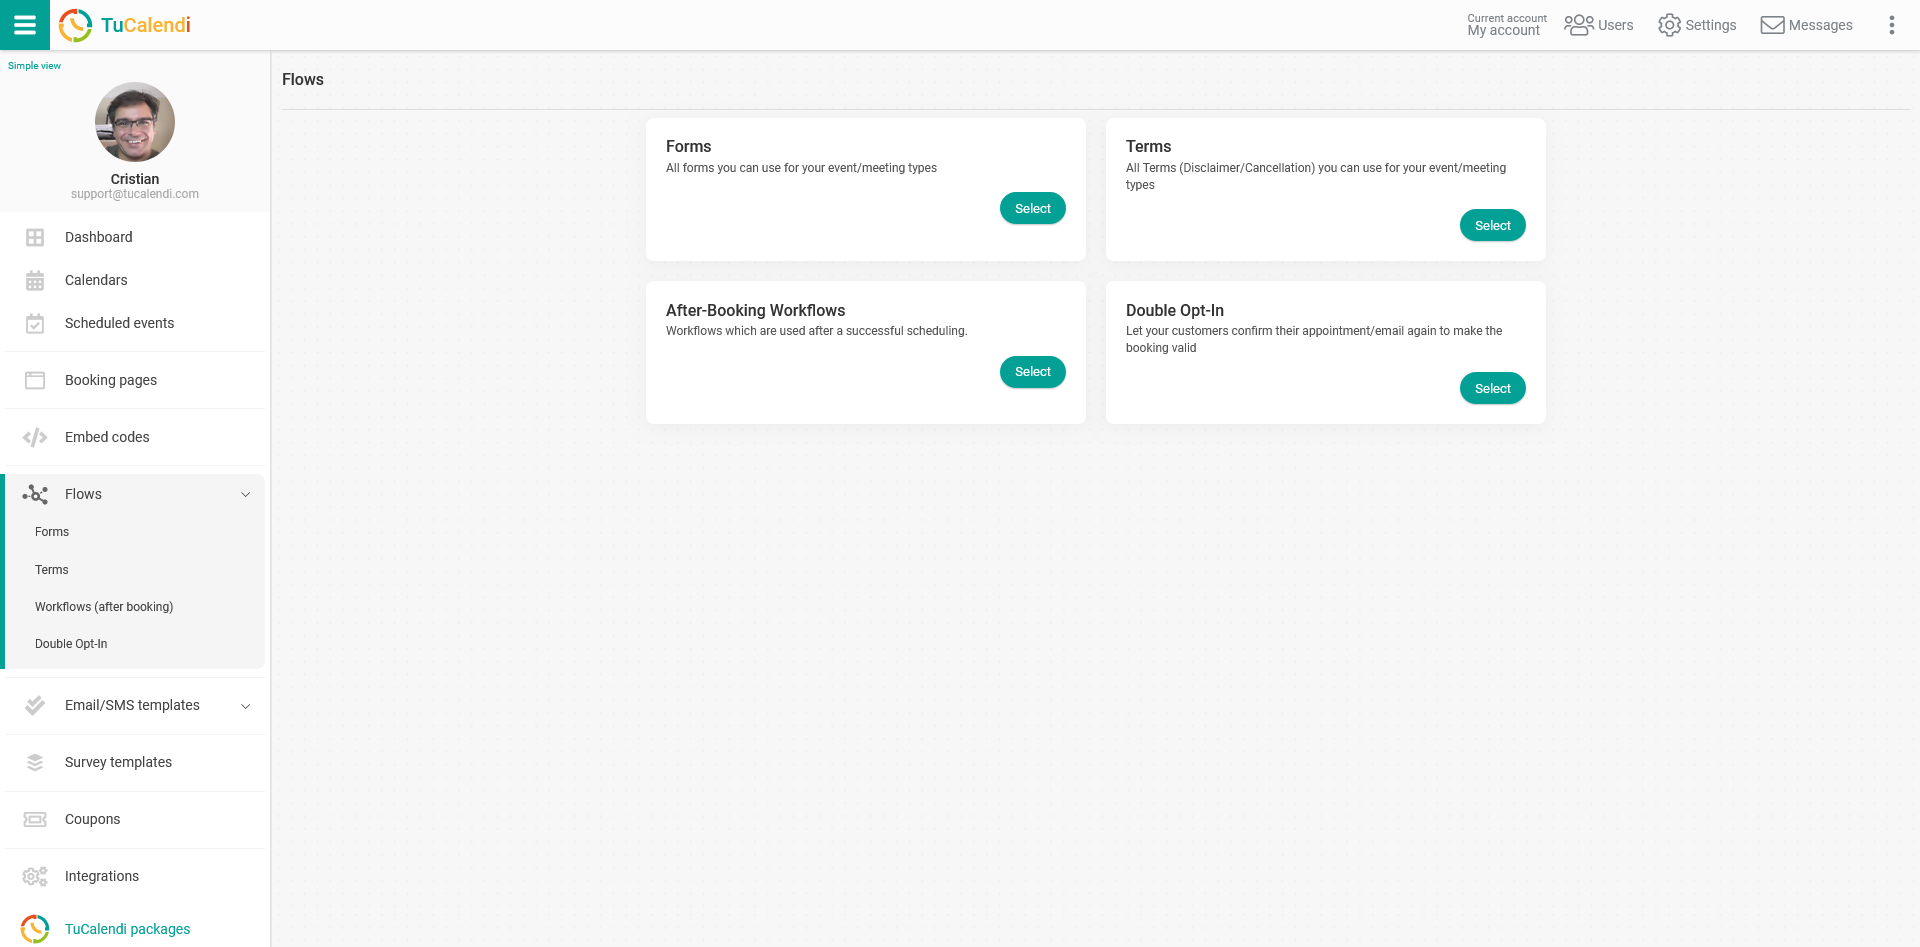
Under the option "Workflows (after booking)", click on "Select":
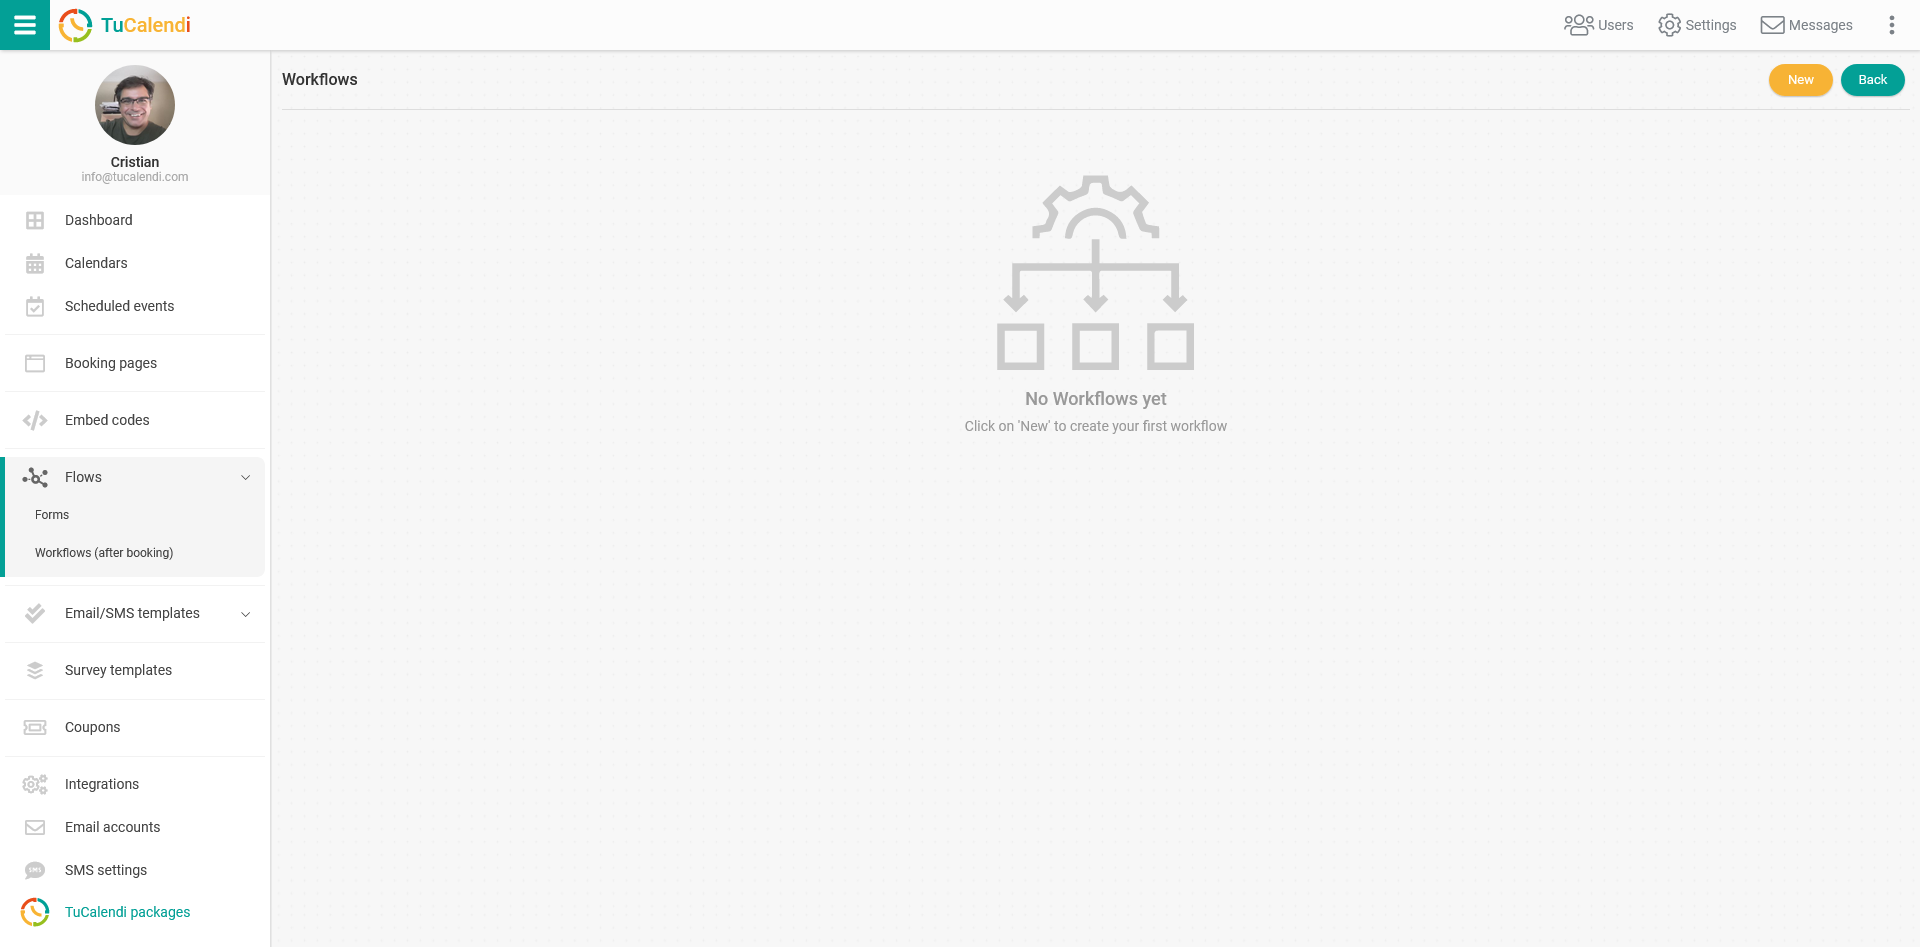
Since no workflow has been created yet, click on "New" to create a workflow.
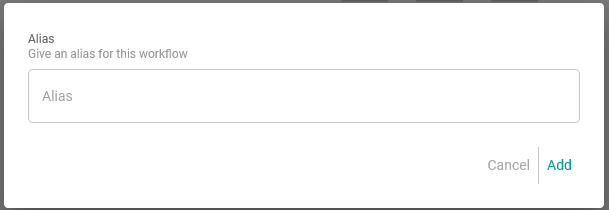
Start by giving a name to the workflow you're going to create. Once you have it, click on "Add".
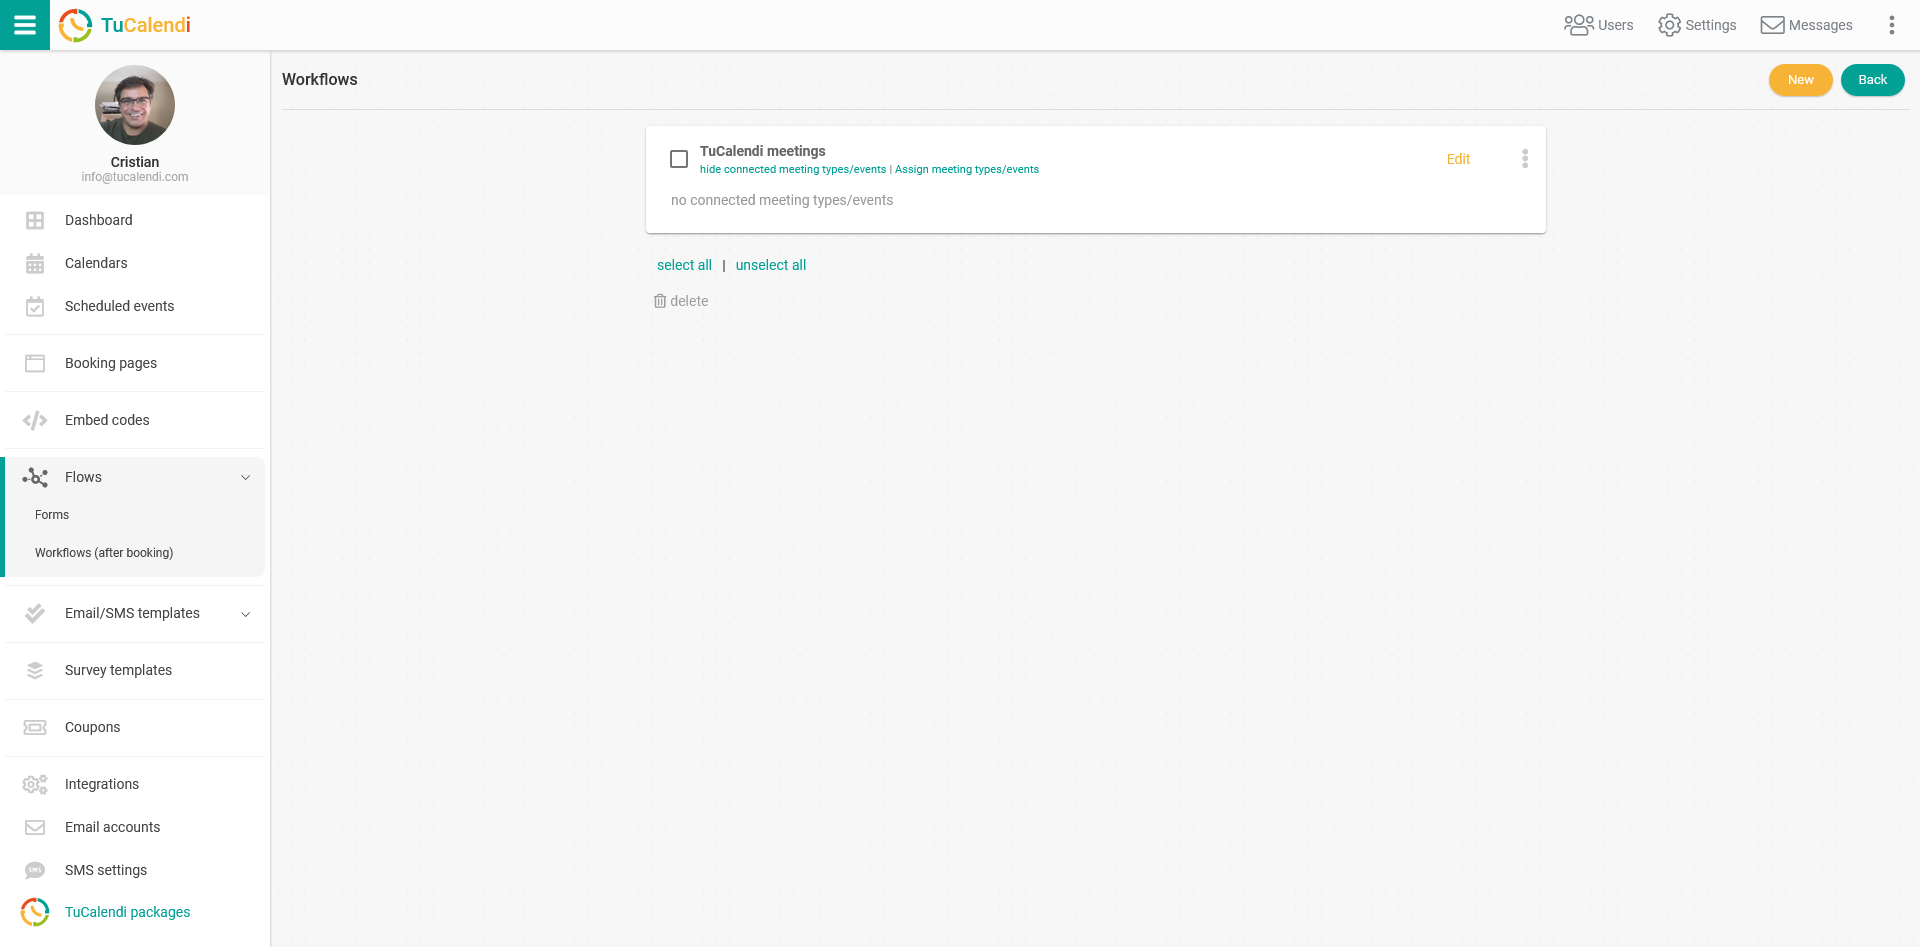
Then click on "Edit" to add the various automations to the workflow you've created.
The workflow doesn't have any automation yet.

Every automation is based on two key concepts:
- Trigger: The event that starts an automation.
- Action: The task that is performed in the automation.
The scheme of an automation is as follows:
When something happens (trigger) do the following task (action).
Trigger
The first step of the automation is to start it when something specific happens.
To start, click on "Add trigger":
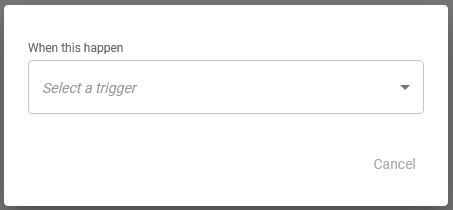
Select the trigger by clicking on the drop-down menu:
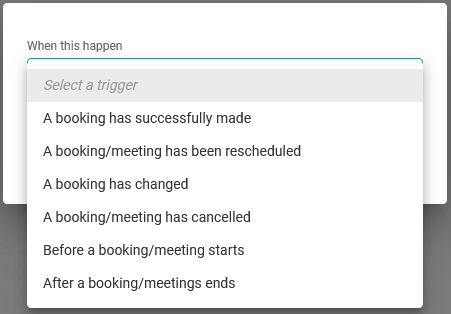
The available triggers are:
- A booking has been successfully made.
- The booking/meeting has been rescheduled.
- A booking has changed.
- A booking/meeting has been canceled.
- Before a booking/meeting starts.
- After a booking/meeting ends.
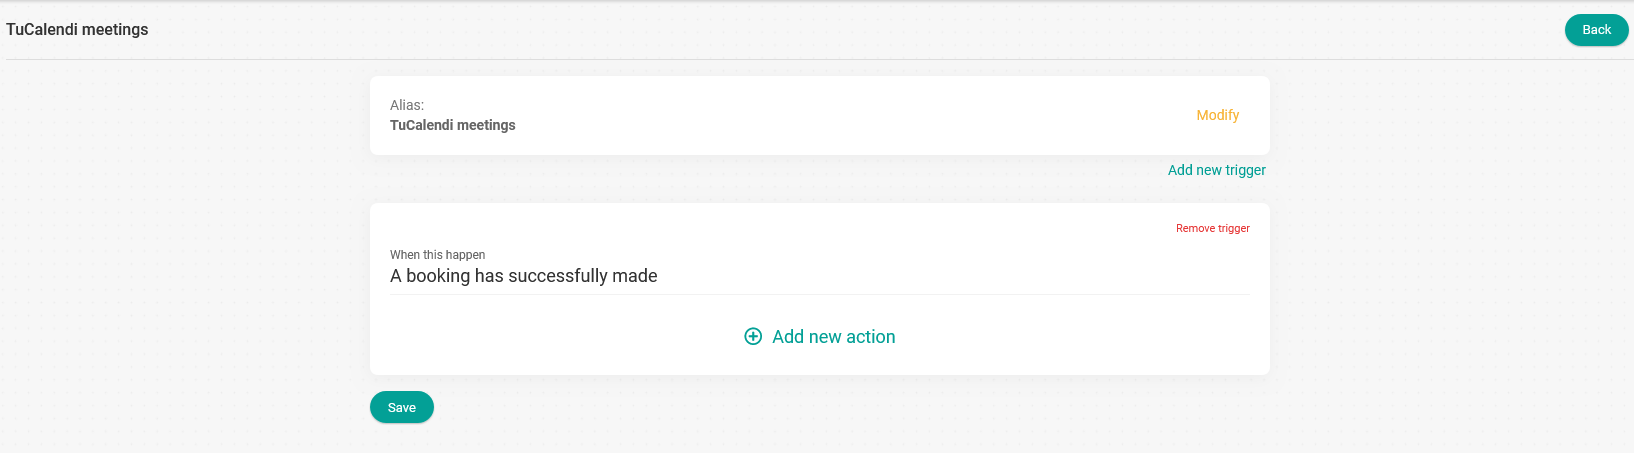
In this case, select the trigger "A booking has successfully made":
Action
The next step in the automation is to define the action that will be performed when a booking has been successfully made.
Click on "Add new action":
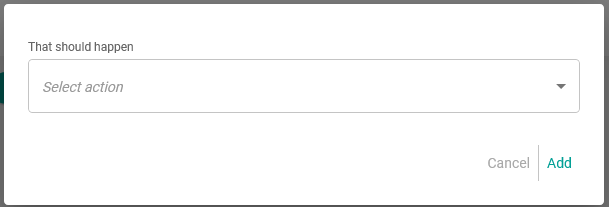
Select the action by clicking on the drop-down menu:
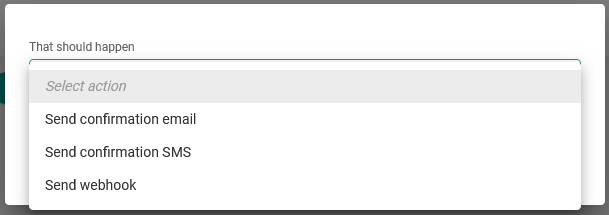
For the trigger "A booking has been made successfully", the available actions are:
- Send confirmation email.
- Send confirmation SMS.
- Send webhook.
In this case, select the action "Send confirmation email":
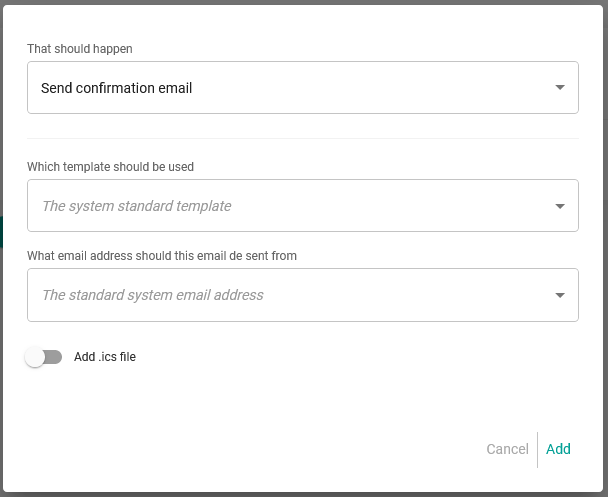
Choose the confirmation template you want to send and the email account the confirmation email will be sent from. You can also activate the "Attach .ics file" option. Then click "Add".
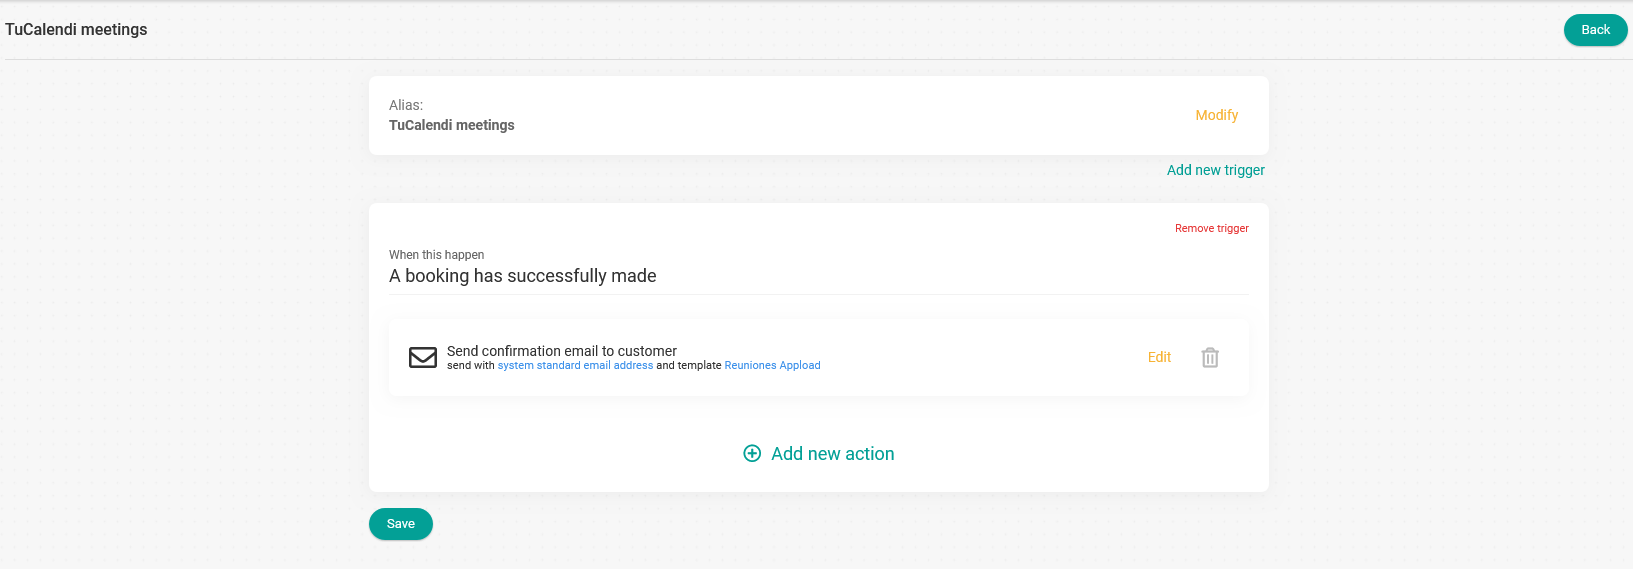
Under the same trigger you can add the different actions available. Just repeat the process by clicking on "Add new action".
When you're done, click on "Save" and the workflow will be saved.
IMPORTANT: You can add all available triggers to the same workflow. In other tutorials we'll show you how to create a workflow with several triggers.
Assign events
The final step to finish the workflow is to assign the events where you want this workflow to be triggered.
Go back to the main workflow menu and click on the three vertical dots:
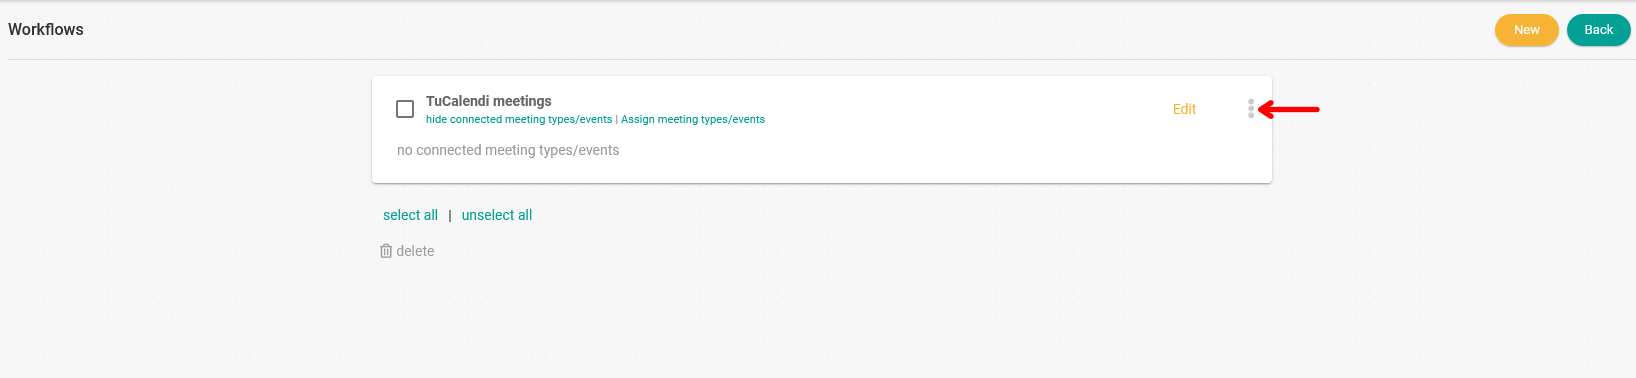
This opens the options menu of the created workflow:
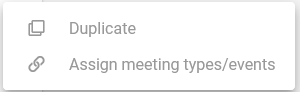
Click on "Assign meeting types/events" and choose the events where you want the workflow to be used.
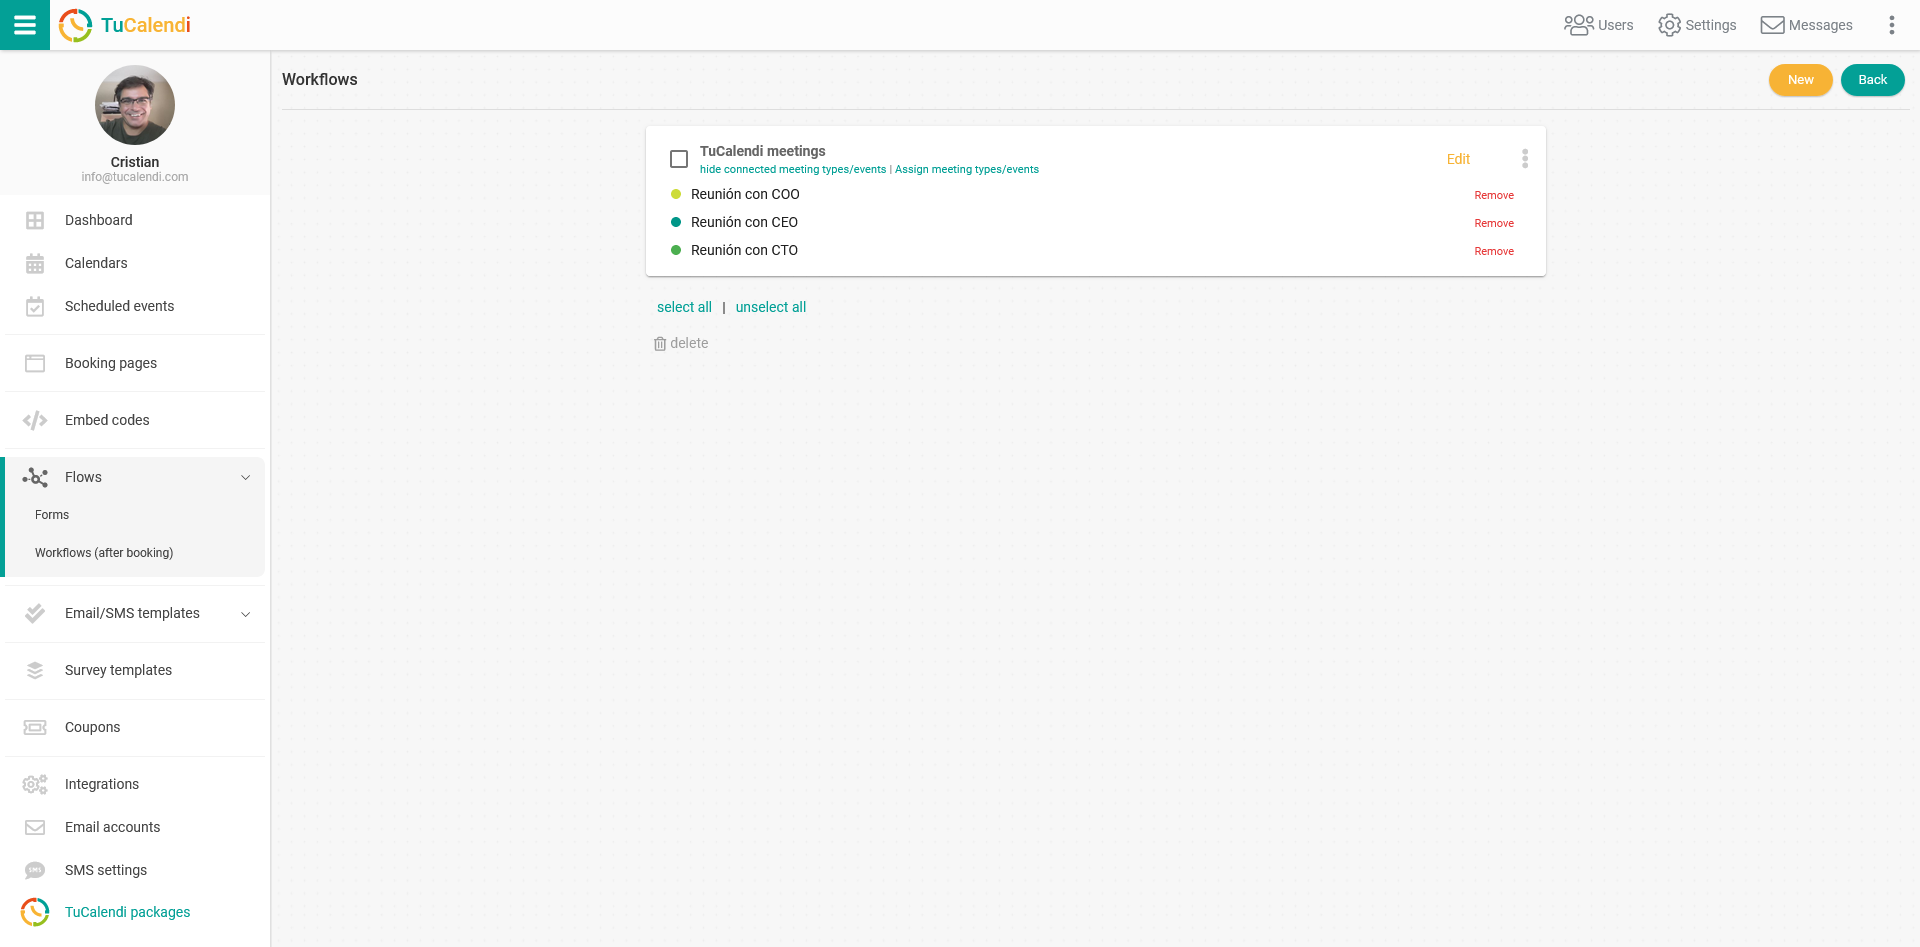
From now on, whenever someone books a meeting from any of the events assigned to the workflow, the automations included in it will be performed.
You can modify the workflow at any time by adding or removing triggers or actions. Of course, you can also add or remove assigned events.