
Adding the different fields to the survey with questions and answers that your users can fill in from the online calendar before booking, providing information or explanations during the survey and setting up the flow between the different survey options, is done in a very simple and visual way in TuCalendi.
In addition, from the survey you can add the user of your team to whom you want the appointment to be assigned, based on the customers' answers throughout the survey.
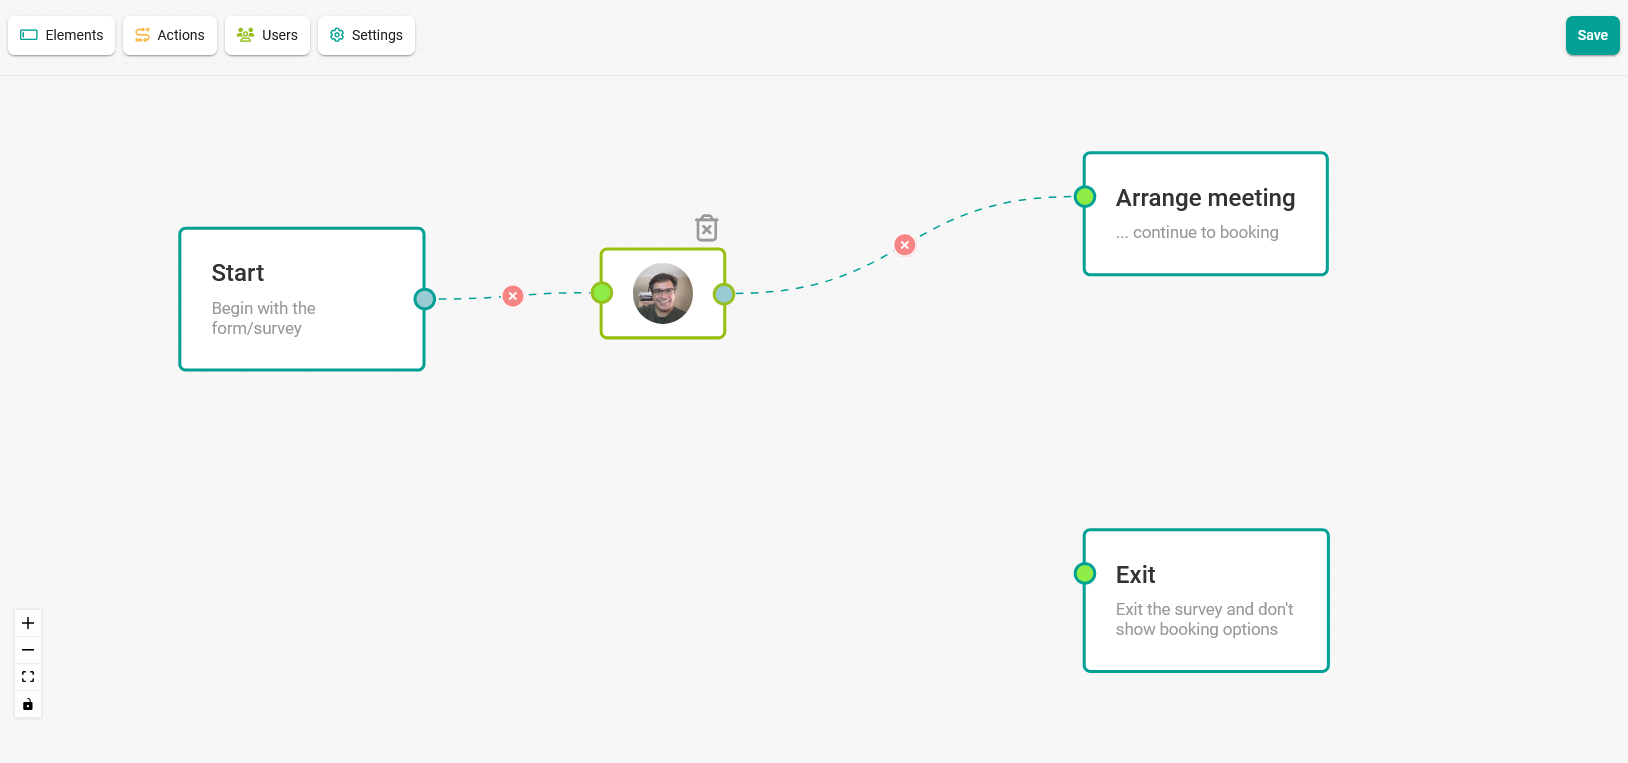
We have developed a visual editor that lets you build the survey and set up the flow between the different steps.
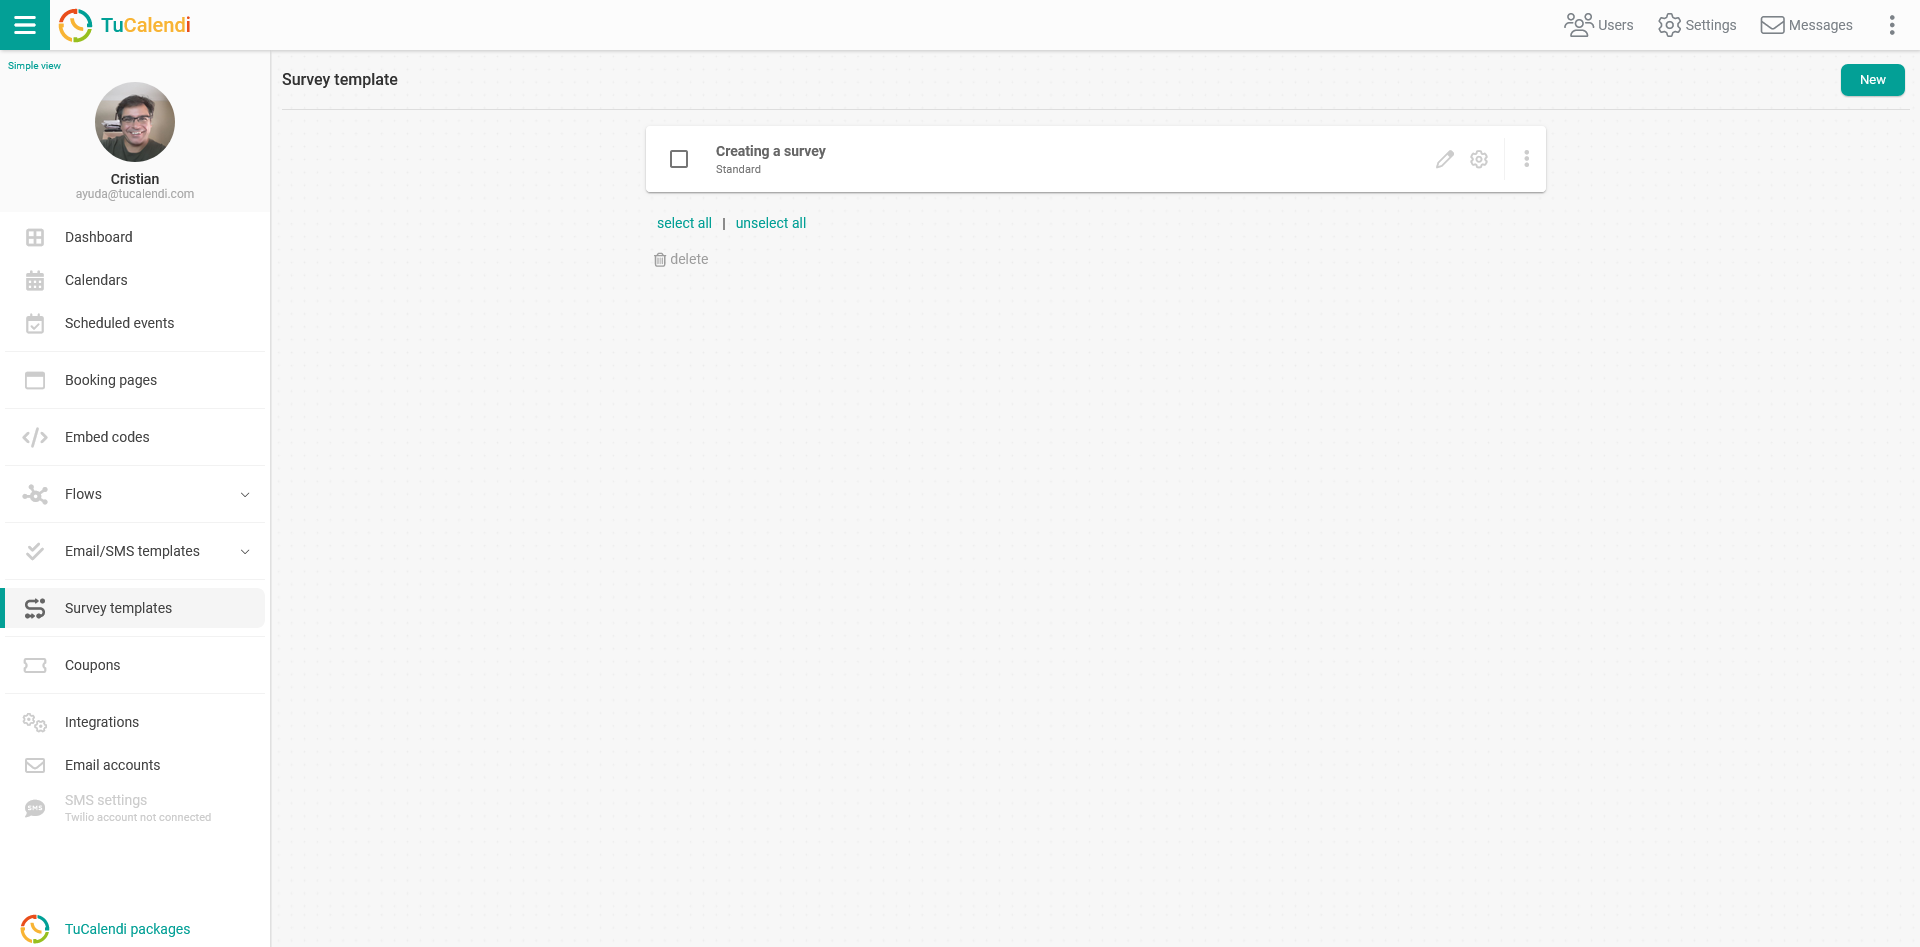
Log in to your TuCalendi account. Go to the "Survey Templates" option:
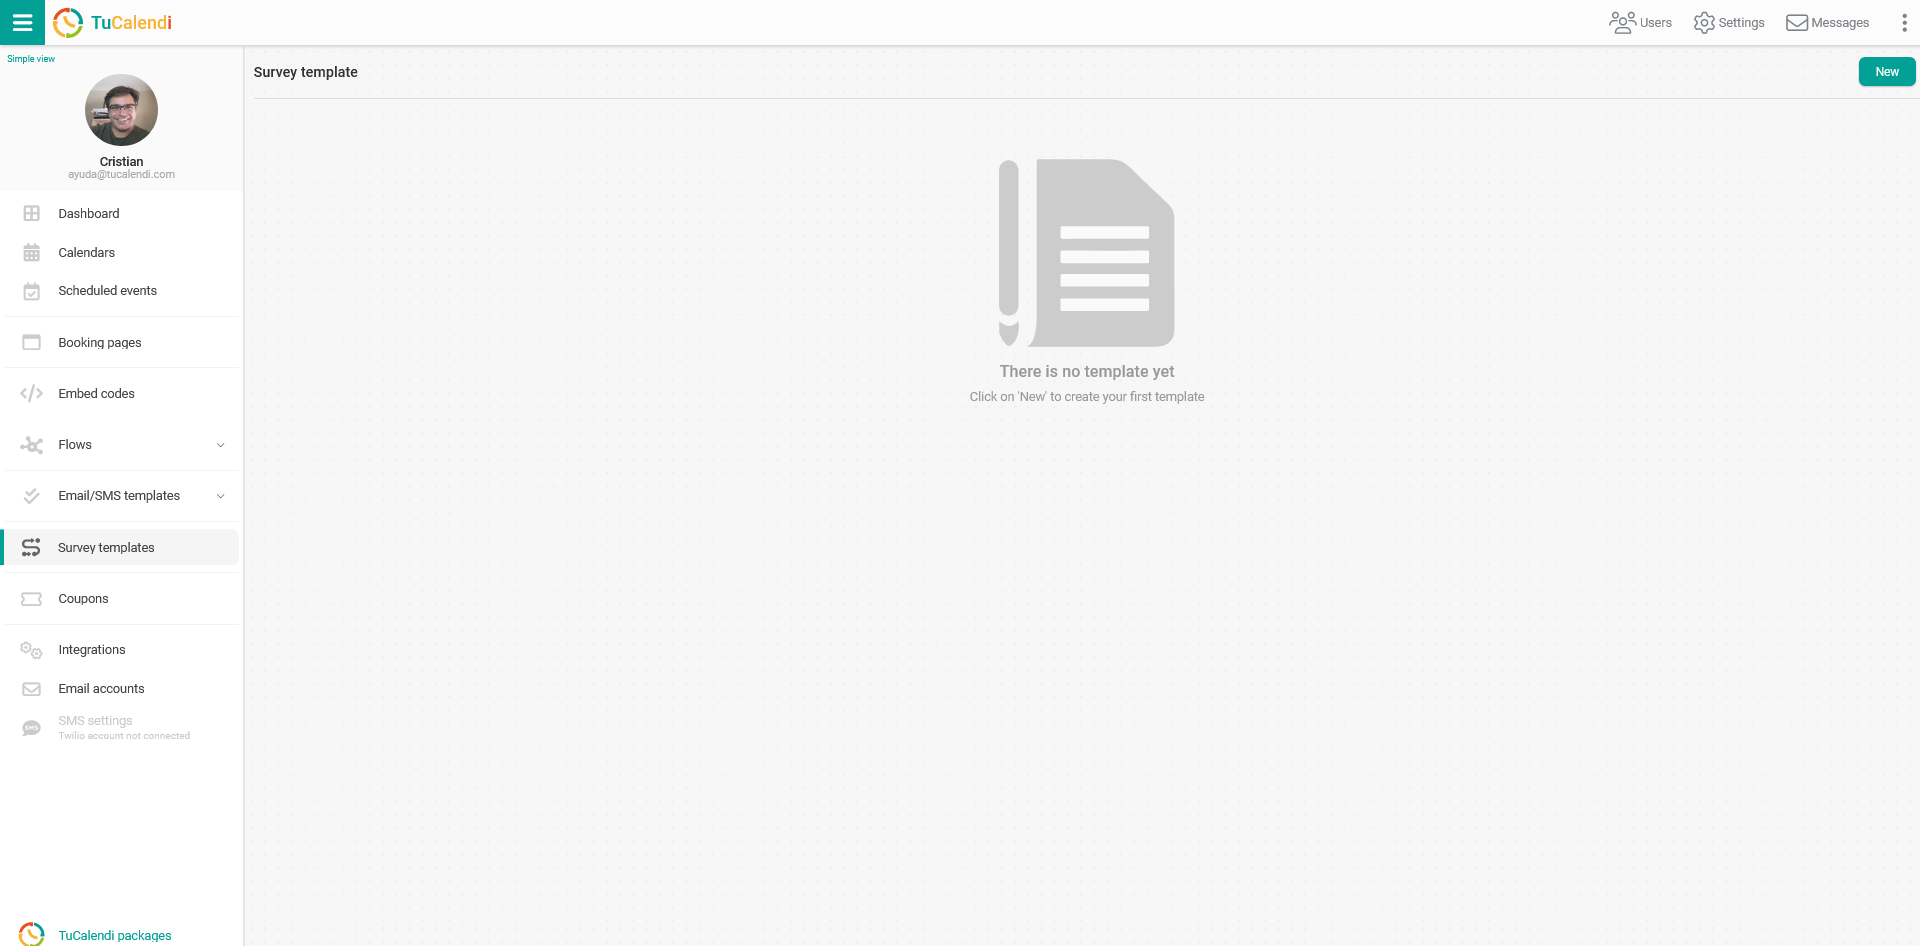
To create a new survey, click on "New":
There are two types of surveys available:
- Standard. This is a new survey that can be assigned to each event type.
- Standalone. This is a new survey that can be used as a standalone widget and with routing to different event types.
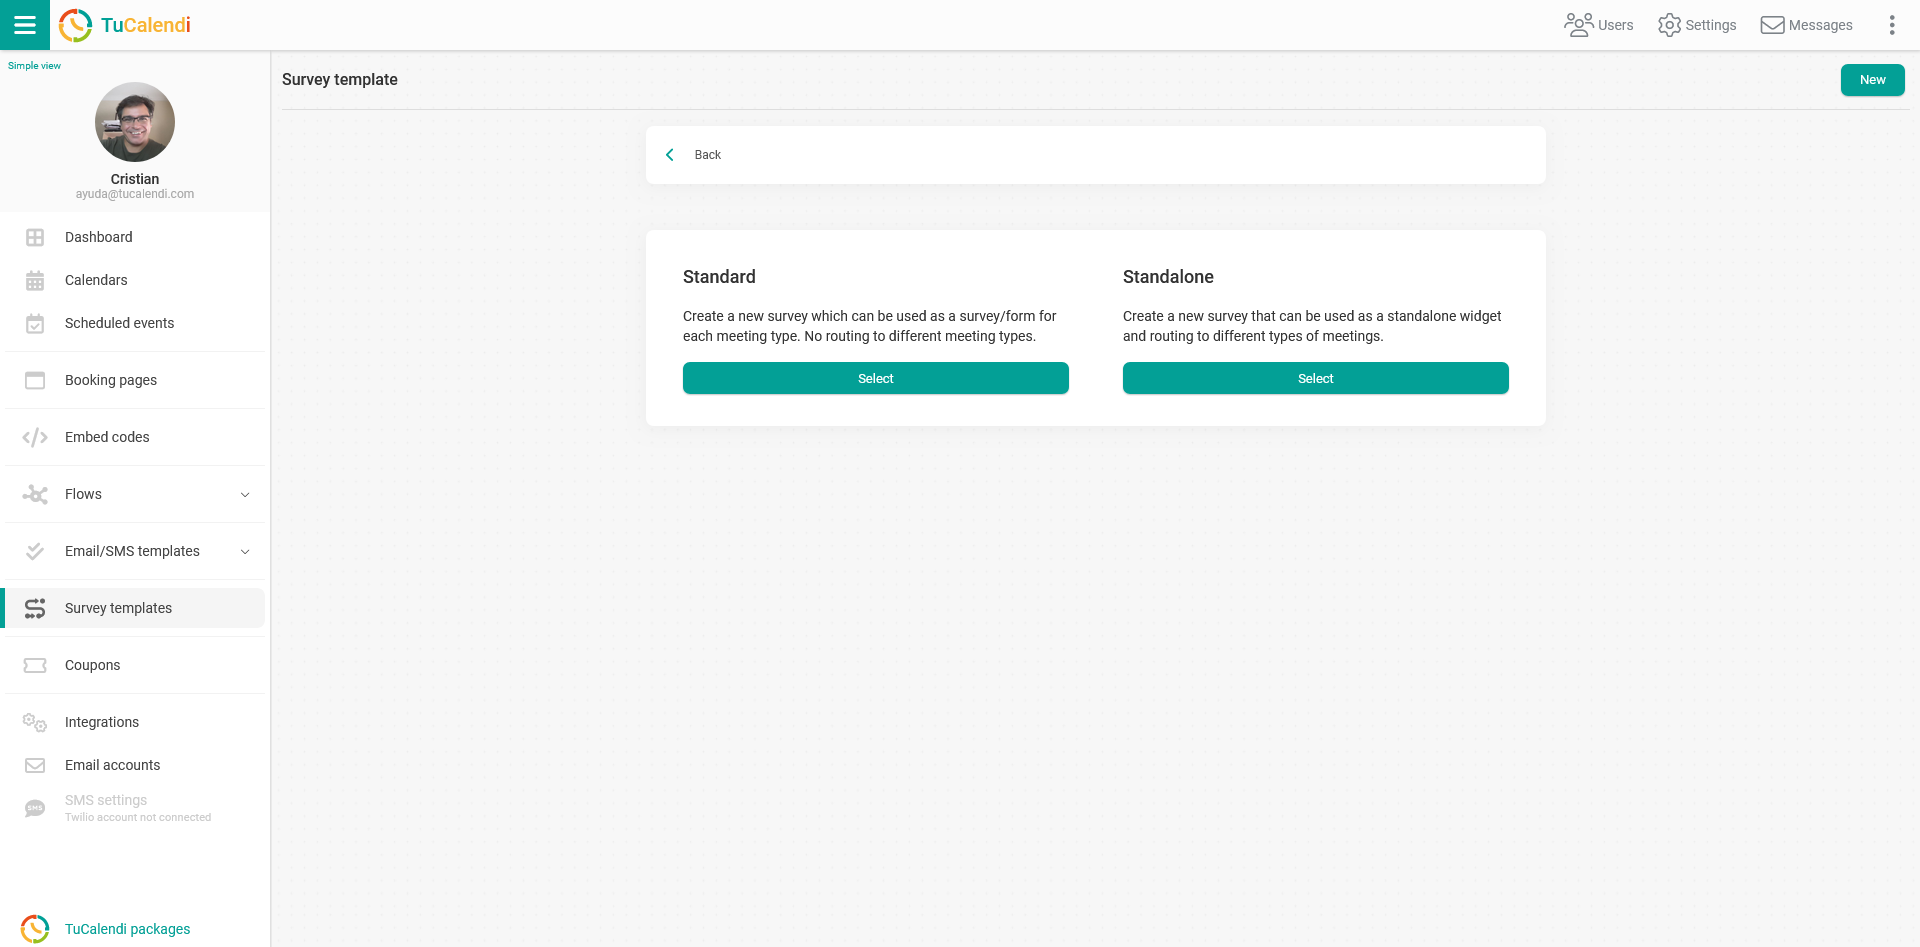
Select the "Standard" type.
If you have already created a survey, you can open it and edit it to add or remove options.
Click on the "Users" button:
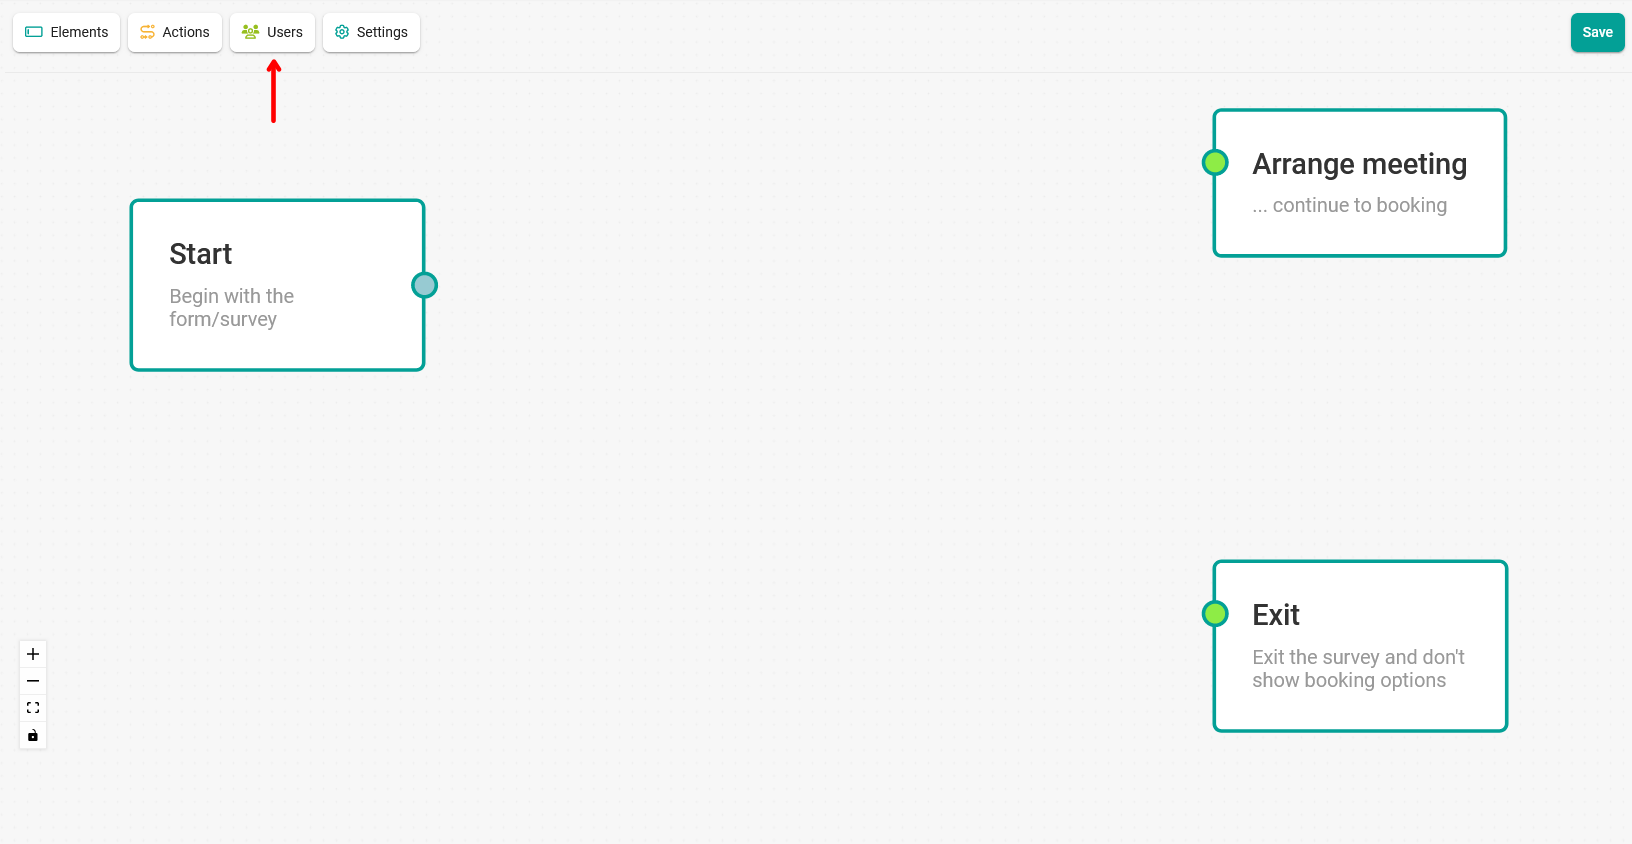
The menu will show the list of users in your team, and you can select the "User" by clicking on the person's name:
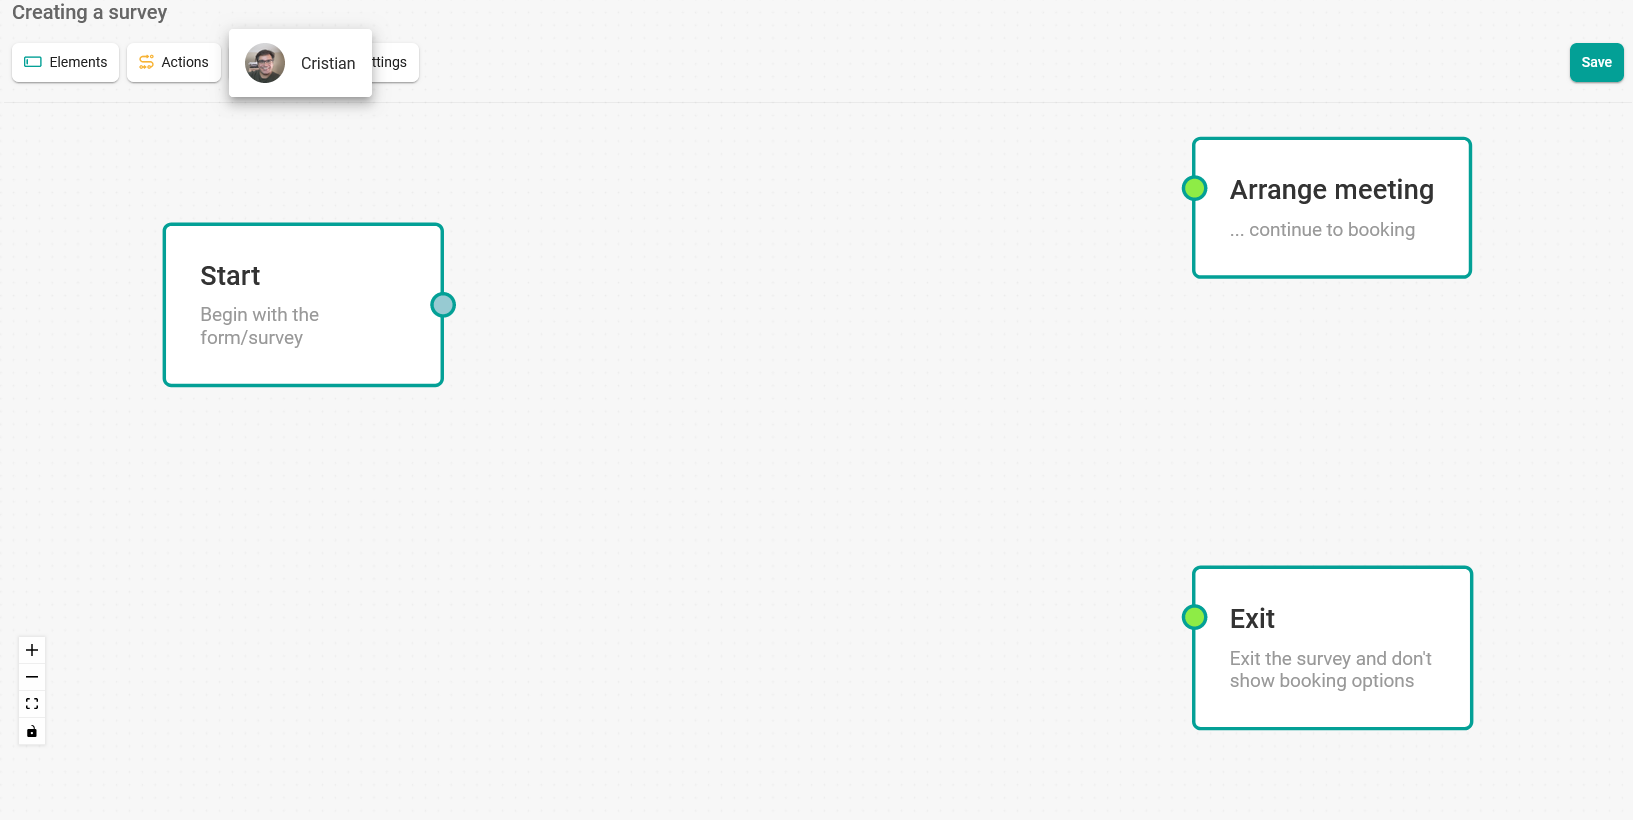
When you have added the options and completed the flow by joining the boxes, click "Save".
To join the boxes, click on the point to the right of the initial box, keep the mouse button pressed and draw the line to the point to the left of the box you want to join.
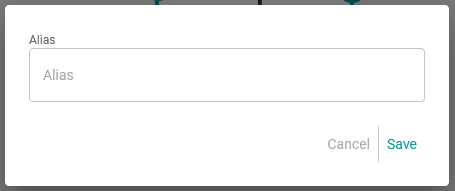
In the pop-up window that appears, enter an alias to name the survey template you have created.
When you click "Save", the survey template will be created and will appear in your list of survey templates.
To make the survey visible, you must choose the event to which you want to associate the template. This way your users and customers can respond to the survey you have created.