
In previous tutorials, you saw how to create a workflow with a single trigger. Now you'll see how to add several triggers to a workflow.
You're going to create a workflow after a booking with three automations:
- Send a confirmation email.
- Send reminder emails.
- Send a cancellation email.
To make this tutorial easier to follow, you'll create the workflow from scratch.
Log in to TuCalendi with your username and password. In the side menu, click on "Workflows":
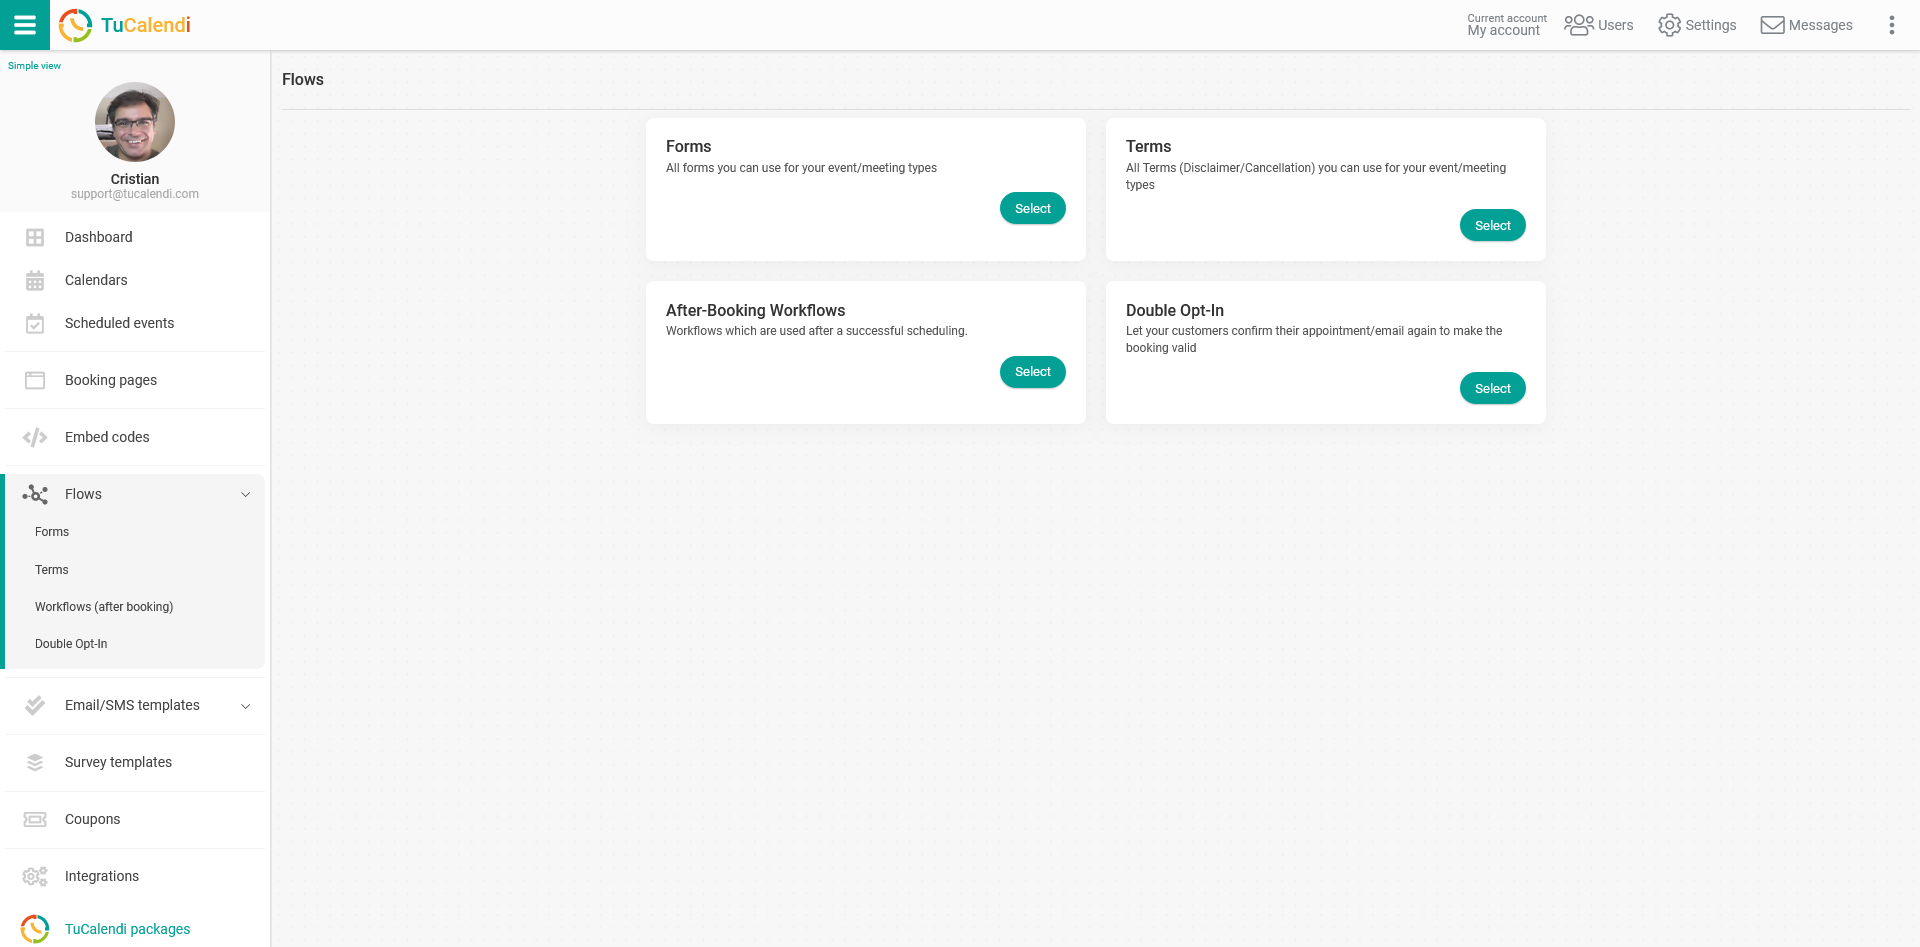
In the "Workflows (after booking)" option, click on "Select":
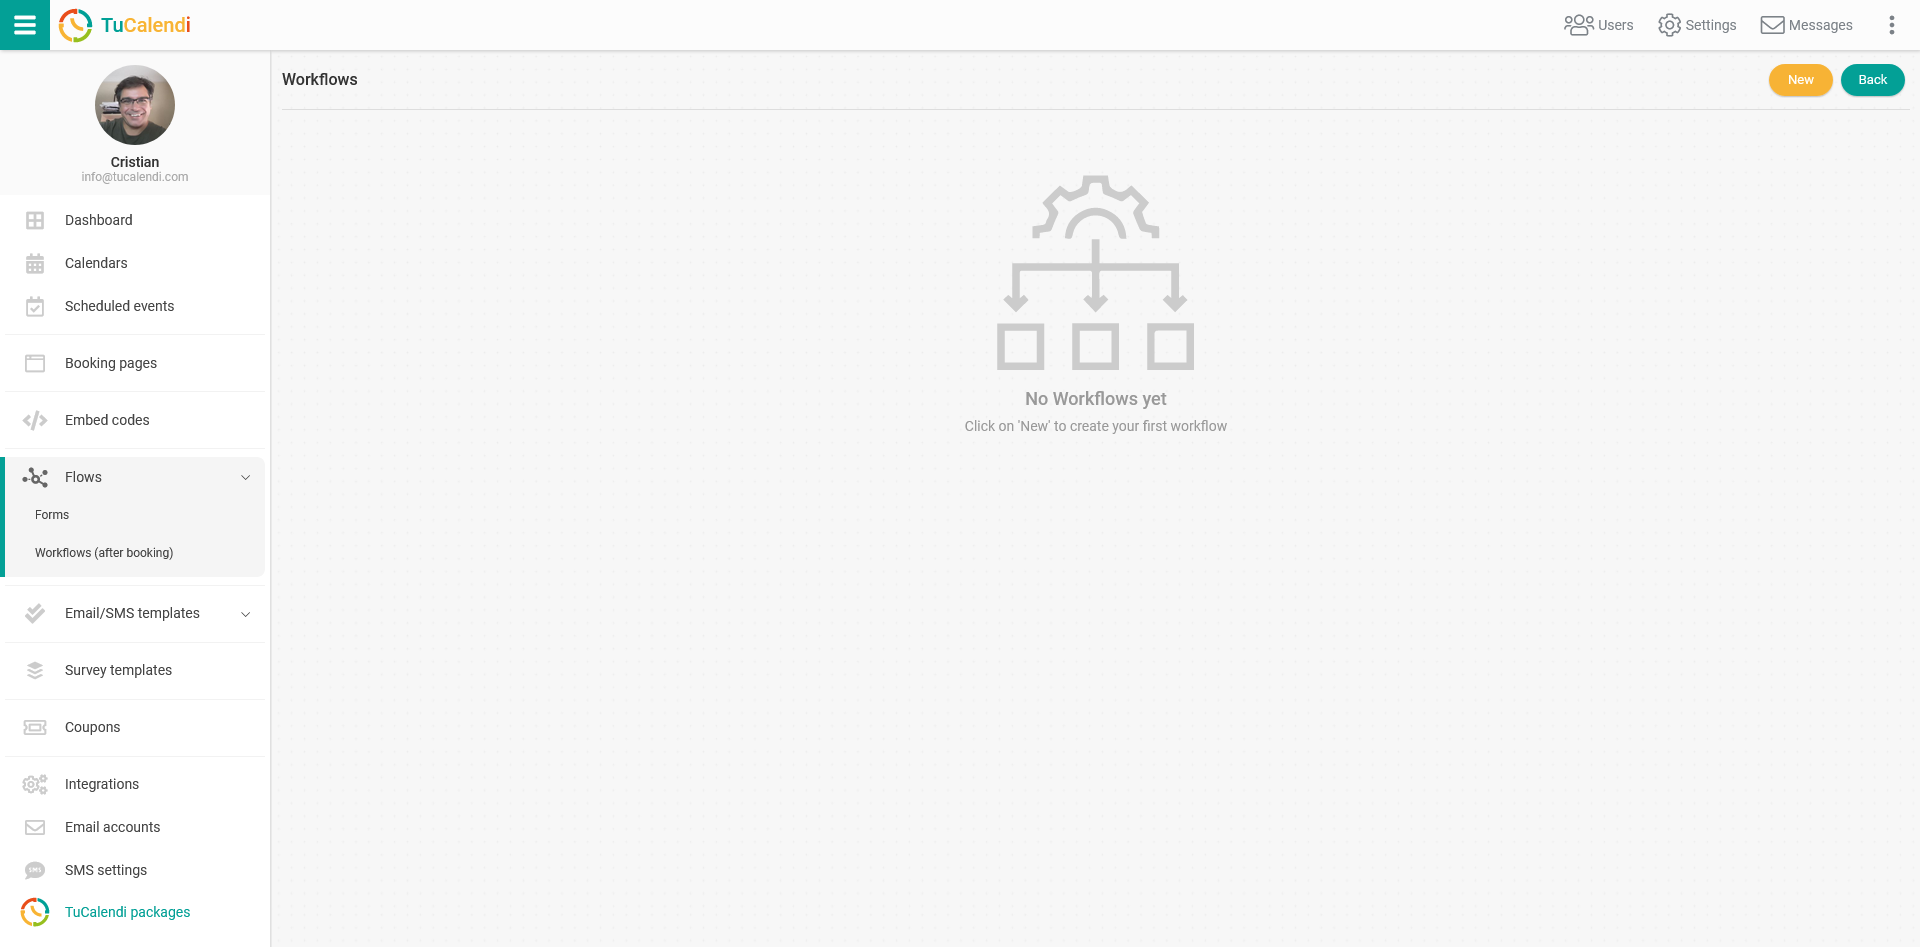
Click on "New" to create the first workflow:
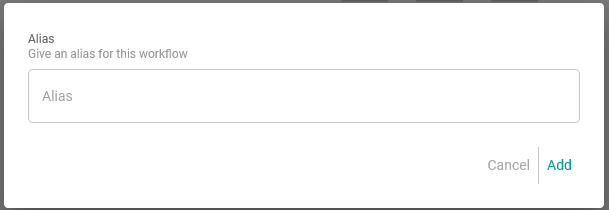
Enter a name for the workflow. Once you've entered it, click on "Add":
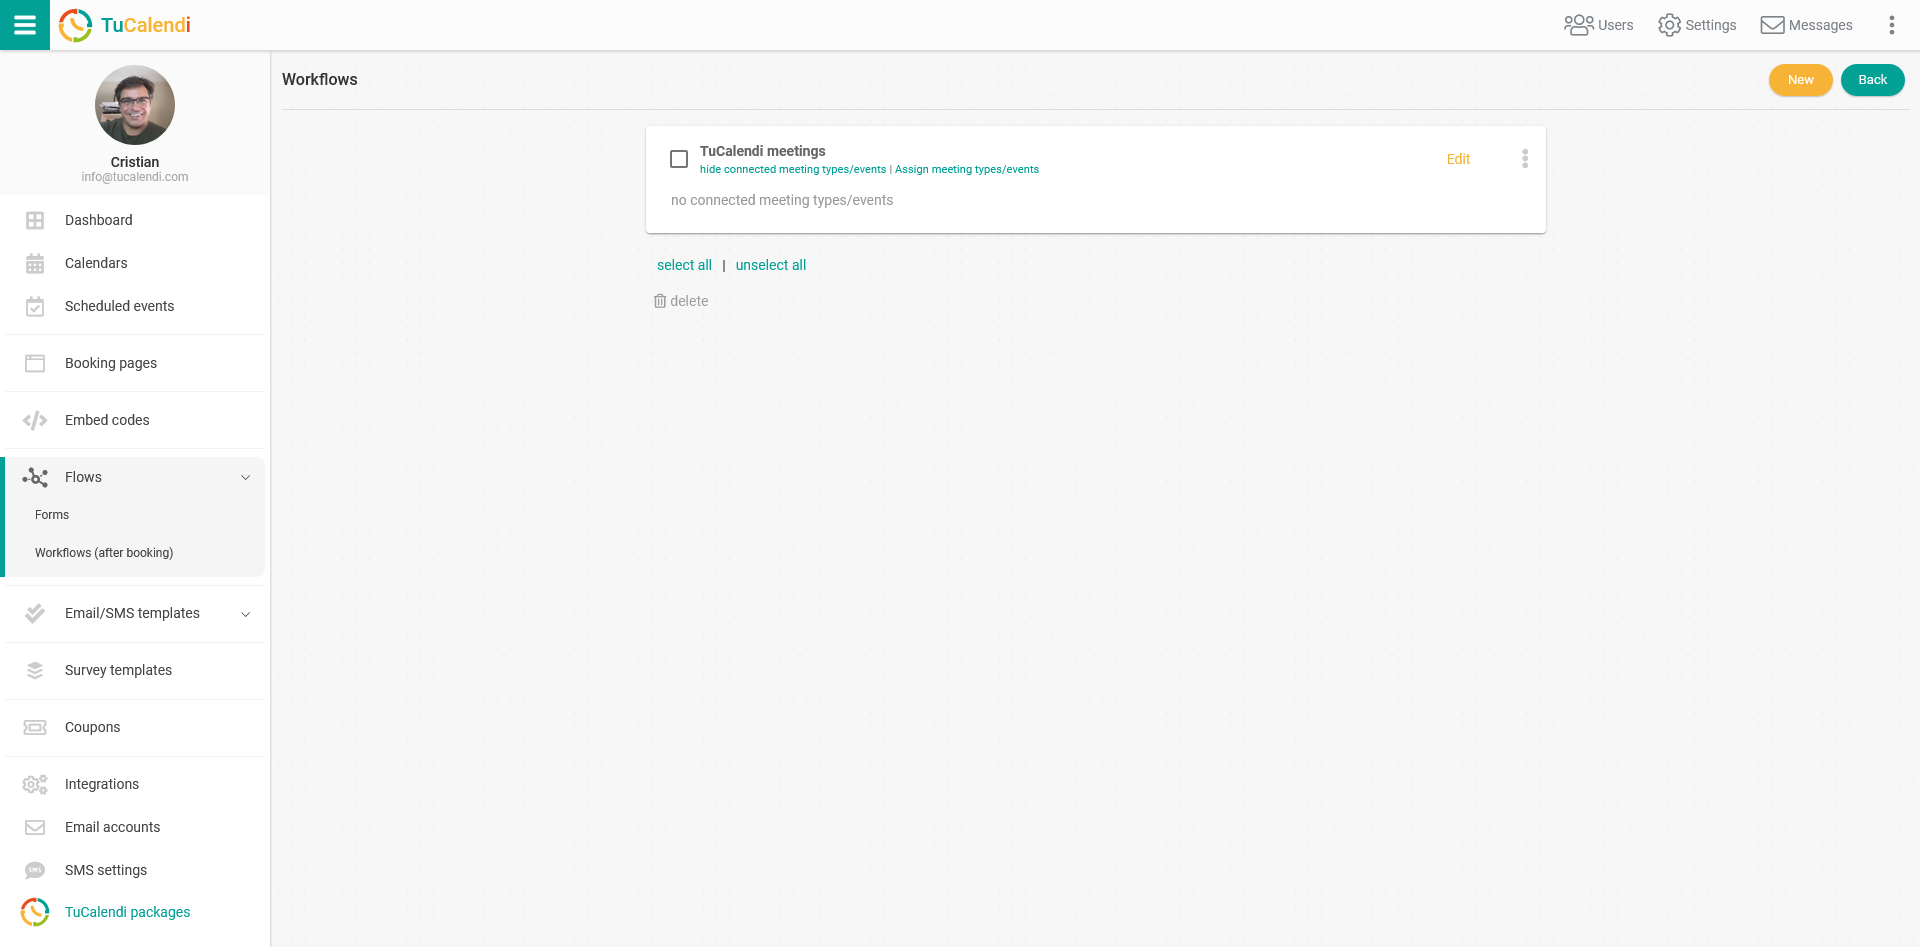
To add the three automations you want this workflow to have, click on "Edit":

Initially, the workflow doesn't have any triggers. That's what you're going to add.
First trigger: A booking has been made successfully
First of all, when a customer makes a booking, you want them to receive an email confirmation of the booking.
Click on "Add new trigger":
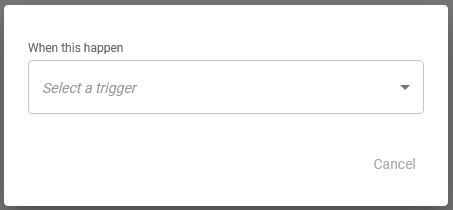
When you click on the drop-down menu, the available triggers will appear.
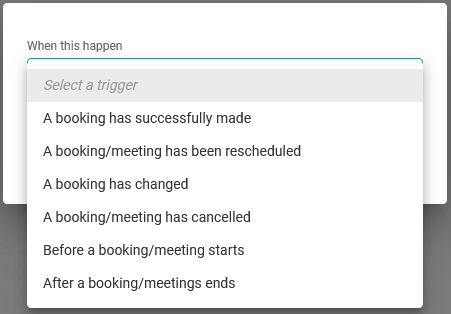
The starting point of the workflow is when a booking has been made. Select the trigger "A booking has successfully made":
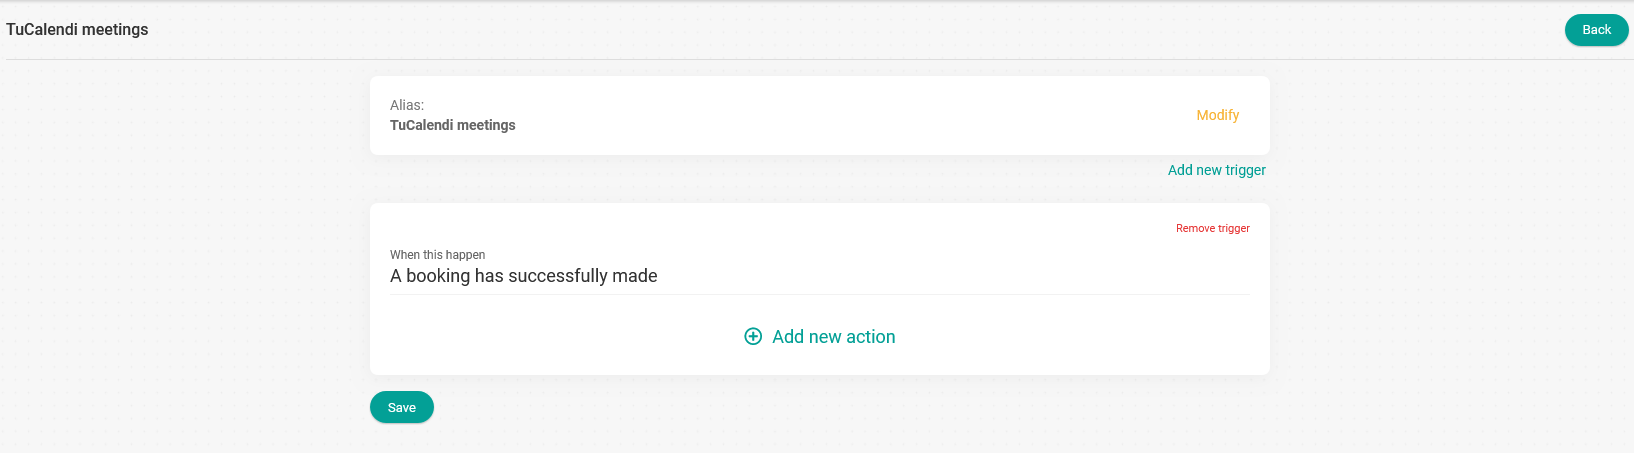
For an automation to work, a trigger must have at least one action.
Click on "Add new action":
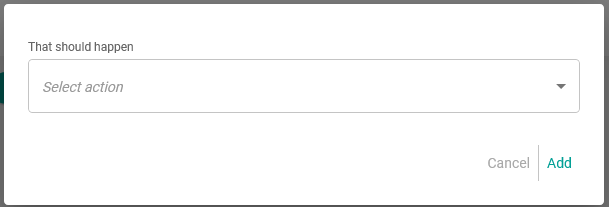
Select the action from the available menu:
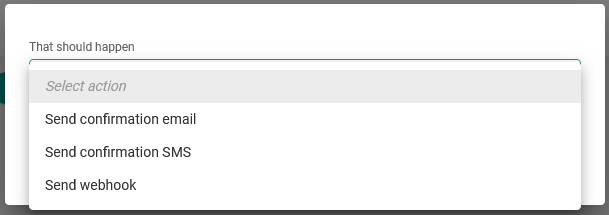
You want to send the email confirming that the booking has been made. So select the action "Send confirmation email":
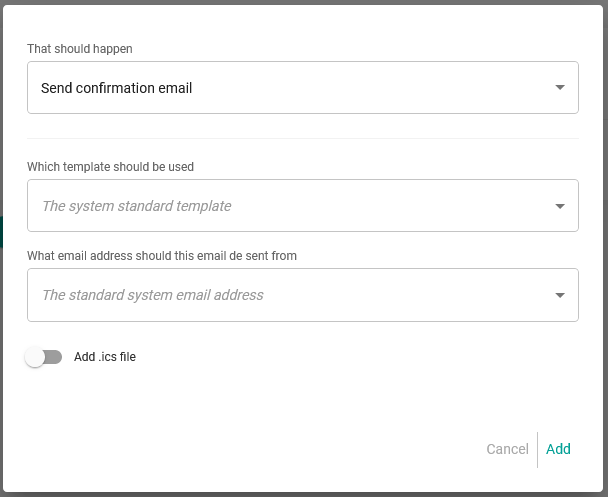
Choose the confirmation template you want to send and the email account the confirmation email will be sent from. You can also enable "Attach .ics file". Then click on "Add":
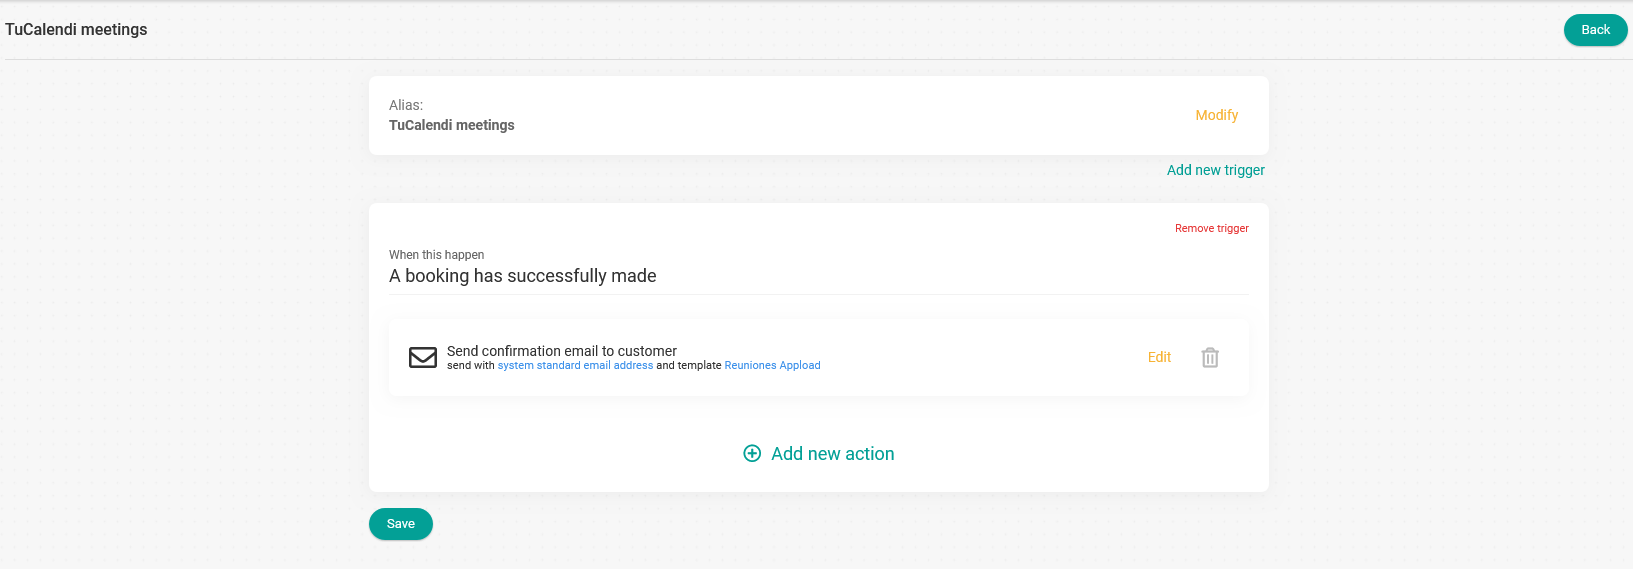
You can add different available actions to the same trigger. Just repeat the process by clicking on "Add new action".
Second trigger: Send reminders
So that the client who booked with you doesn't forget the meeting, you want to send two email reminders. To do this, you need to add a new trigger with the corresponding actions to the workflow.
Click on "Add trigger":
When you click on the drop-down menu, the available triggers will appear.
Select the trigger "Before a booking/meeting starts":
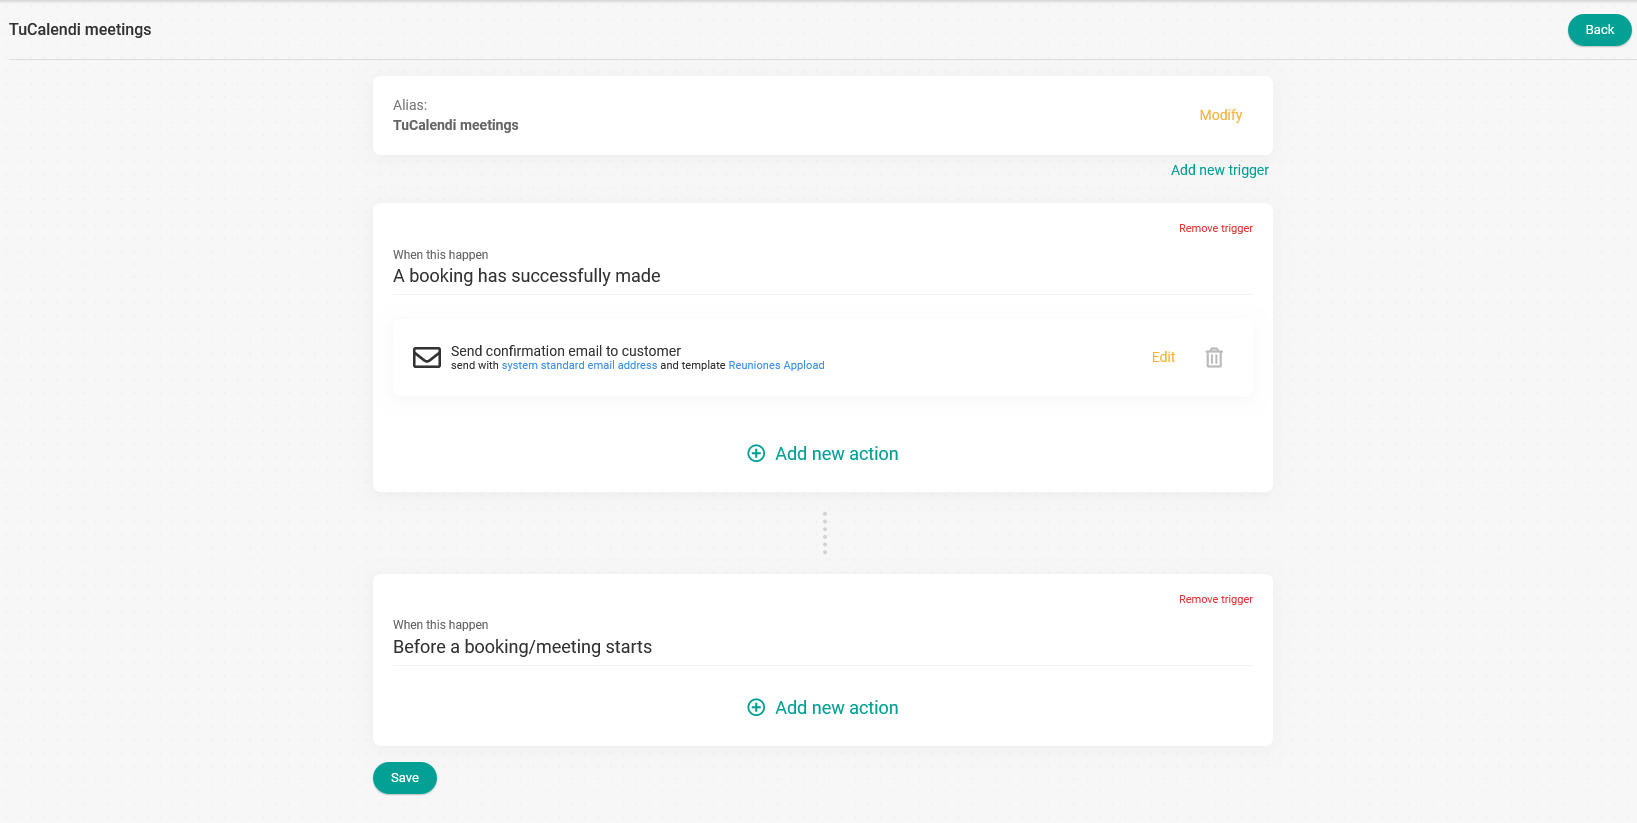
Now you need to add the actions you want to the "Before a booking/meeting starts" trigger.
Click on "Add new action" in this trigger.
When you click on the drop-down menu, the available action will appear.
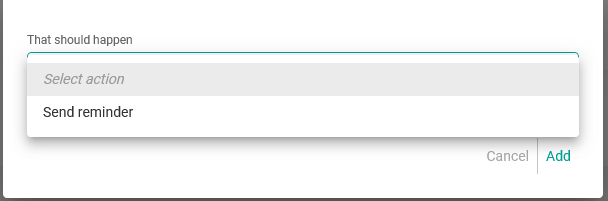
Select the "Send reminder" action:
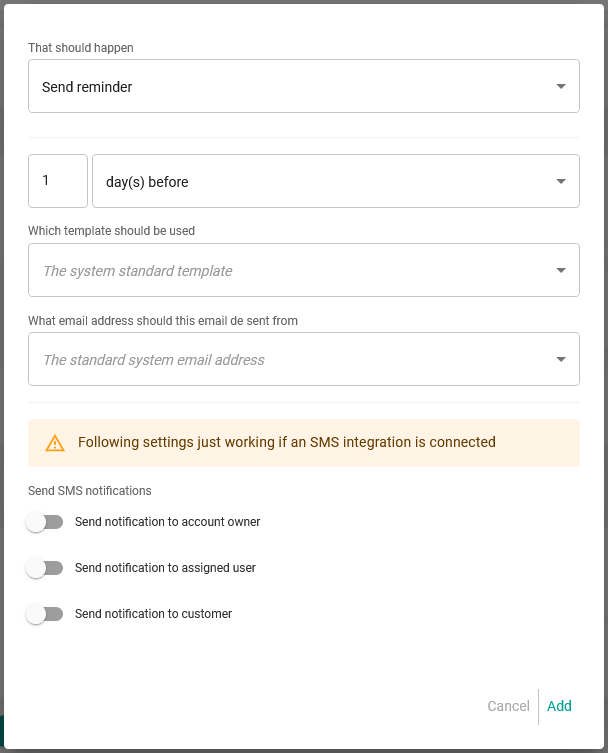
Set when you want the reminder to be sent, the reminder template you want to send and the email account it will be sent from.
If you also want to send SMS notifications in addition to email reminders, you need to activate the corresponding option in the "Send notifications by SMS" field.
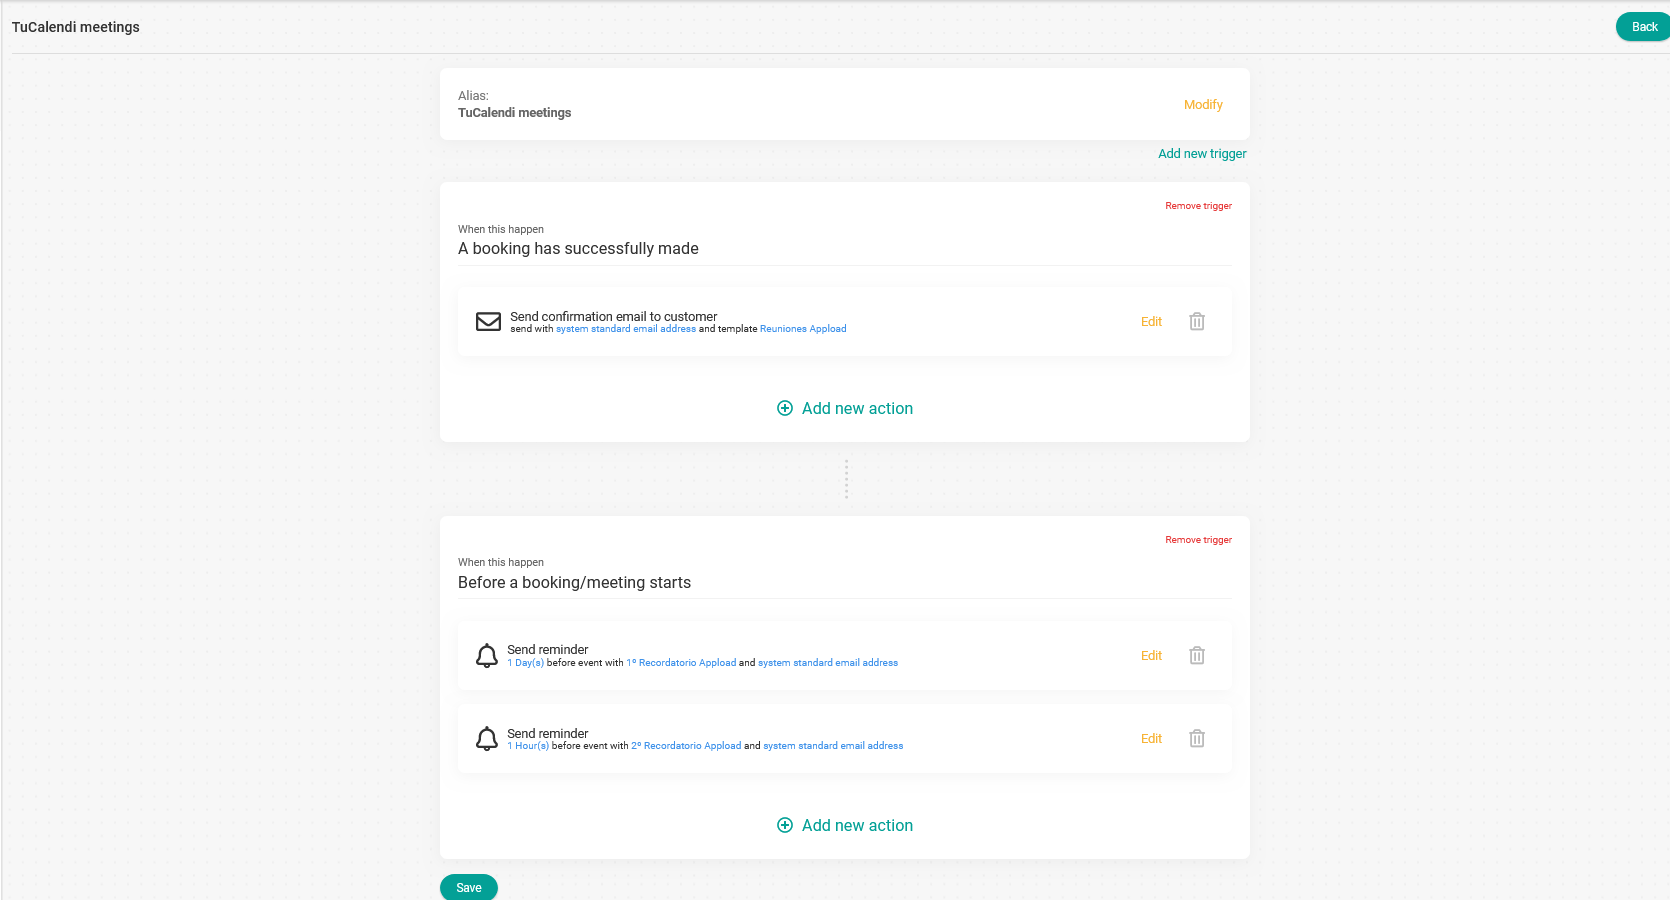
In this example, you want to send two email reminders:
- One day before the booking.
- One hour before the booking.
To do this, you need to add two actions to the trigger.
First, add the reminder for 1 day before. Once you've added it, click on "Add new action" and include the second reminder for 1 hour before the meeting.
The result in the workflow looks like this:
Third trigger: A booking has been cancelled
When a customer cancels a meeting, it's also important to send them a notification and give them the option to rebook. To do this, you need to add a third trigger to the workflow with the action you want.
Click on "Add trigger":
In the drop-down menu, the available triggers will appear.
Select the trigger "A booking/meeting has cancelled":
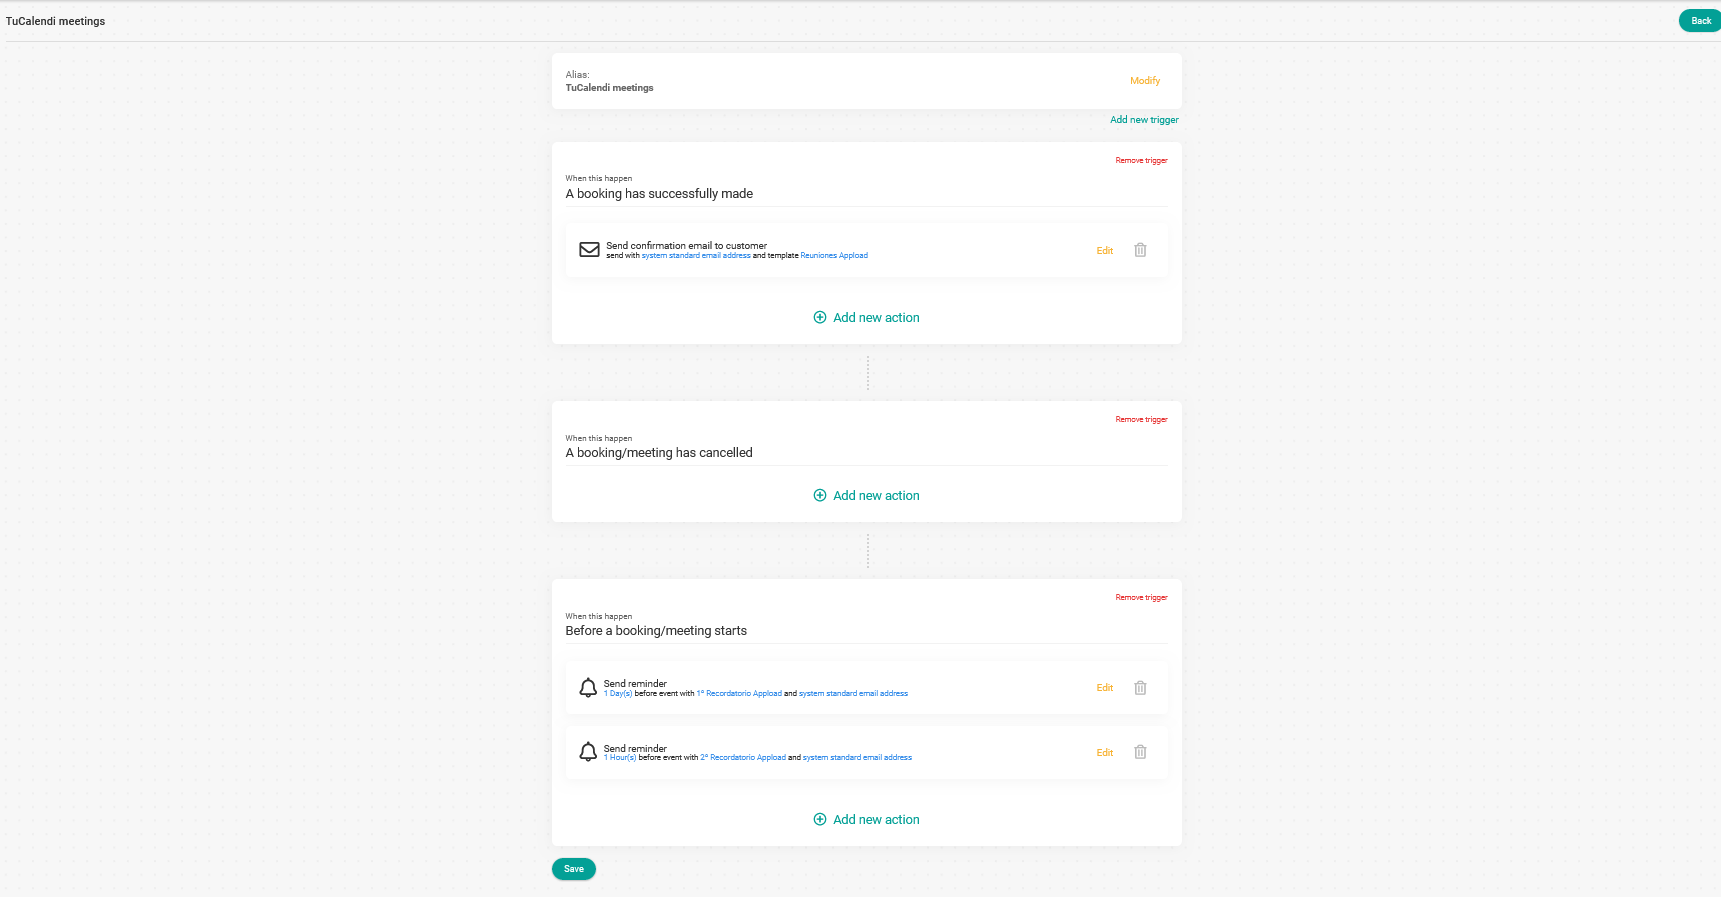
You need to add the action you want to the "When a booking/meeting has been cancelled" trigger.
Click on "Add new action" in the corresponding trigger:
Select the action from the available menu:
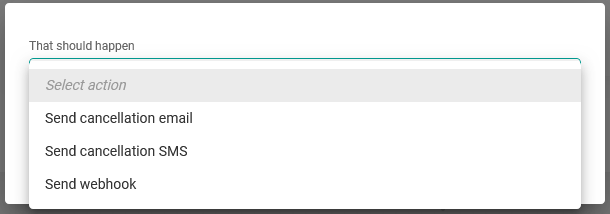
You want to send the cancellation email when the customer has cancelled the appointment. So select the action "Send cancellation email":
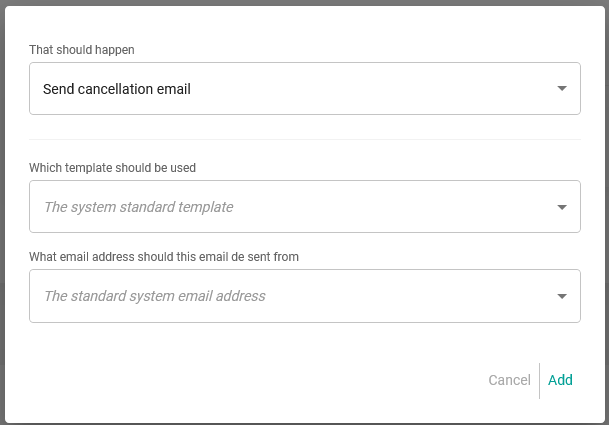
Choose the cancellation template you want to send and the email account the cancellation email will be sent from, then click on "Add":
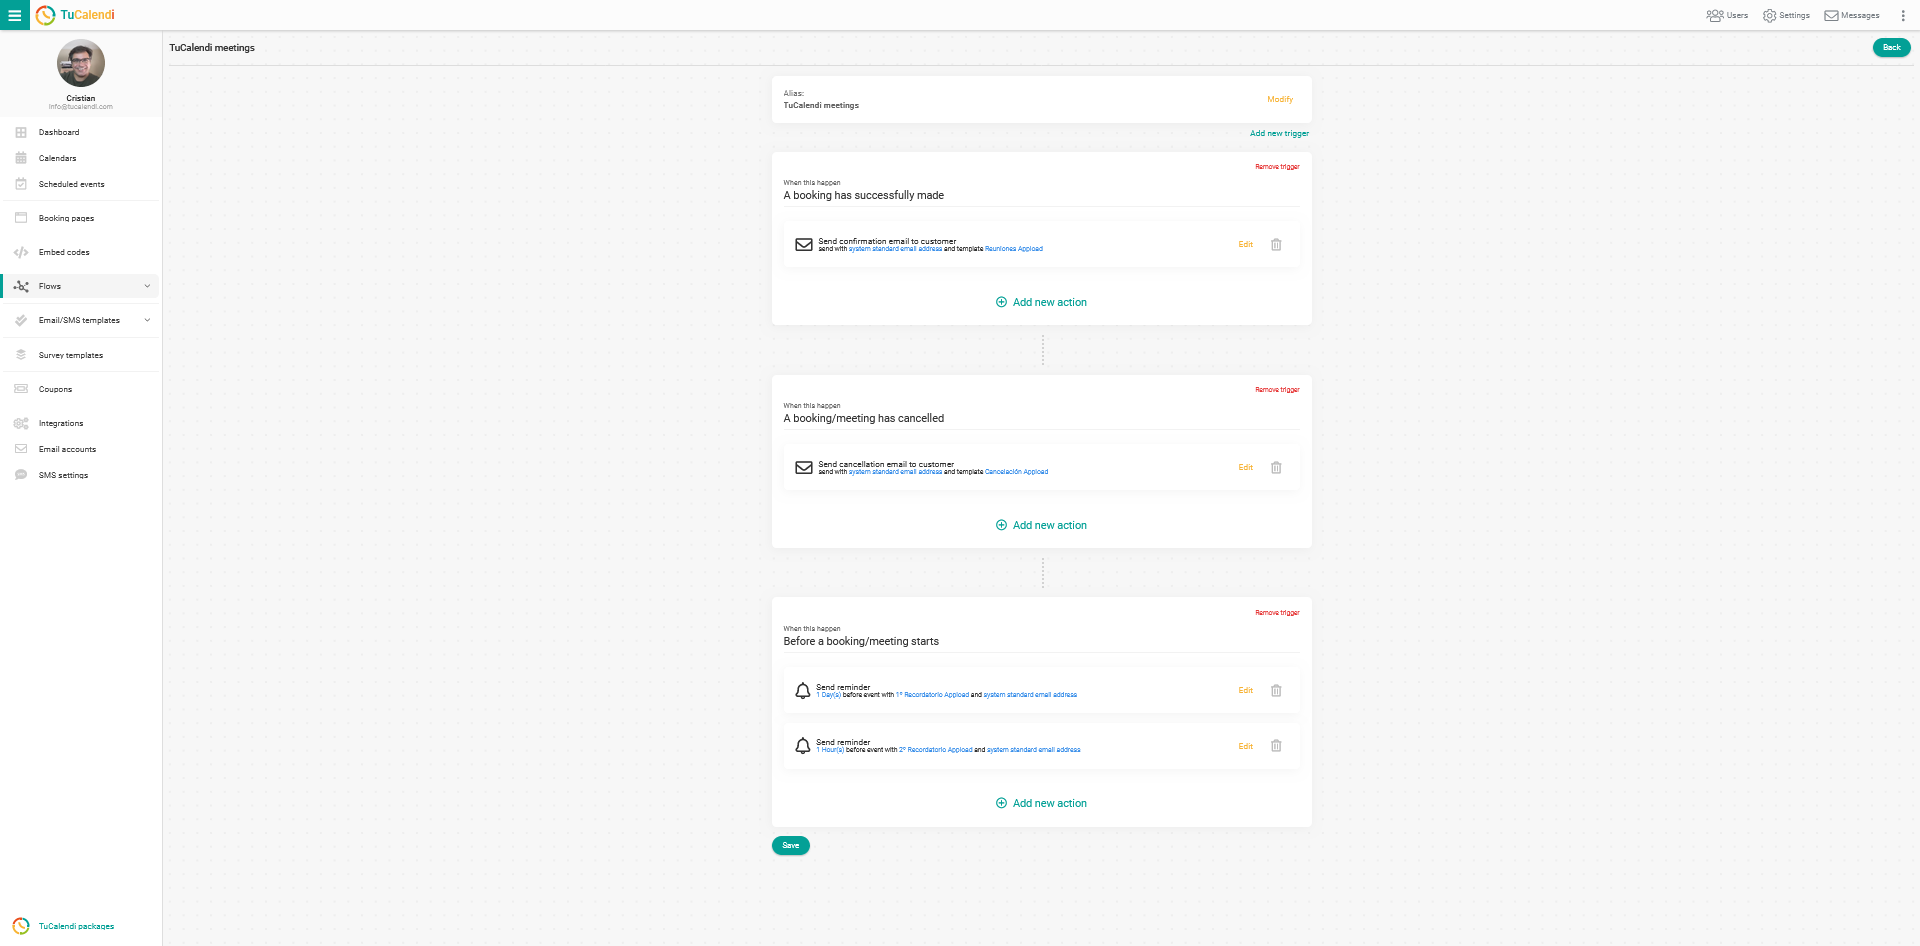
At the end of the workflow, or after each step you add, click on "Save".
You've now created the workflow after a booking with the three automations described:
- Send a confirmation email.
- Send two reminder emails.
- Send a cancellation email.
IMPORTANT: To finish the workflow and make it fully operational, you must assign the events that will activate your workflow.
To see how to assign events to a workflow, click here.