
After you have created a workflow, you can edit it at any time to add or remove triggers and actions. By editing it, you can also modify the actions of a particular trigger.
In this tutorial, you'll see how editing an existing workflow lets you add a new trigger to it.
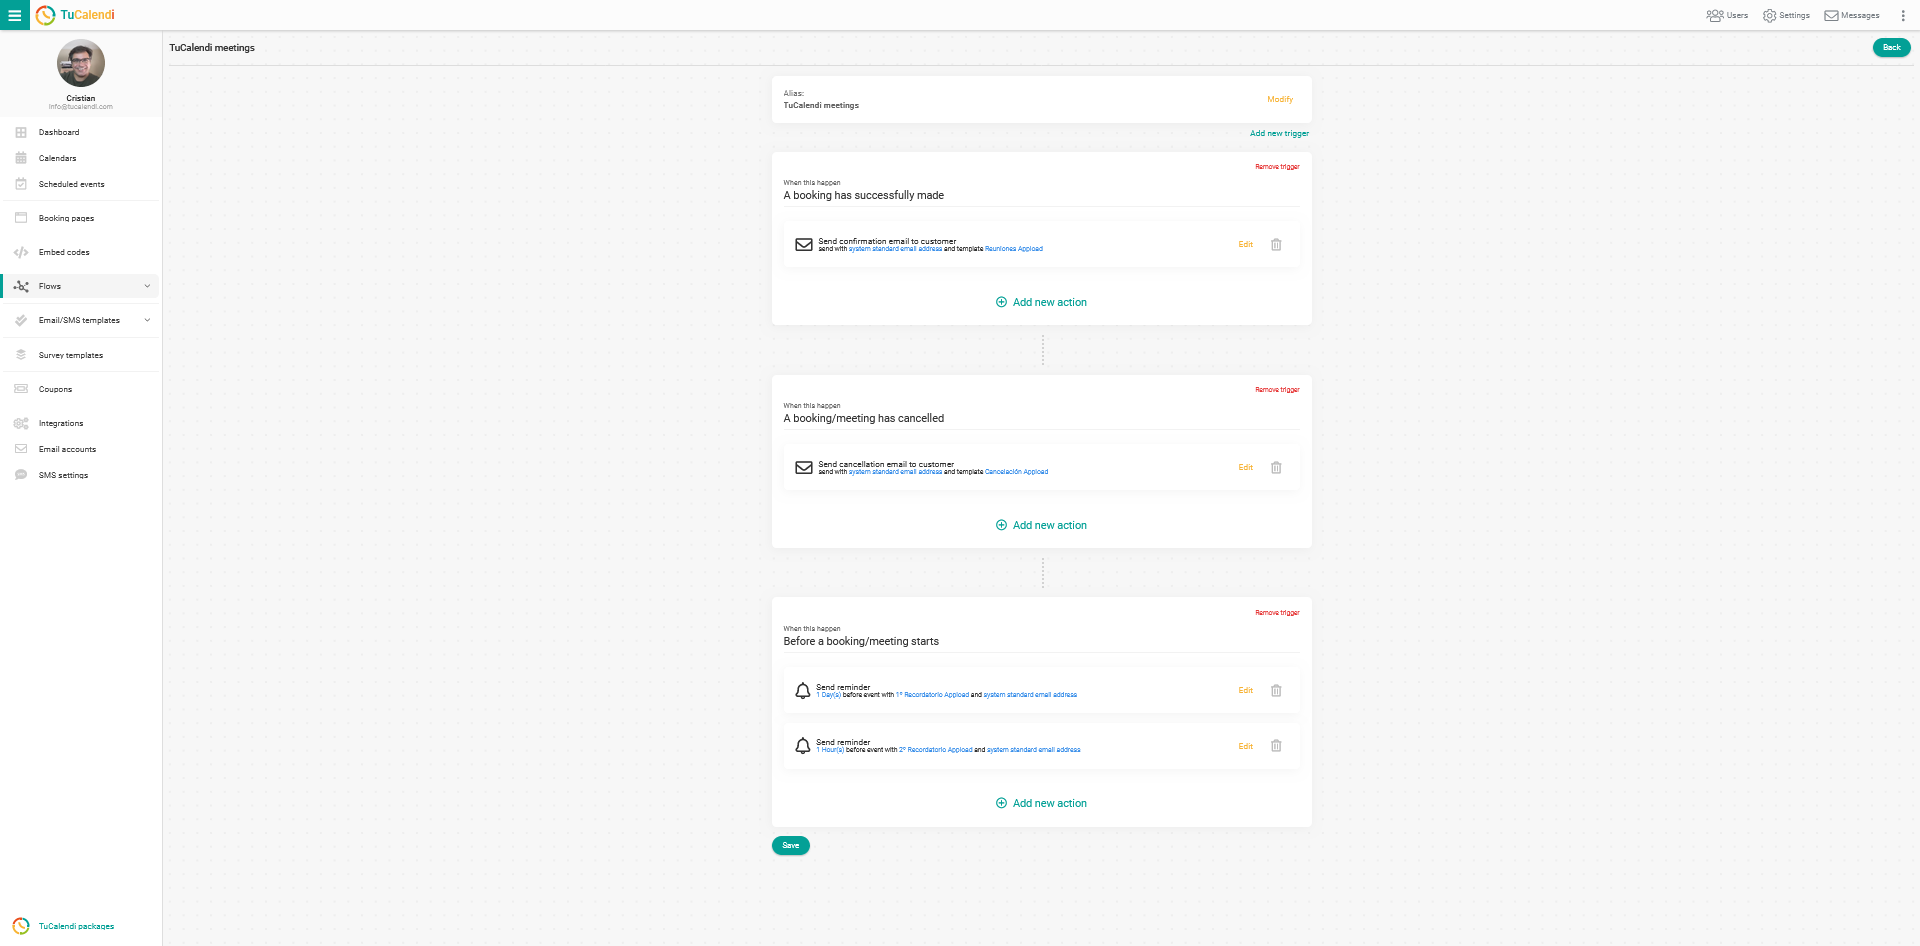
We'll start from a workflow with three automations:
- Send confirmation email.
- Send reminder emails.
- Send cancellation email.
We'll add a fourth automation:
- Send rescheduling email.
Log in with your TuCalendi username and password. Go to the "Flows" menu:
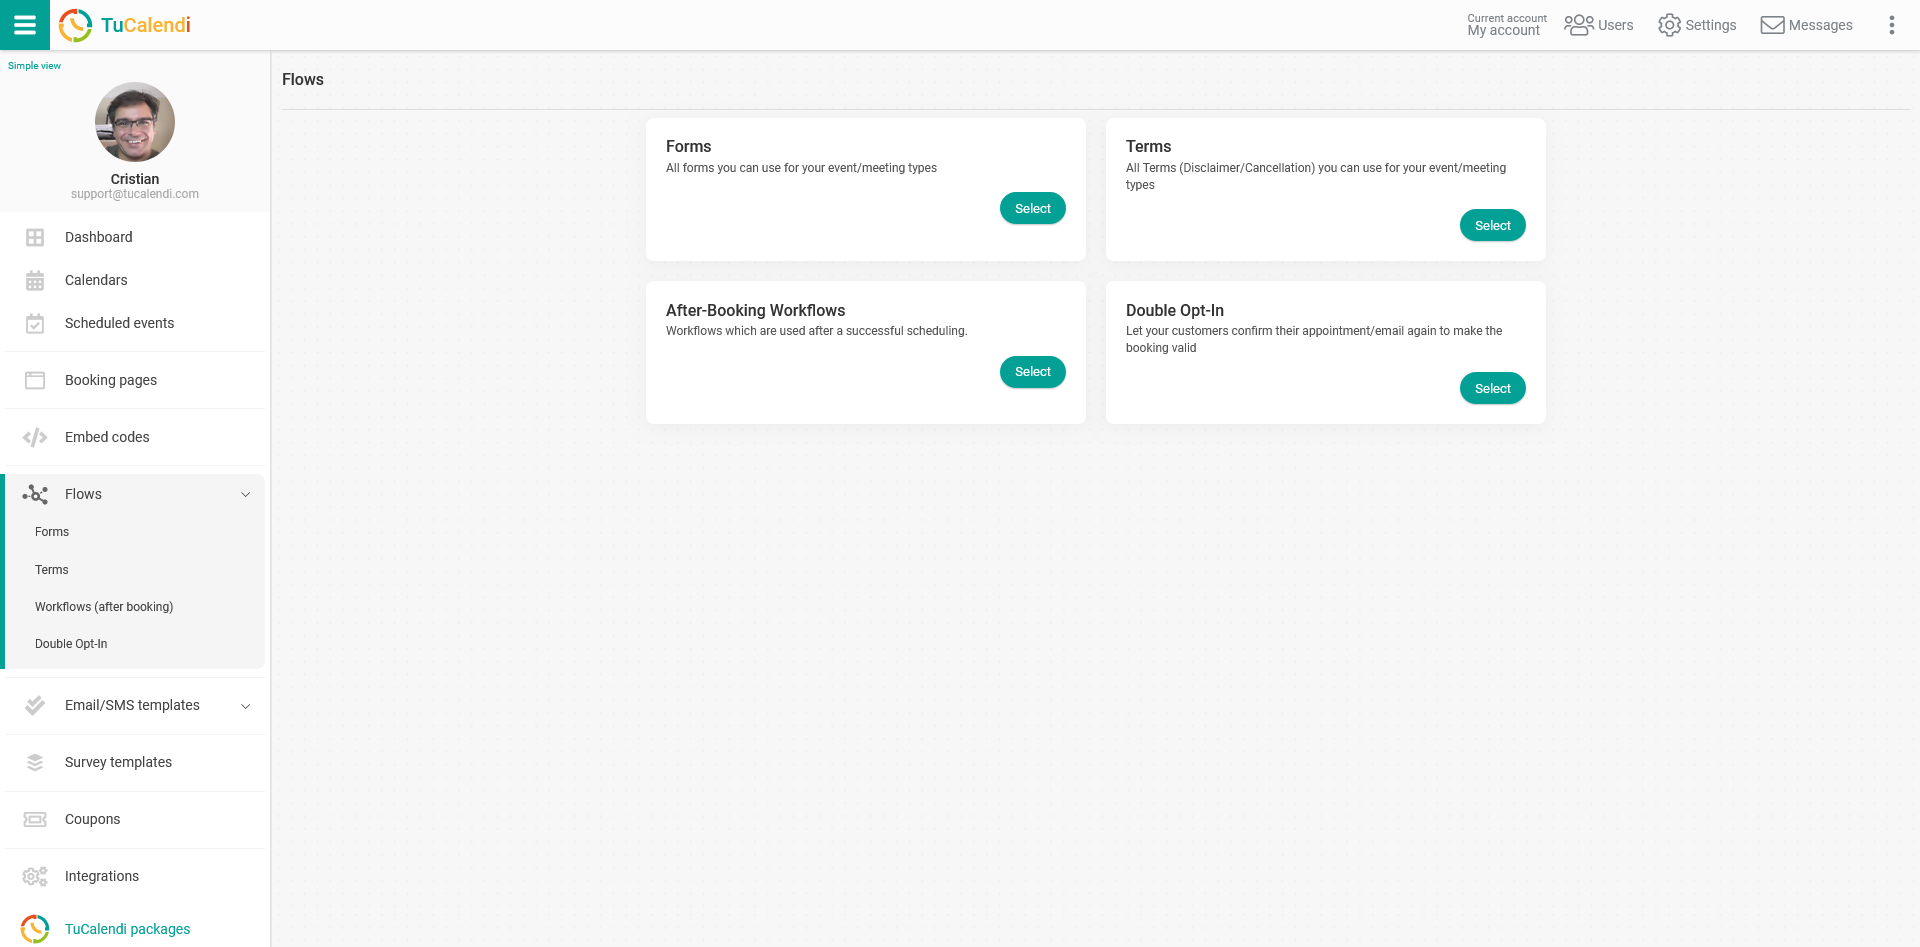
Under the option "Workflows (after booking)", click "Select" and the workflows you have created will be displayed:
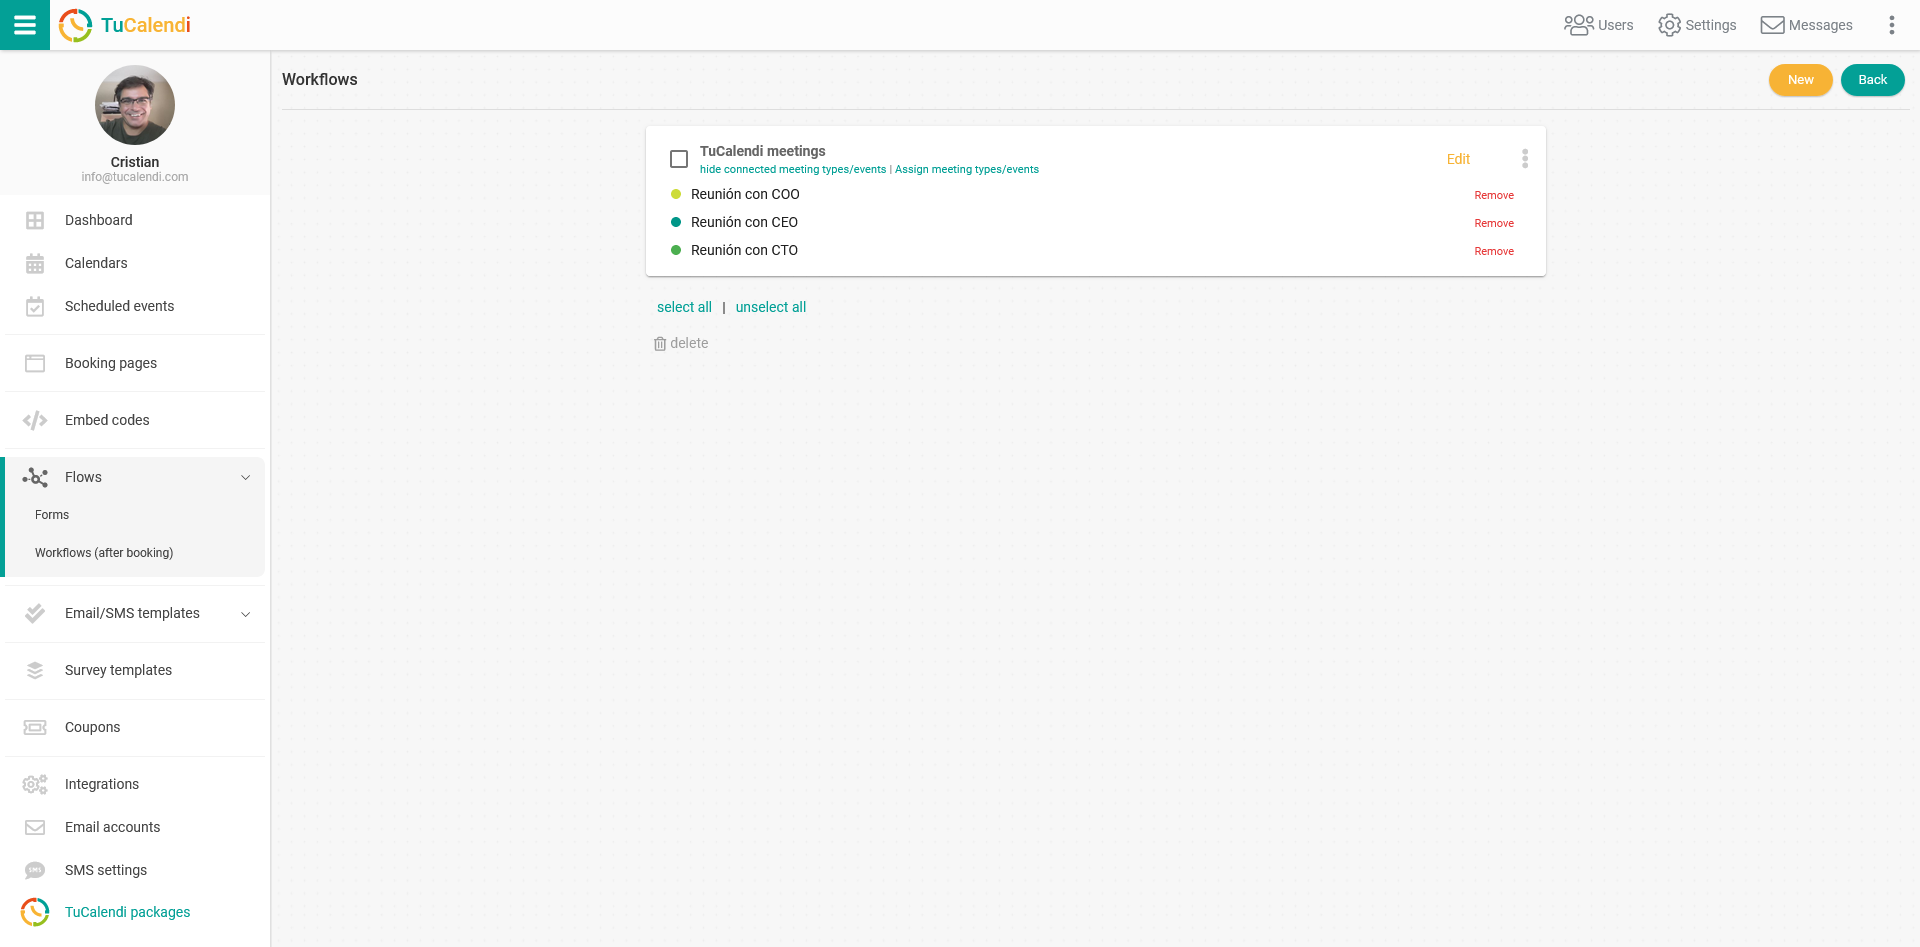
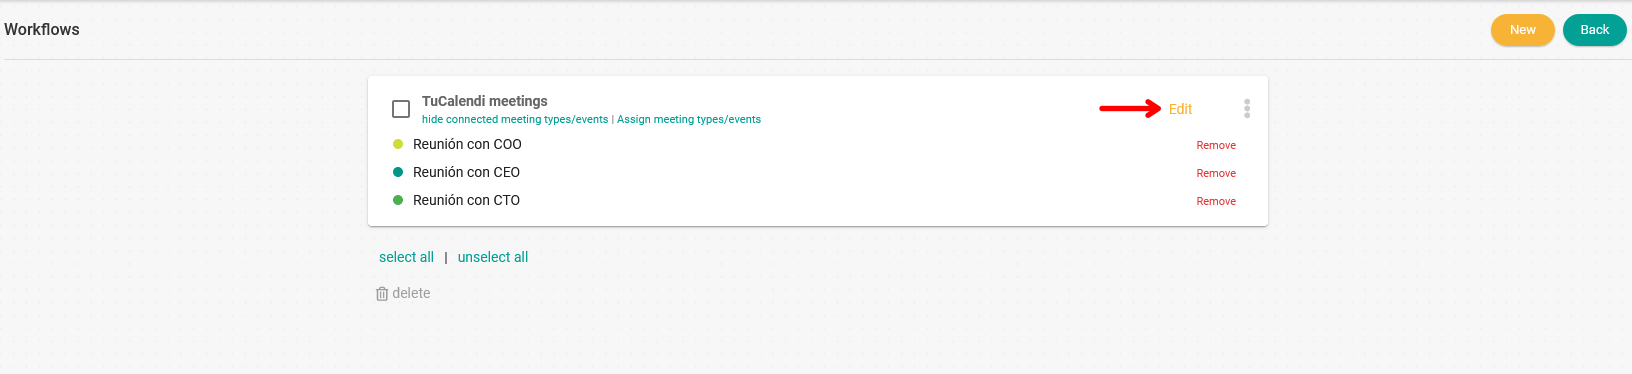
Click "Edit" on the workflow you want to modify:
You'll see the workflow in its current state and can start modifying it:
The new automation we want to create is that an email is sent when the customer has rescheduled a meeting.
New trigger: A booking has been rescheduled
When a customer has rescheduled a meeting, it's important to send them a notification with the new date and time of the appointment. For this to happen, you need to add a new trigger to the workflow.
Click "Add Trigger":
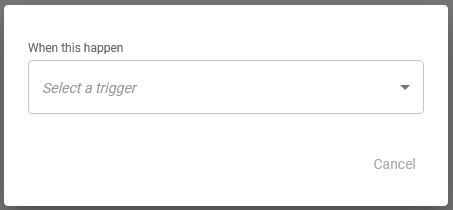
The available triggers will appear in the drop-down menu:
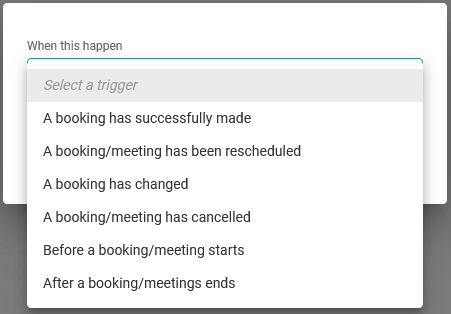
Select the trigger "A booking/meeting has been rescheduled":
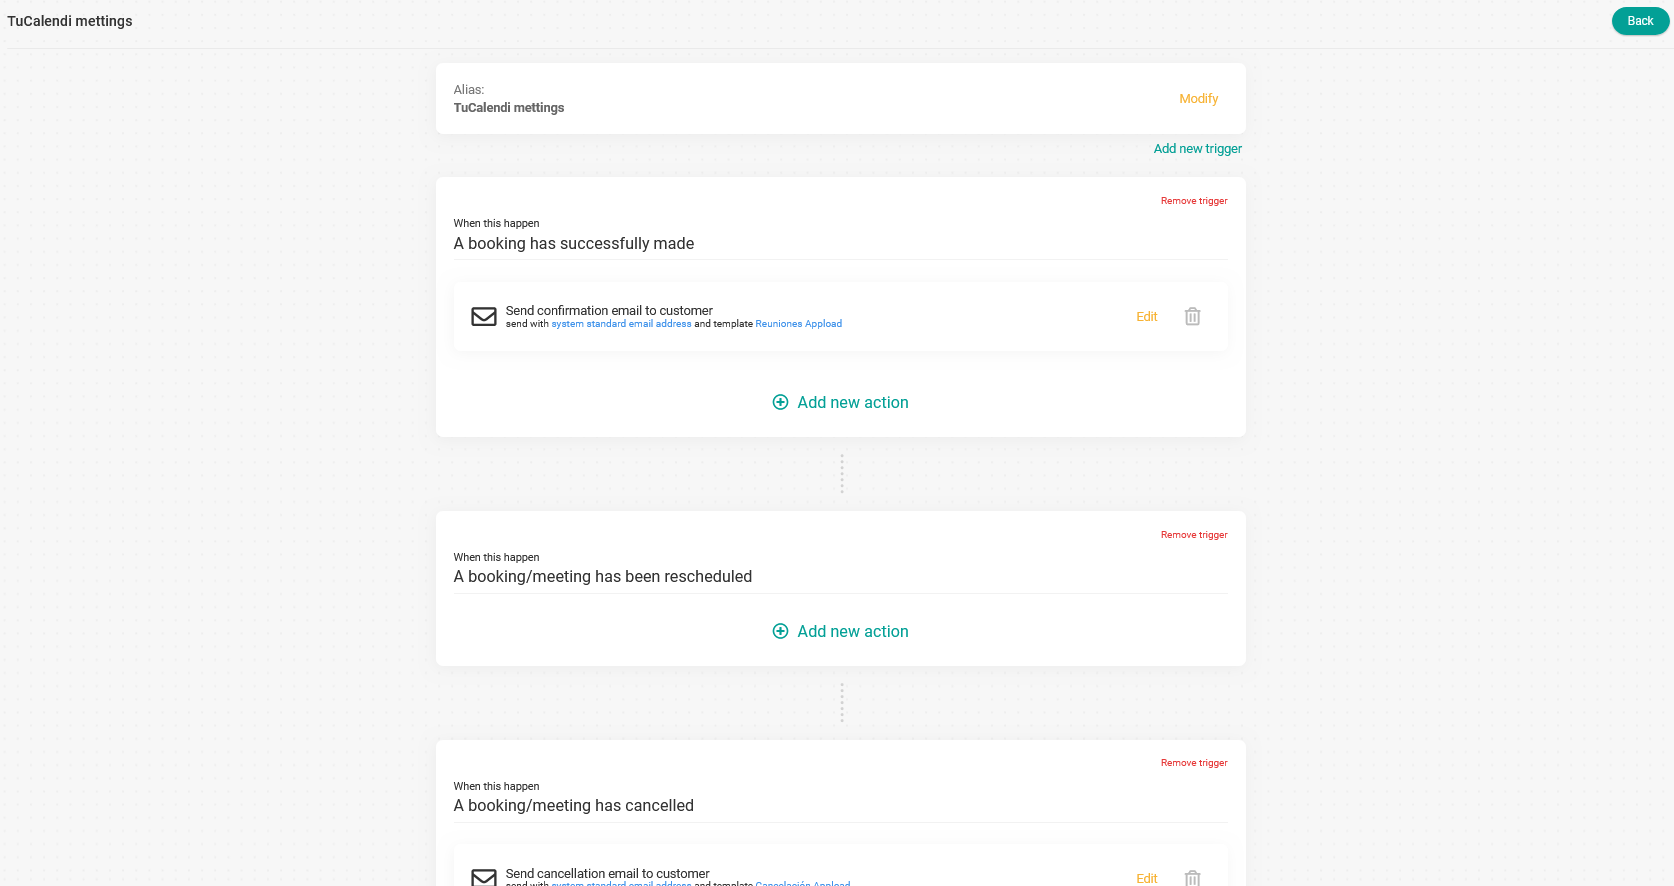
Now you need to add the action that will occur when a meeting has been rescheduled.
Click "Add new action" in the corresponding trigger:
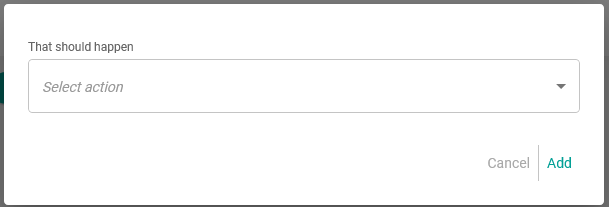
Select the action from the drop-down menu:
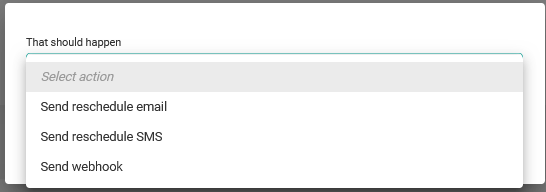
Since you want the rescheduling email to be sent when the customer has rescheduled the booking, select the action "Send reschedule email":
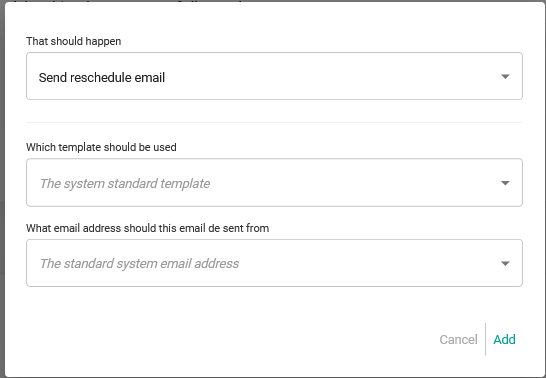
Choose the rescheduling template you want to send and the email account the rescheduling email will be sent from, then click "Add":
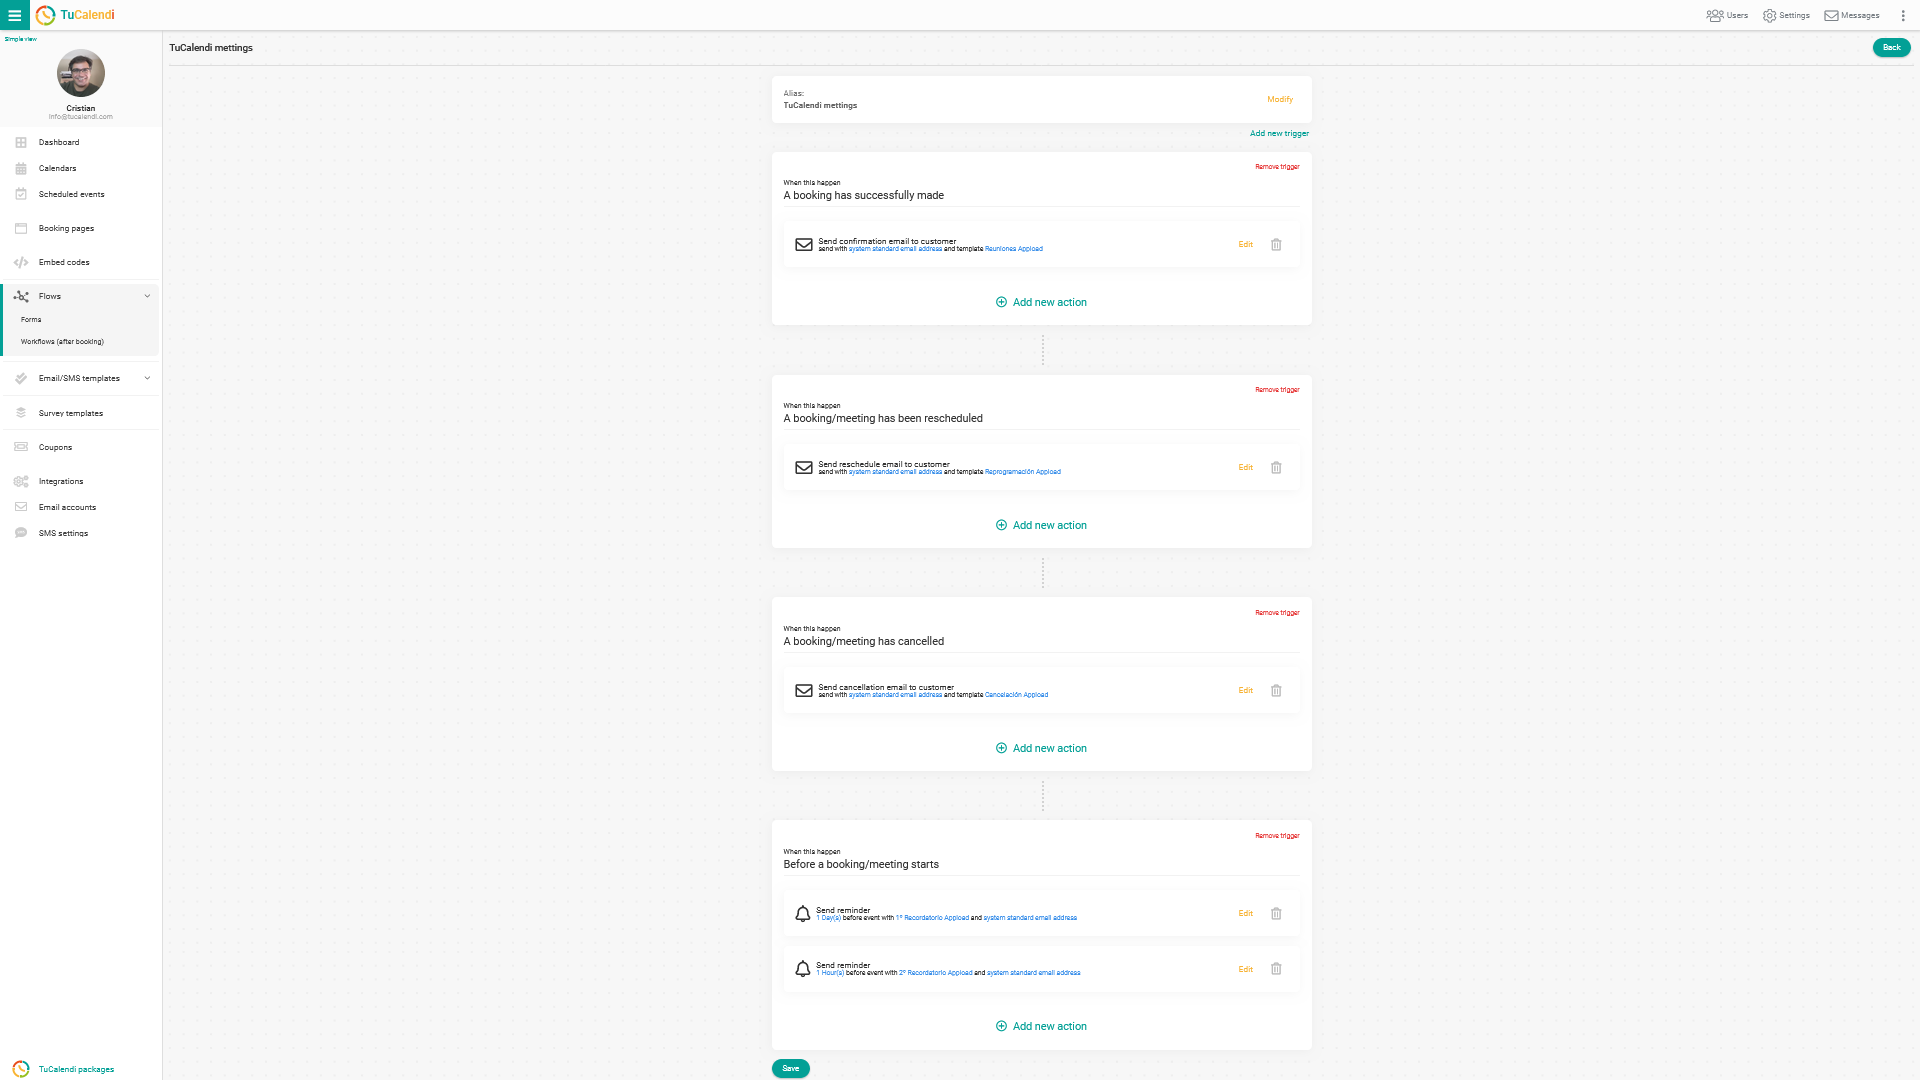
When you're done editing the workflow or each step you're adding, click "Save".
After editing, the workflow now consists of four automations:
- Send confirmation email.
- Send reminder emails.
- Send cancellation email.
- Send rescheduling email.
It will be applied to all events assigned to this workflow.