
Sometimes users contact our support team because, when they make test bookings to check their configuration and make sure everything works correctly, they notice that they don't receive the confirmation email they created. We are often asked: why aren't the notifications I created being sent?
If you have created your own email templates:
- Template for confirmation of a completed booking.
- Templates for reminders of the upcoming meeting.
- Template for cancellation of an appointment.
- Template for rescheduling a booking.
- Follow-up template for after the meeting has taken place.
to send your customers the right message at the right time, you need to create workflows with the corresponding automations for sending your personalized emails and assign the events to the workflows.
If you do NOT create a workflow, the system's standard confirmation email, which is in English, will be sent.
A workflow is an automation process that performs the desired actions when a specific event occurs.
With workflows you don't have to worry about anything, because TuCalendi takes care of the work automatically.
The simplest workflow sends the confirmation email template you created whenever a customer makes a booking with you.
Creating a workflow is very simple.
Log in to TuCalendi with your username and password. In the side menu, click on "Flows":
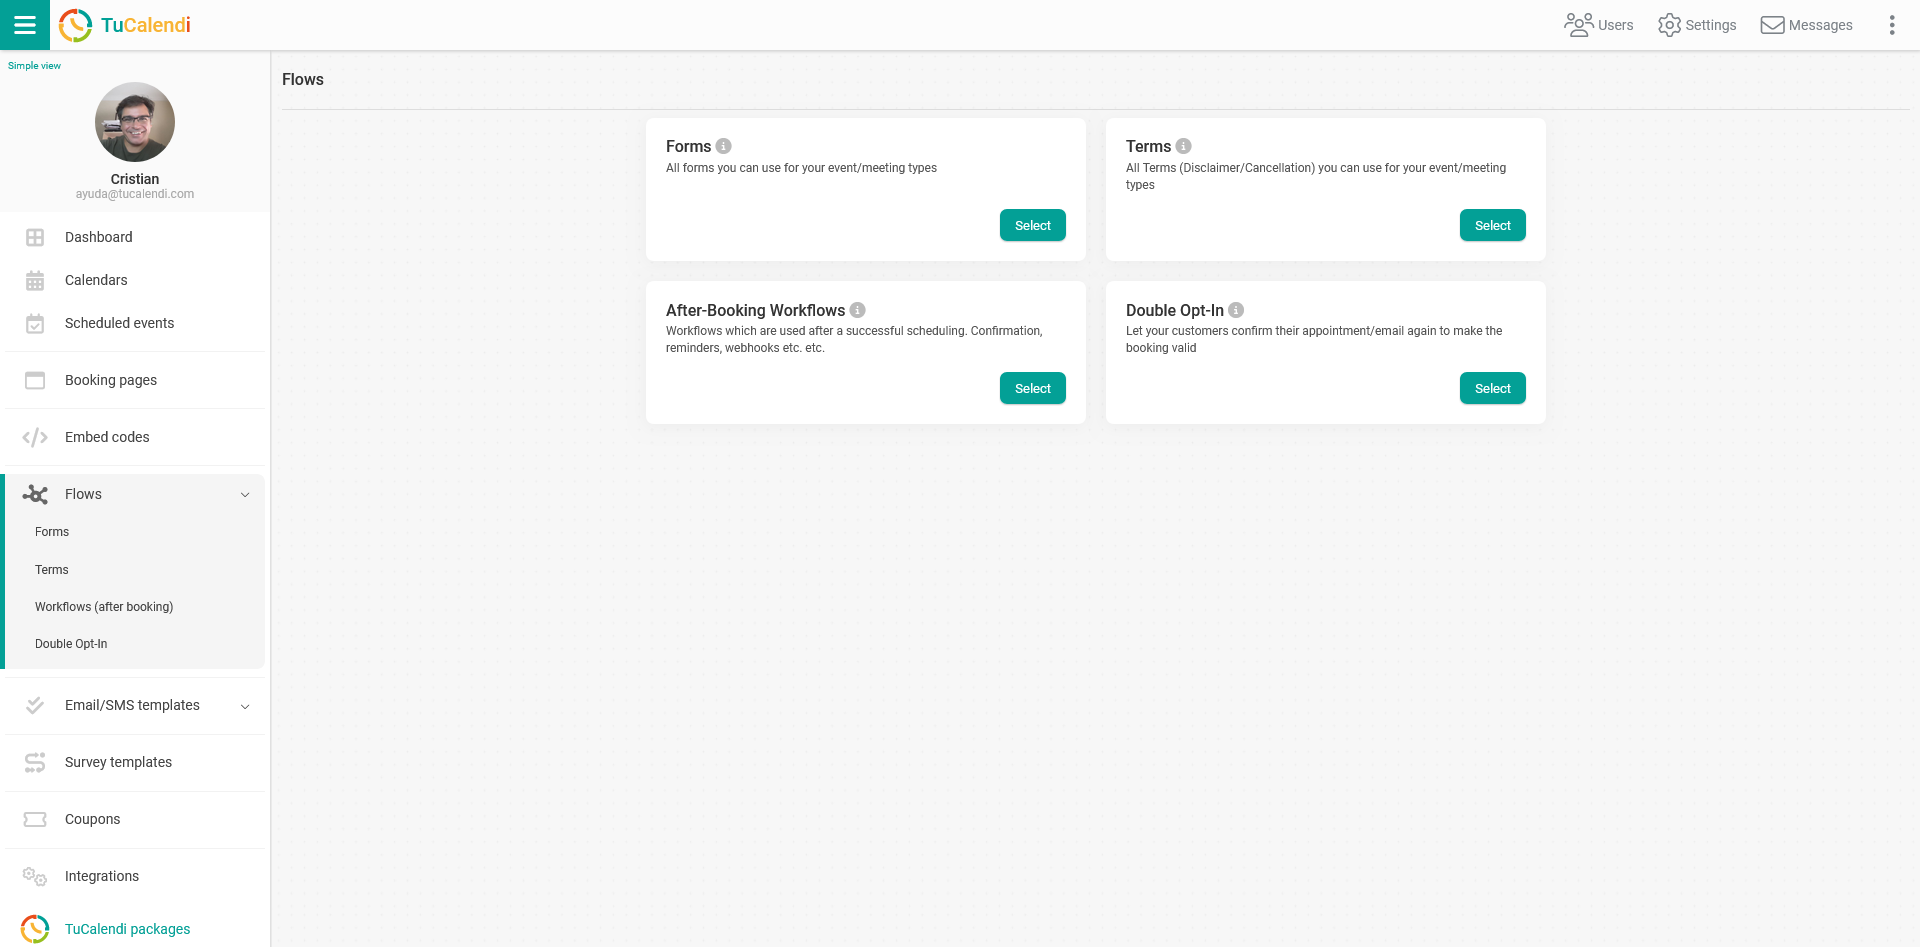
In the "Workflows (after booking)" option, click on "Select":
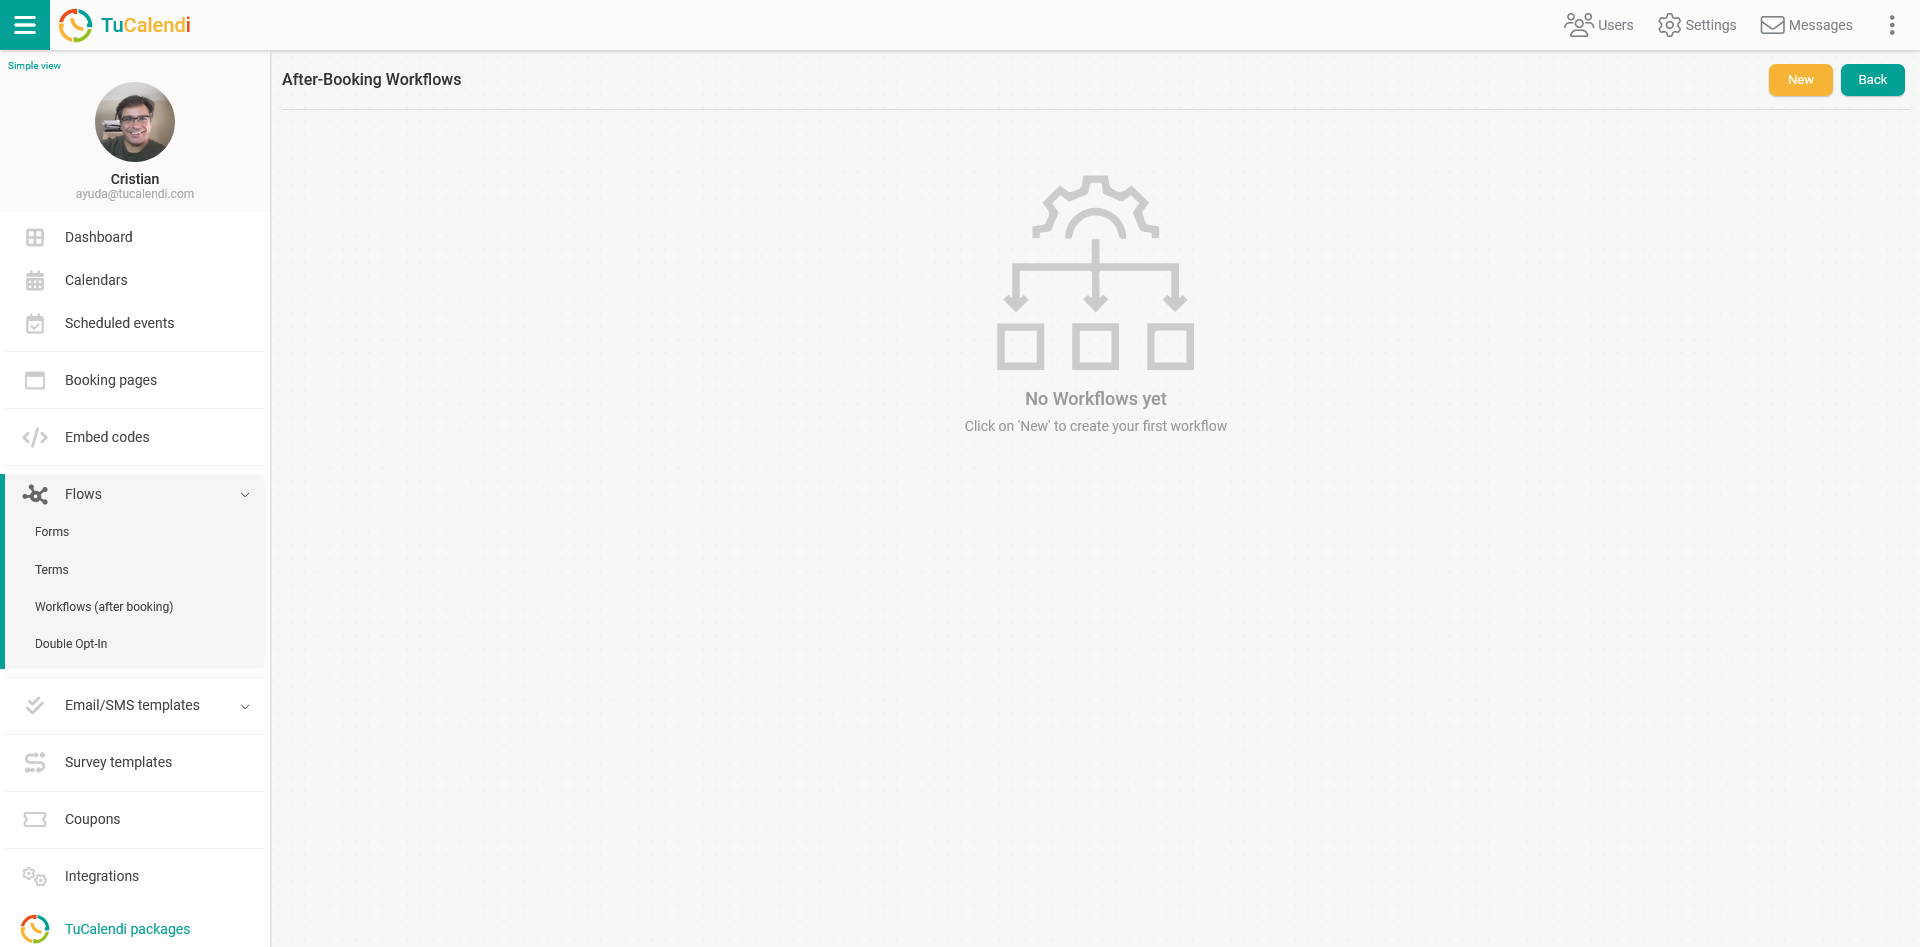
The list of workflows is empty because no workflow has been created yet.
Click on "New" to create a workflow.
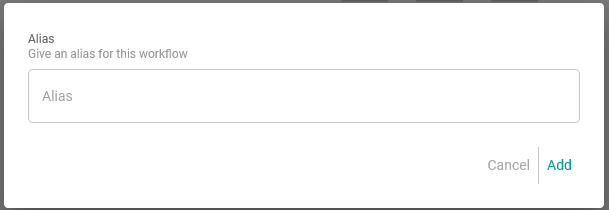
Start by giving the workflow you are creating a name. Once you have it, click on "Add".
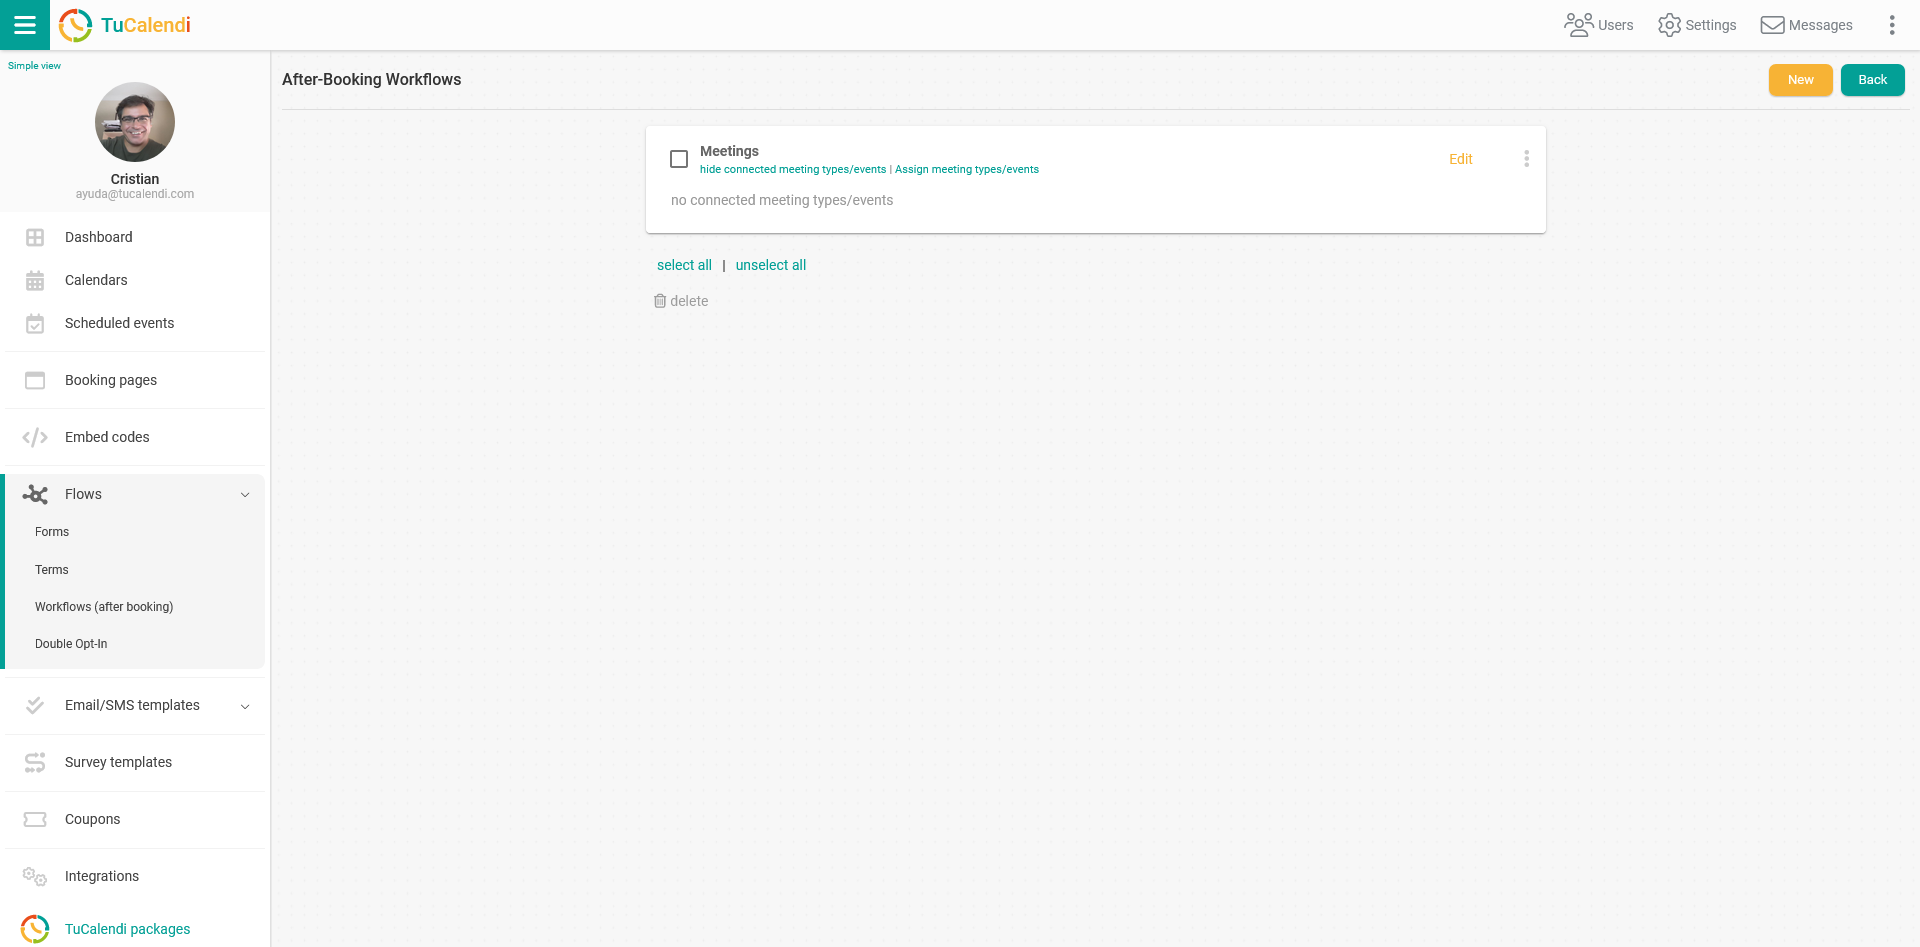
Then click on "Edit" to add the different automations to the workflow you created.
The workflow doesn't have any automations yet.

Every automation is based on two key concepts:
- Trigger: This is the event that starts an automation.
- Action: This is the task that is performed in the automation.
The structure of an automation is as follows:
When something happens (trigger), do the following task (action).
Trigger
The first step of the automation is to start it when something specific happens.
To begin, click on "Add trigger":
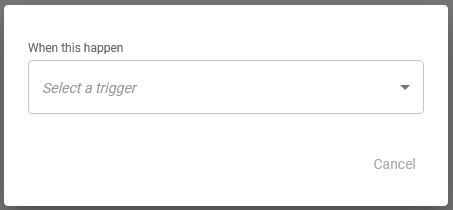
Select the trigger from the drop-down menu:
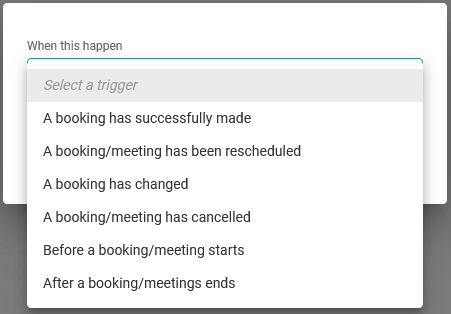
The available triggers are:
- A booking has been successfully made.
- A booking has been rescheduled.
- When a booking is changed.
- The booking has been canceled.
- Before the meeting starts.
- When the meeting has ended.
In this case, select the trigger "A booking has successfully made":
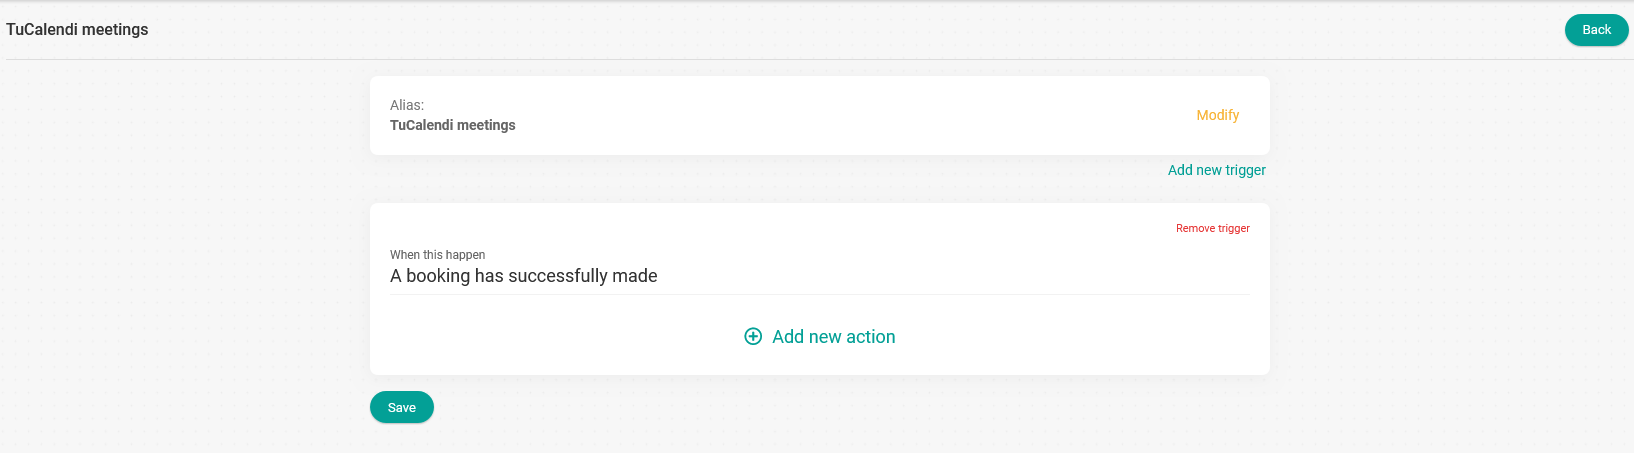
Action
The next step in the automation is to define the action that will be performed when a booking has been successfully made.
Click on "Add new action":
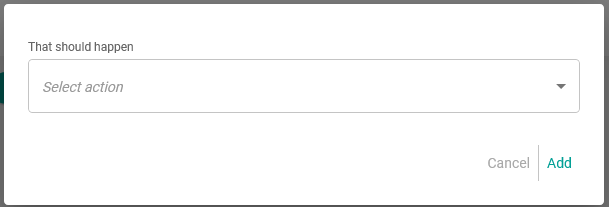
Select the action from the drop-down menu:
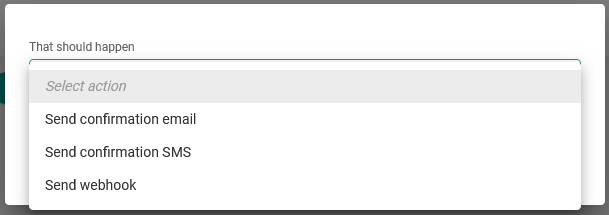
For the trigger "A booking has successfully made", the available actions are:
- Send confirmation email.
- Send confirmation SMS.
- Send webhook.
In this case, select the action "Send confirmation email":
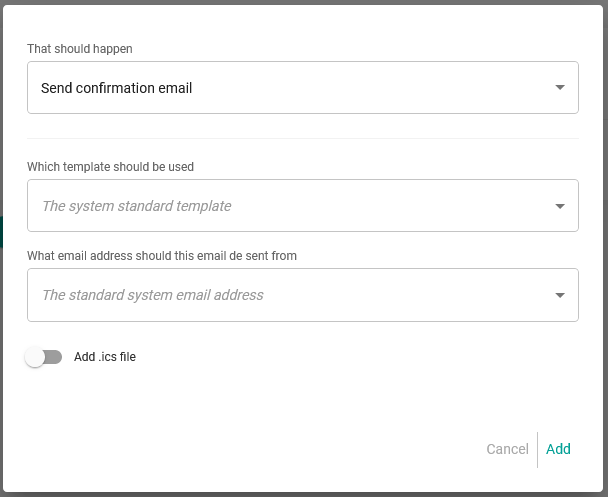
Choose the confirmation template you want to send and the email account the confirmation email will be sent from. You can also enable the "Attach .ics file" option. Then click on "Add".
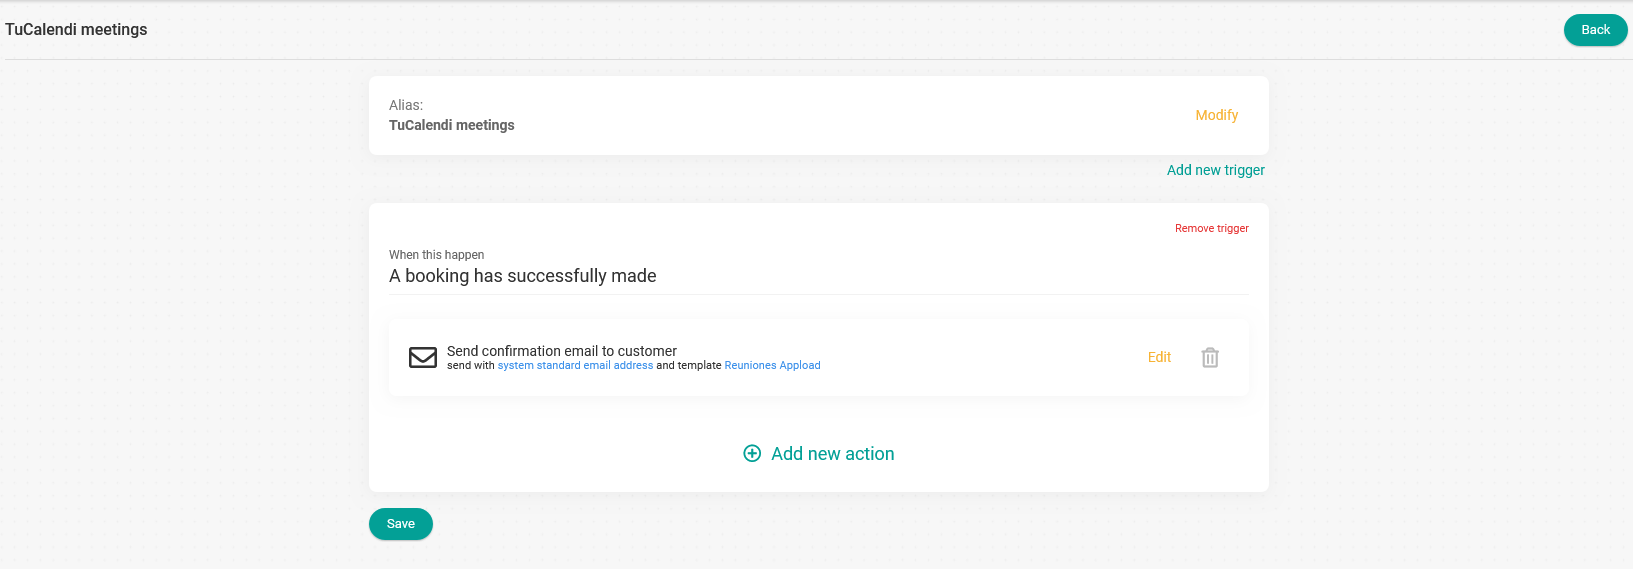
Under the same trigger you can add any of the available actions. Just repeat the process by clicking on "Add new action".
When you're done, click on "Save" and the workflow will be saved.
IMPORTANT: You can add multiple triggers to a workflow.
Assign events
The final step to complete the workflow is to assign the events where you want this workflow to be triggered.
Go back to the main workflow menu and click on "Assign events":

You can now choose the events you want to assign to the workflow:
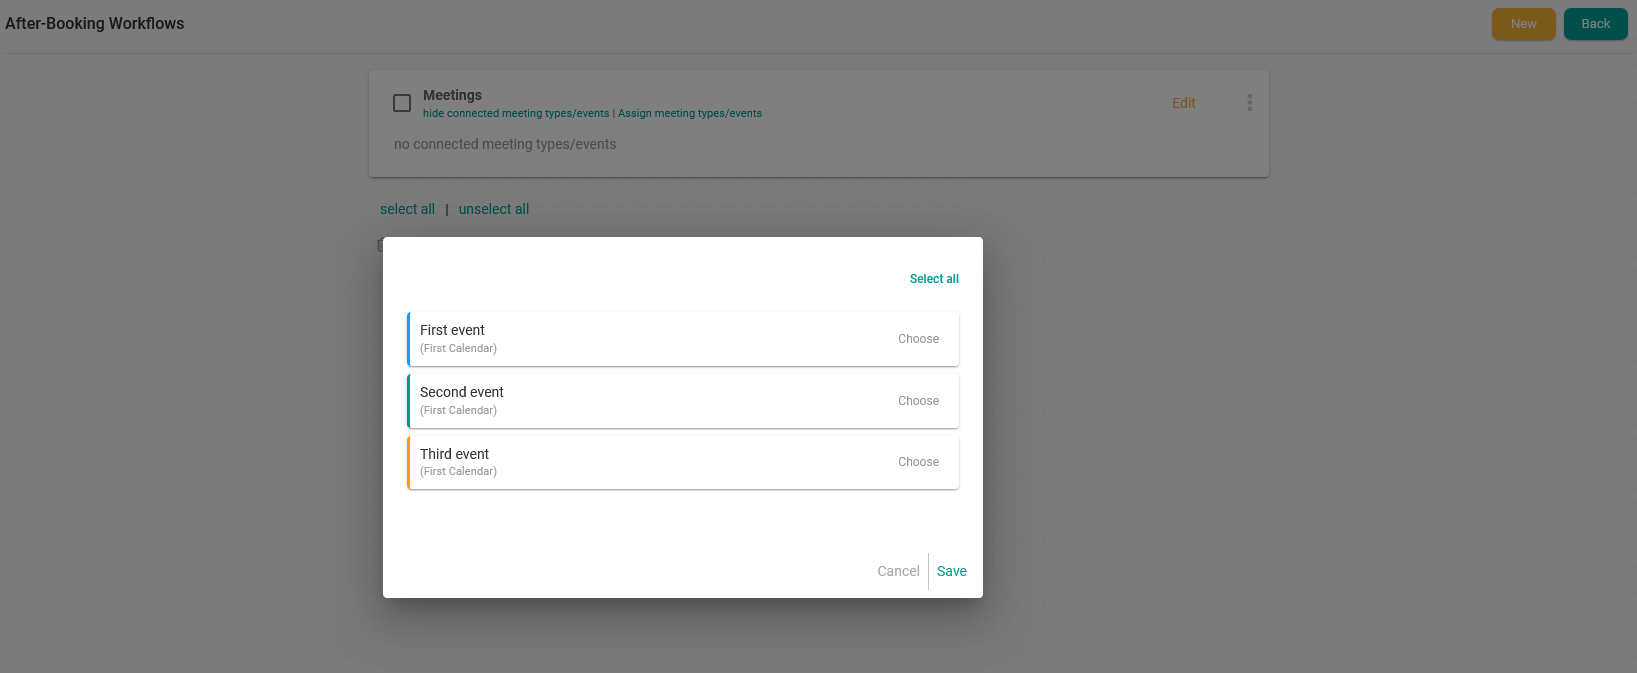
You can select events individually by clicking on "Choose" next to the event you want, or click on "Select All" to choose all available events.
IMPORTANT: The same event cannot be assigned to two different workflows.
Once you have selected the events you want to assign to the workflow, click on "Save":
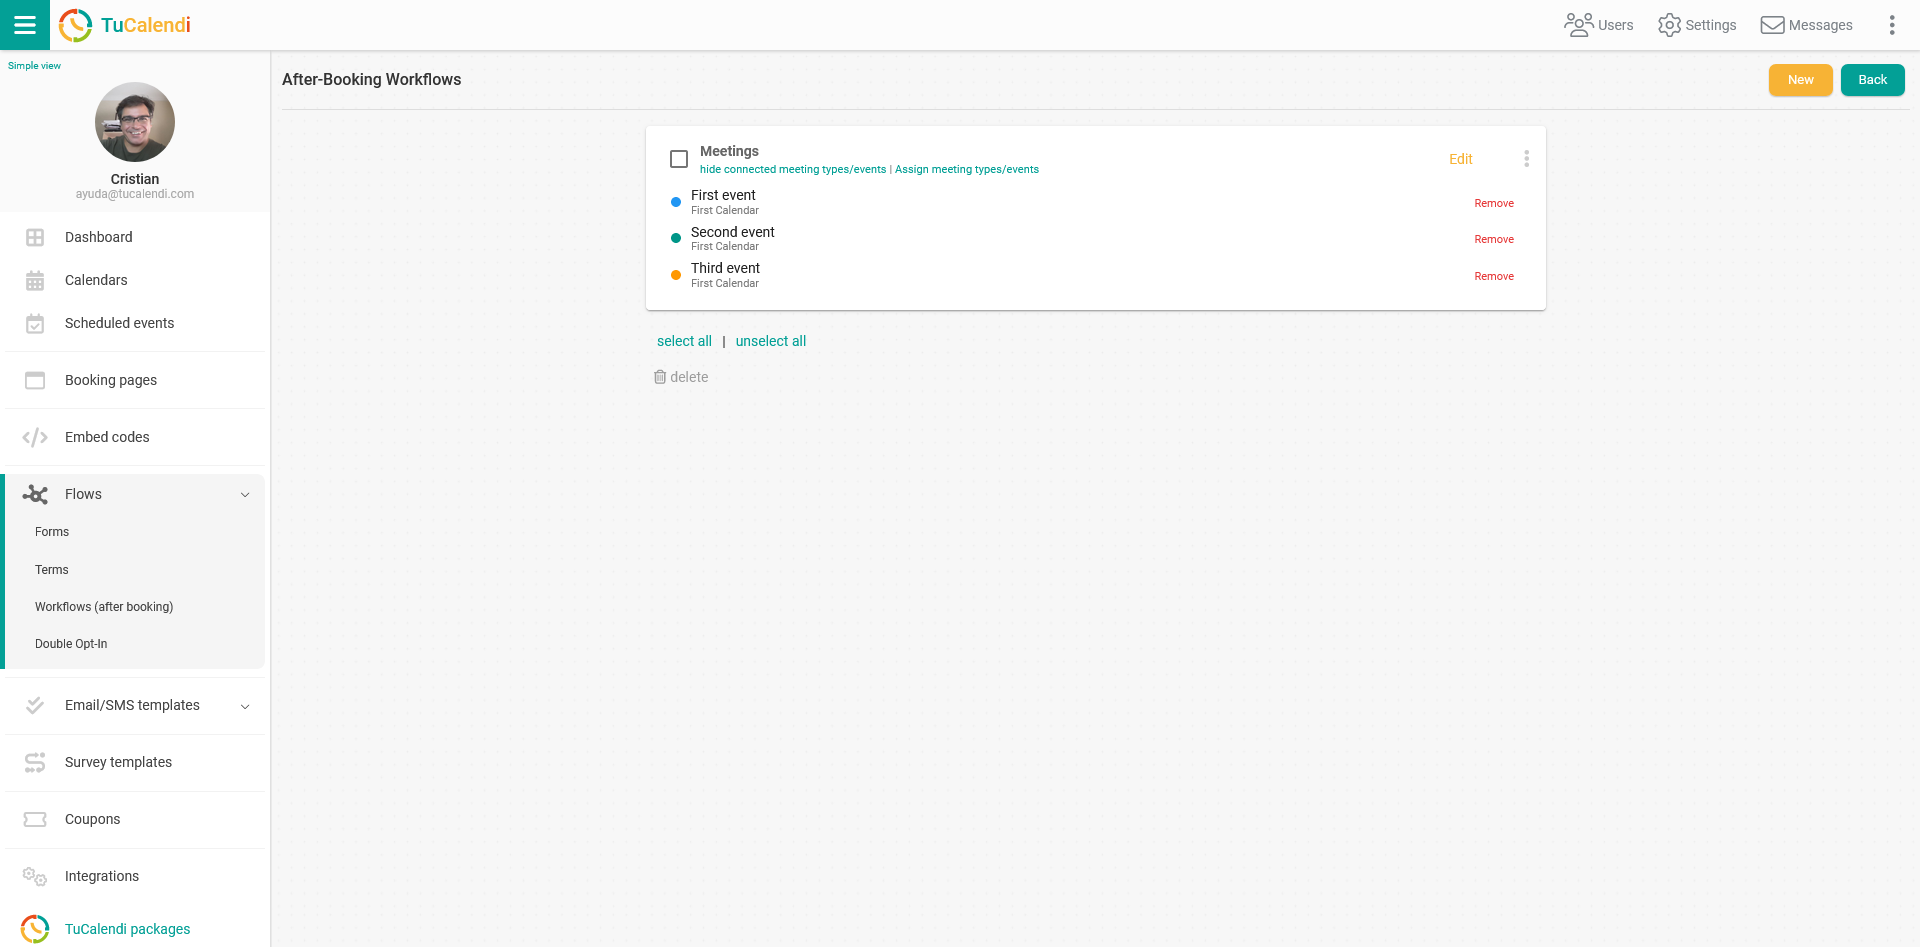
From this moment on, the workflow is active. In this case, whenever someone books a meeting for any of the events assigned to the workflow, the confirmation template you created will be sent.
At any time you can modify the workflow you created by adding or removing triggers or actions. Of course, you can also add or remove assigned events.