How to set up your own confirmation page
By default when a person makes a reservation with you from the TuCalendi widget the standard confirmation page is displayed. You can customize this confirmation page and create your own.
Let's see how to set up your own confirmation page for TuCalendi bookings.
Login to TuCalendi with your username and password. Go to the "Calendars" option:
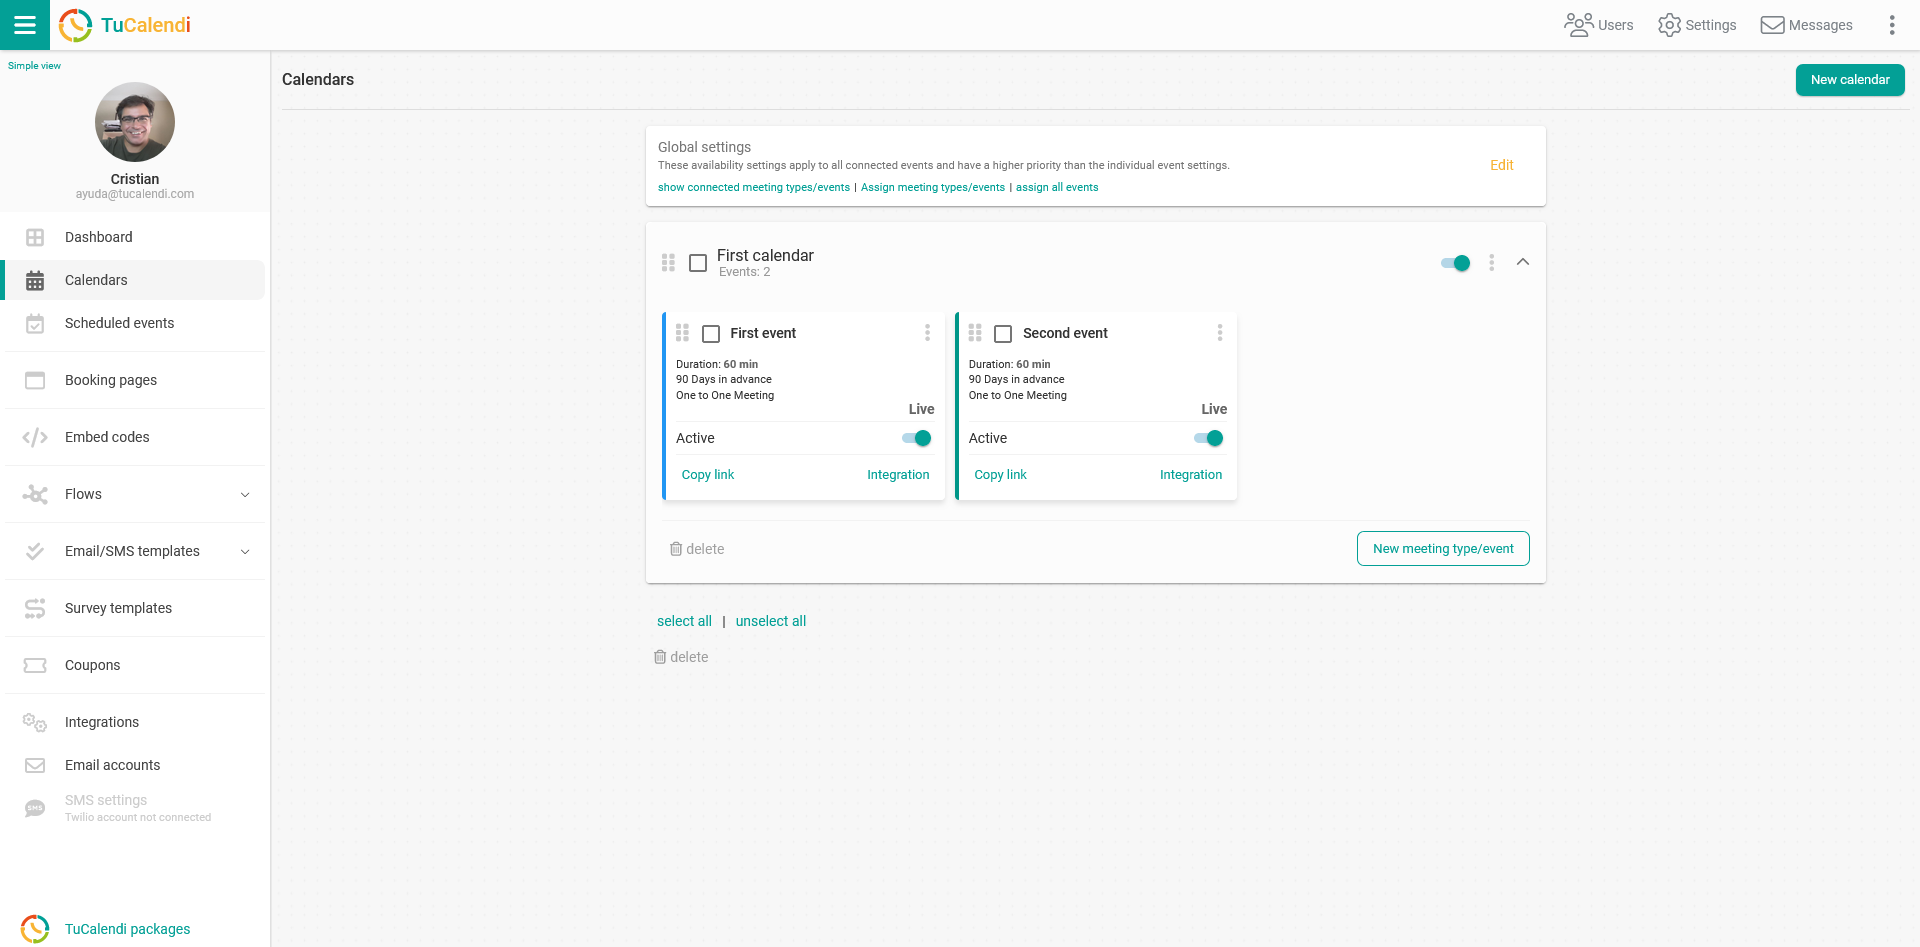
Locate the event you want to customize the confirmation page with your own page and click on the event name.
In the horizontal menu, all the event configuration options appear.
Click on "Advanced".

In the "Confirmation Page" field click to drop down the menu:
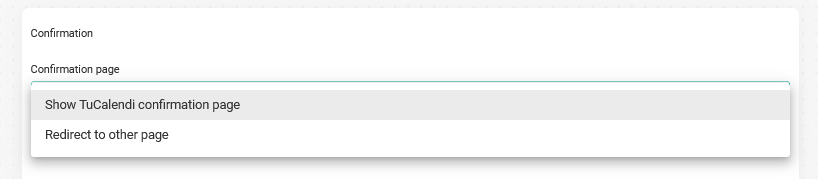
Choose the "Redirect to other page" option:

In the "Redirect link" field you only need to enter the URL of the confirmation page you have created and have it hosted on your own server.
Also if you want the variables with the booking information to be added to the URL, you only have to activate the option. This way you will be able to create your own script to customize the confirmation page with the booking data.
When you have done this click on the "Save" button to save the changes and start displaying your own confirmation page when your customers make a reservation with you.