How to create your first event?
Once you have created a calendar you can start adding all the events you need.
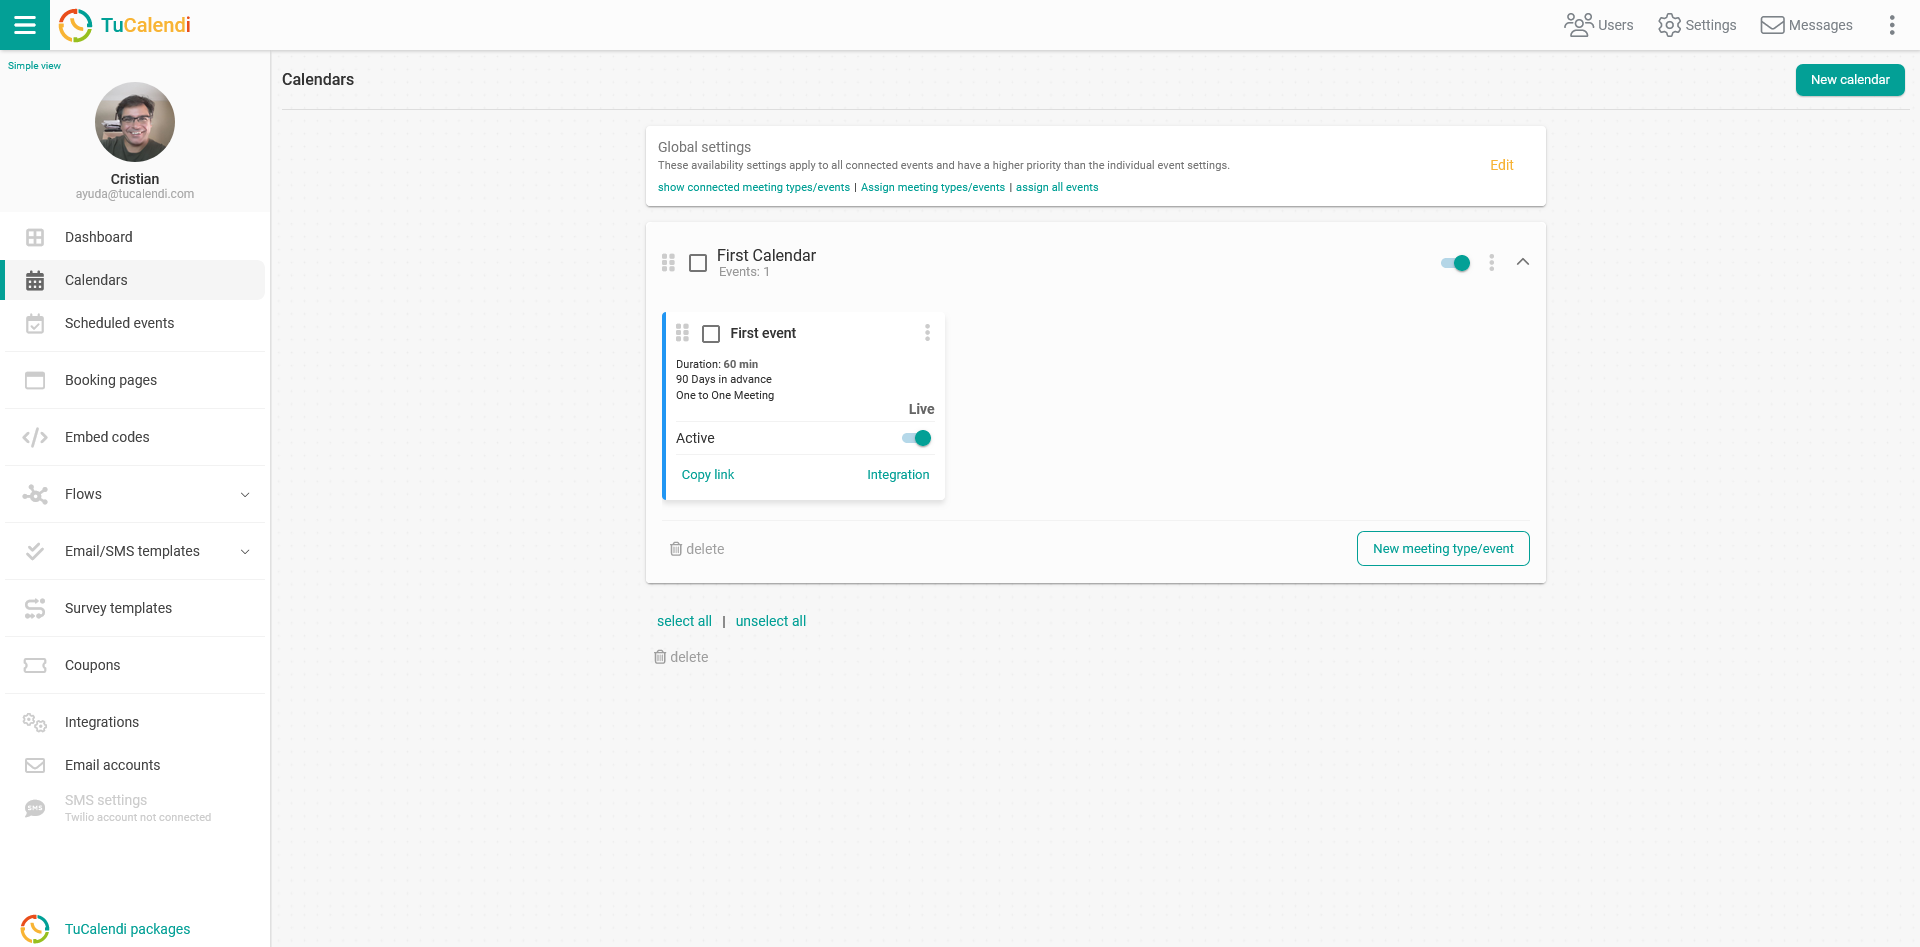
Log in with your TuCalendi username and password, go to the "Calendars" option. When you click on the calendar you will see the events it contains.
In this case, as we have not yet created any event for our calendar, it will appear as follows:
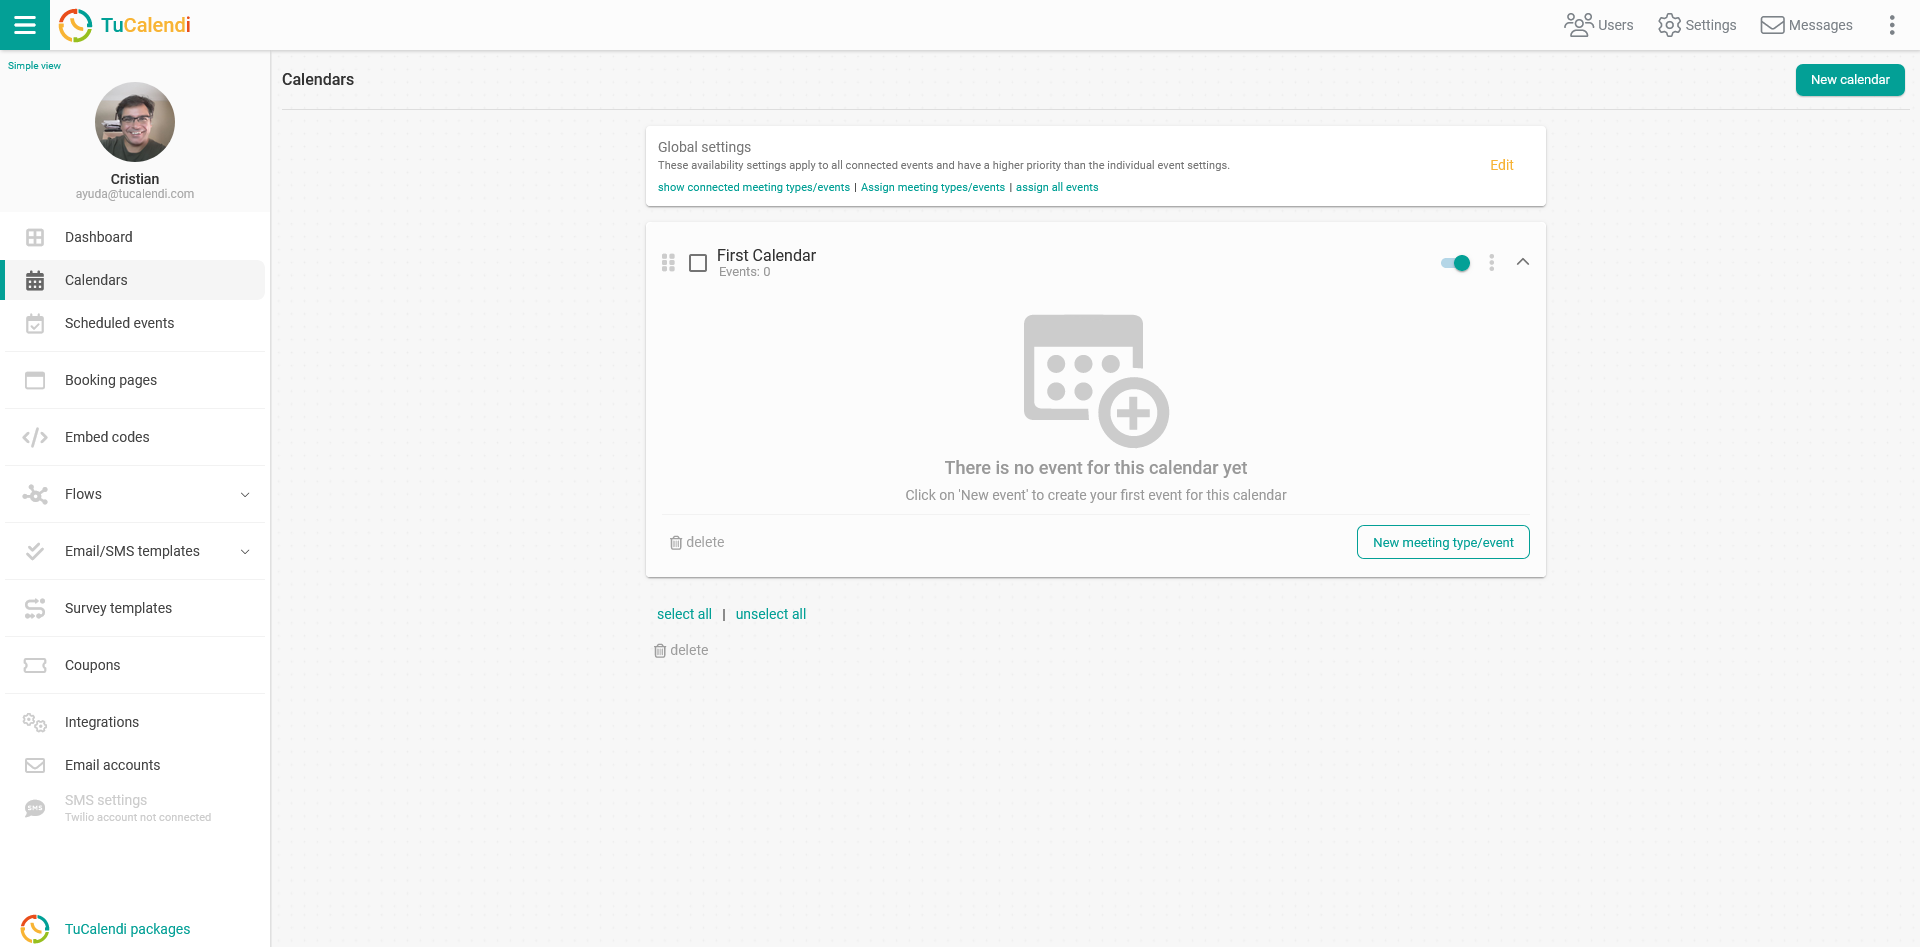
Click on the "New event" button to start creating your first event
The first step is to select the type of event. You can choose between "One to One Meeting" and "Group Meeting".

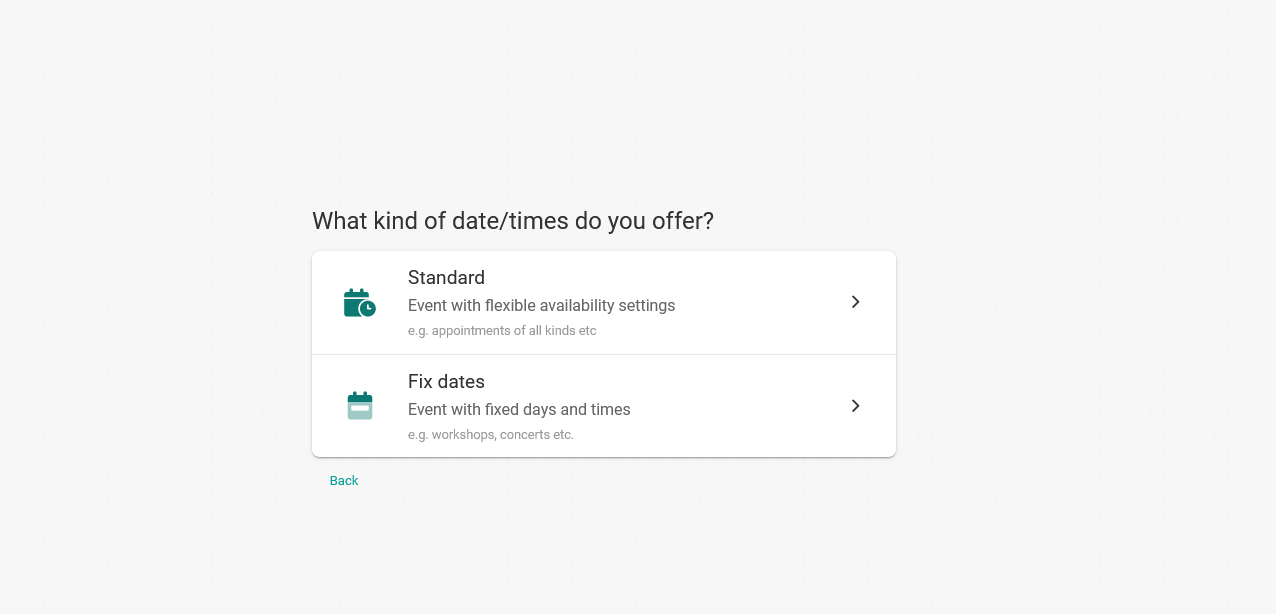
Next, depending on the type of dates and times you want to offer, you must define the mode of the event, standard or an event of fixed days and dates.
The next step is to establish the basic data such as the name, a brief description, the link that the event will have and a color that identifies it.
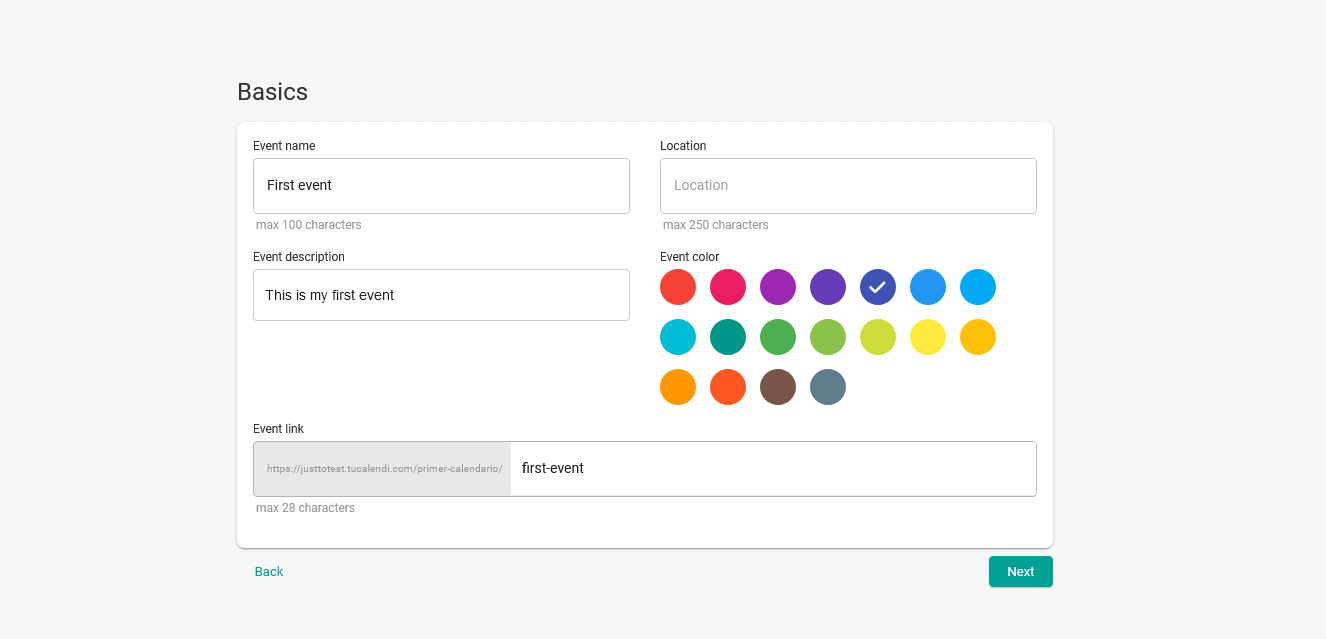
In the "Location" field you can indicate the location of the event.
Click on "Next" to continue creating the event.
Now you need to configure the availability settings. There is a section within the TuCalendi help where we explain exactly each of the options of the availability settings:
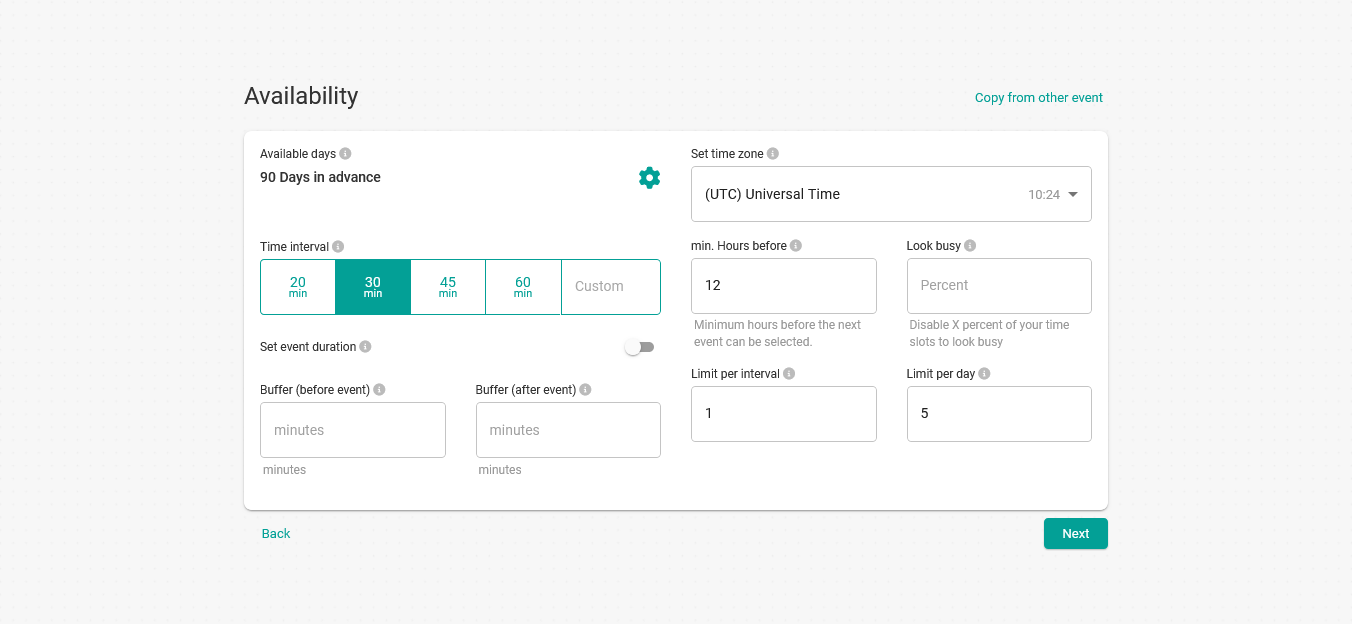
Click "Next" to set the time the event will be shown:
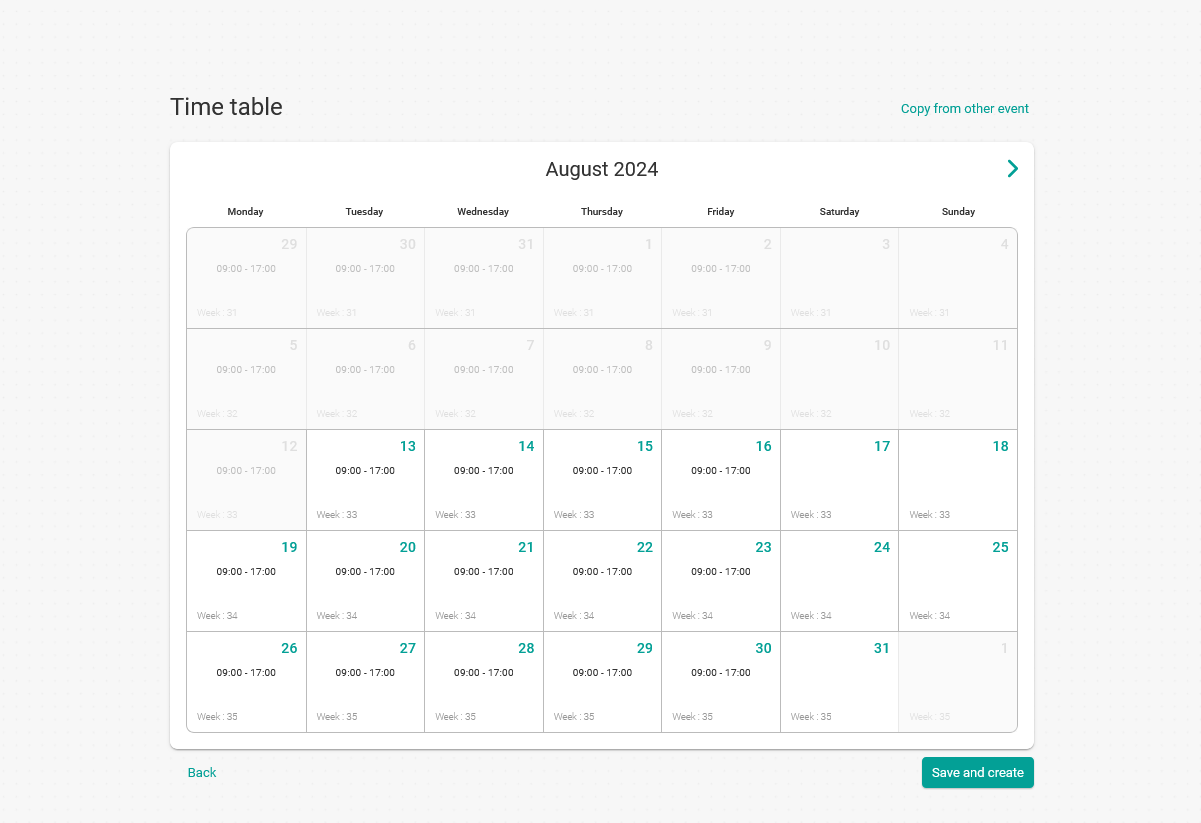
Click on "Save and create", and you will have created any event.
After you have created an event by indicating the different data, you can edit the event and modify it at any time.
When creating an event, by default it is created with a standard form, the form is the information requested to the client to make a booking. In the standard form the following information is requested:
- First name.
- Last name.
- e-mail.