How do I add the booking function to my website?
In this tutorial, we’ll show you how easy it is to add the online booking functionality for meetings, appointments, or any event you schedule with TuCalendi to your website.
There are several ways to integrate TuCalendi’s features into your website:
- Include a link on your website to the booking page.
This is the simplest option. It involves linking any element on your website to your personal online booking page on TuCalendi.
- Add a booking button on a specific page of your website.
This option involves placing a button on a specific position on your contact page or any other page within your website.
- Add a booking button on all pages of your website.
In this case, the booking button is placed as a "floating button" in the same spot on all pages (bottom right corner).
The advantage of this option is that visitors immediately see the booking button and can book an appointment from any page.
- Display the booking page as an inline calendar on your website.
With this option, TuCalendi’s online booking feature is displayed as a fixed-position window on a specific page of your website.
Option 1: Link to the booking page
From your website’s content management system, create any element or add a link to your TuCalendi booking page to any word or phrase in the content.
To find the link to your calendars or any event you’ve created in TuCalendi, follow these steps:
Log in to your TuCalendi account with your username and password. Go to the "Calendars" option.
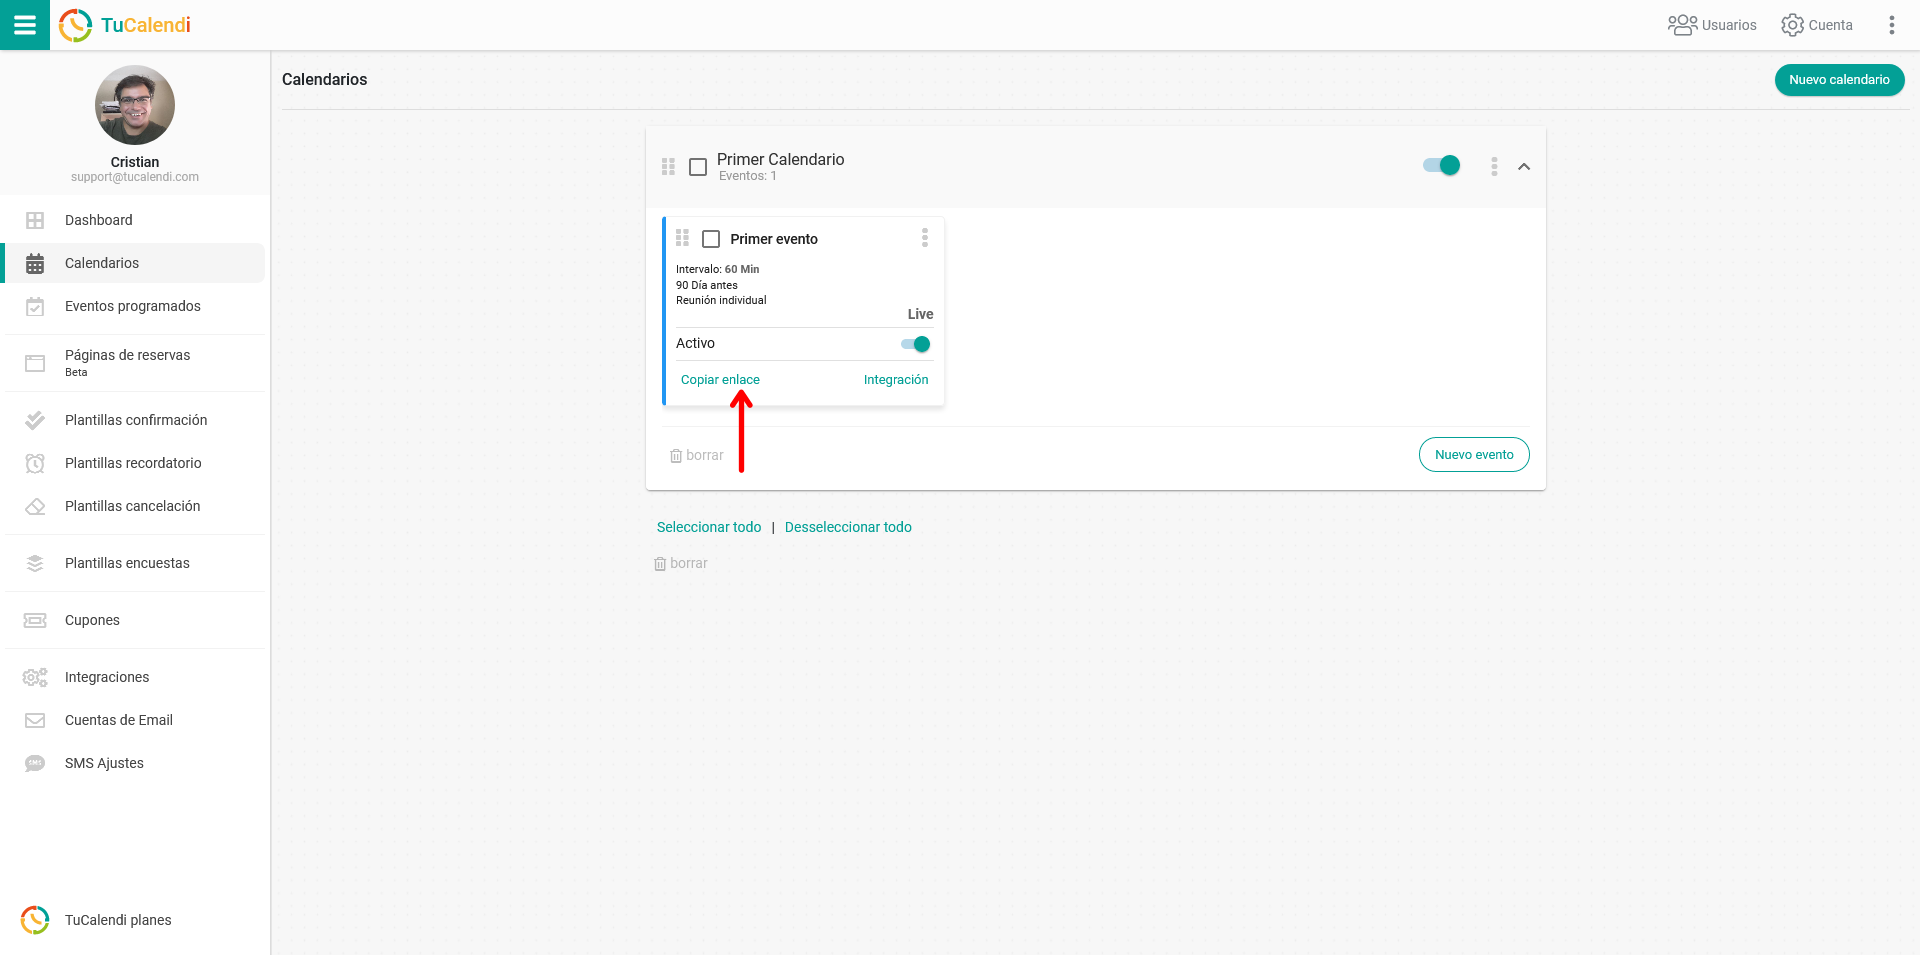
Copy and paste the URL into your content management system, in the element of your website where you want the link to appear.
Option 2: Button on a page of your website
You can add a button linking to TuCalendi’s online booking system anywhere on one or more pages of your website. For example, you could include the button on your website’s "Contact" page.
To create a button linking to your calendars or any of your events in TuCalendi, follow these steps:
Log in to your TuCalendi account with your username and password and go to the "Calendars" option.
Click on the three dots in the block of the event you want to create a button for:
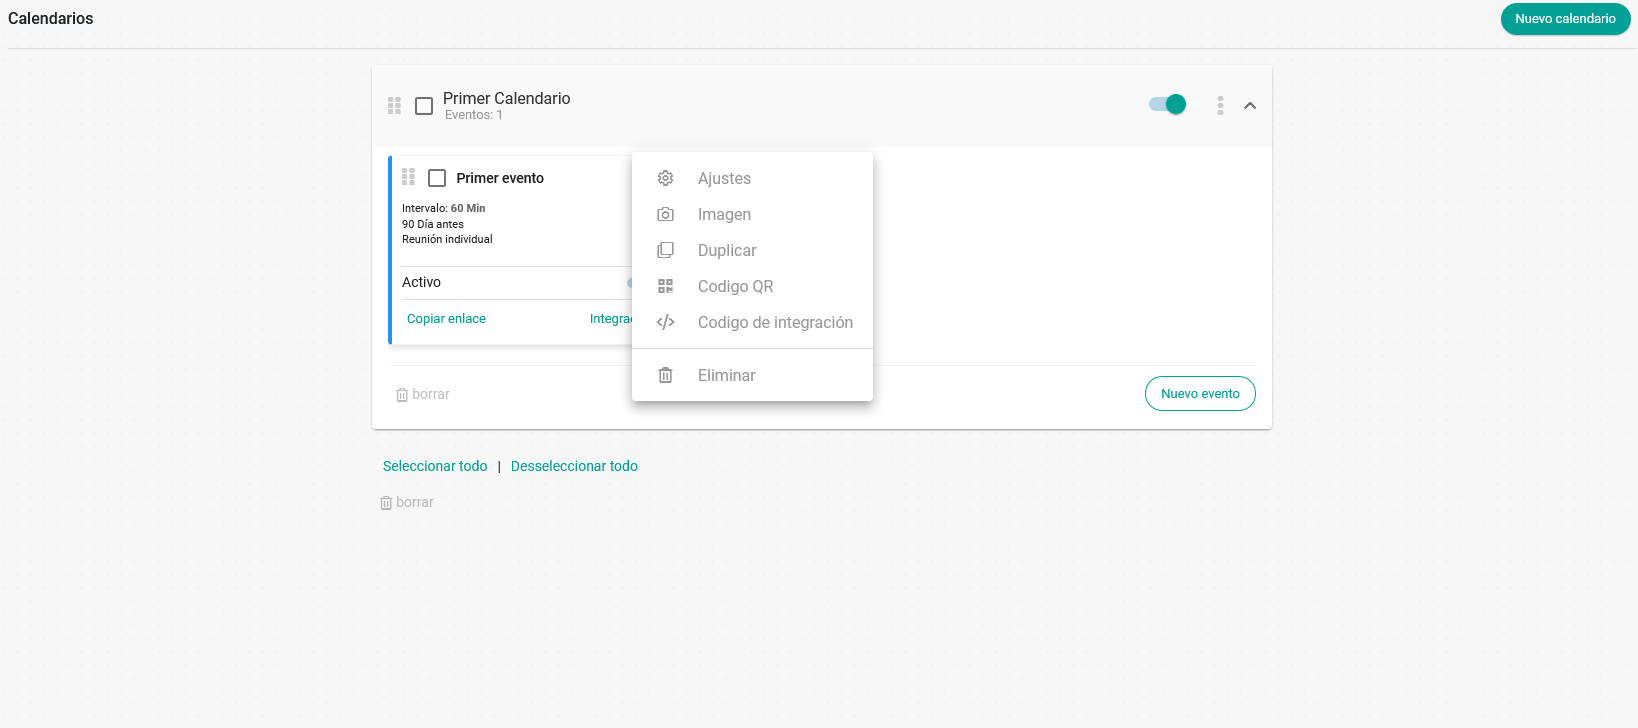
Click on the "Integration Code" option:
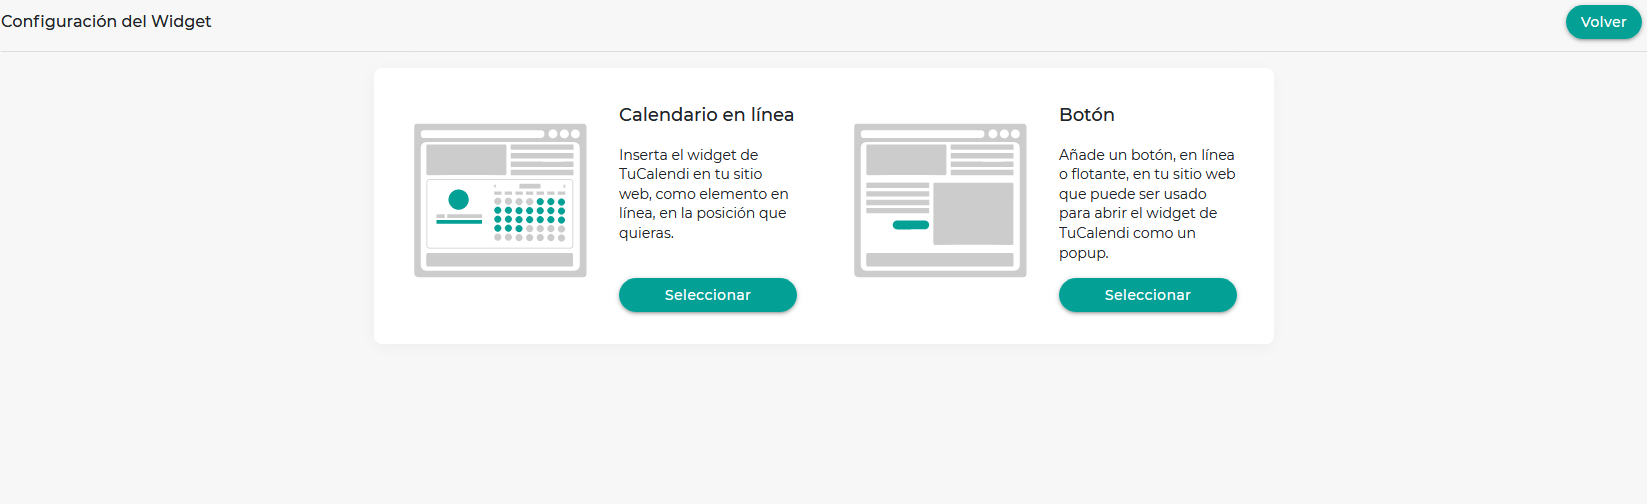
In the "Button" block, click "Select":
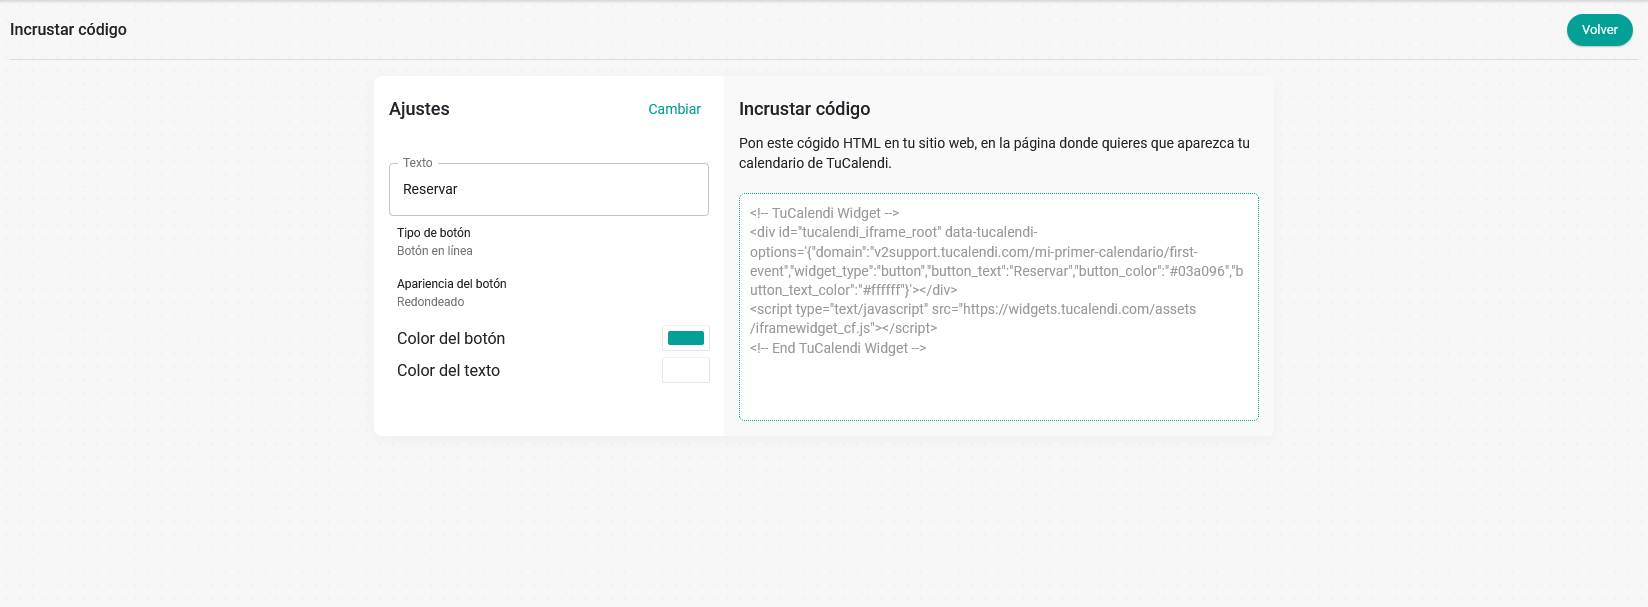
You don’t need programming knowledge; simply configure how you want the button to appear. Copy the code displayed in the "Embed Code" block and paste it into the desired location on your website page using your content management system.
Option 3: Floating button on all pages of your website
With the floating button option, the button will always appear at the bottom right corner of every page of your website, allowing your visitors and clients to book with you or your team from any page.
The process is the same as described in Option 2, but for this case, do the following:
Once in the button configuration option, go to the "Button Settings" block and choose "Floating Button" under "Button Type". The code will update to create this type of button.
Next, copy the code displayed in the "Embed Code" block.
Finally, paste the code into the header of your website’s source code, just before the </head> tag, using your content management system.
Option 4: Inline calendar on a specific page of your website
With this option, TuCalendi’s solution integrates as a window in a fixed and specific position on the page of your choice.
This process is also very straightforward. We’ve made it easy so that no technical knowledge is required.
Log in to your TuCalendi account with your username and password and go to the "Calendars" option.
Click on the three dots in the block of the event for which you want to create an inline calendar:
Click on the "Integration Code" option:
In the "Inline Calendar" block, click "Select":
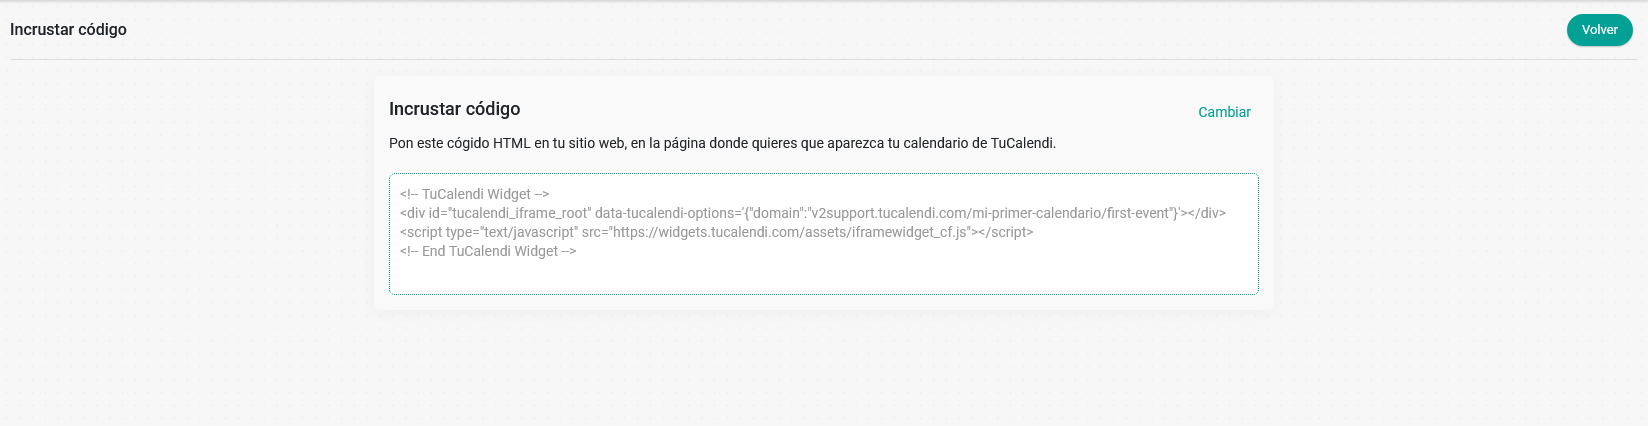
Copy the code displayed in the "Embed Code" block and paste it into the exact location on your website page where you want it to appear. You will need to use your content management system, but no programming knowledge is required.