How TuCalendi's New Booking Widget Works
This tutorial explains the basic workflow of the TuCalendi v3 widget, which is used with the new meetfy.me domain. This new version of the booking widget was developed from scratch to offer a clearer, more efficient experience that is ready for the platform’s upcoming features.
Widget v3 has been built on a new technical foundation to improve performance, simplify the booking process, and facilitate the integration of new AI agent features developed by the TuCalendi team. This evolution not only enhances the current booking experience but also prepares the system for new, smarter, and more personalized scenarios.
In addition, Widget v3 is ready to integrate with location and survey features. In cases where an appointment has a physical location, the widget will be able to display a map showing the meeting location, helping the user easily identify where the appointment will take place. This functionality will be explained in more detail in a dedicated tutorial.
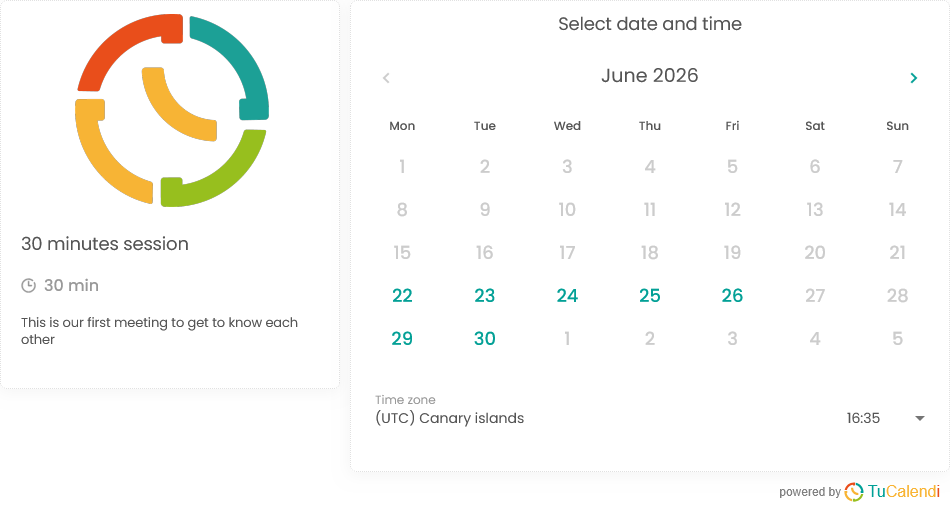
Step 1. Open the widget and view available days
When opening the widget, the user sees the main meeting information and the calendar with available days. This first screen displays the meeting type, duration, and a brief description, along with the monthly calendar.
Available days are highlighted so the user can easily identify them. The applicable time zone is also displayed, which helps prevent confusion when the booking is made from different locations.
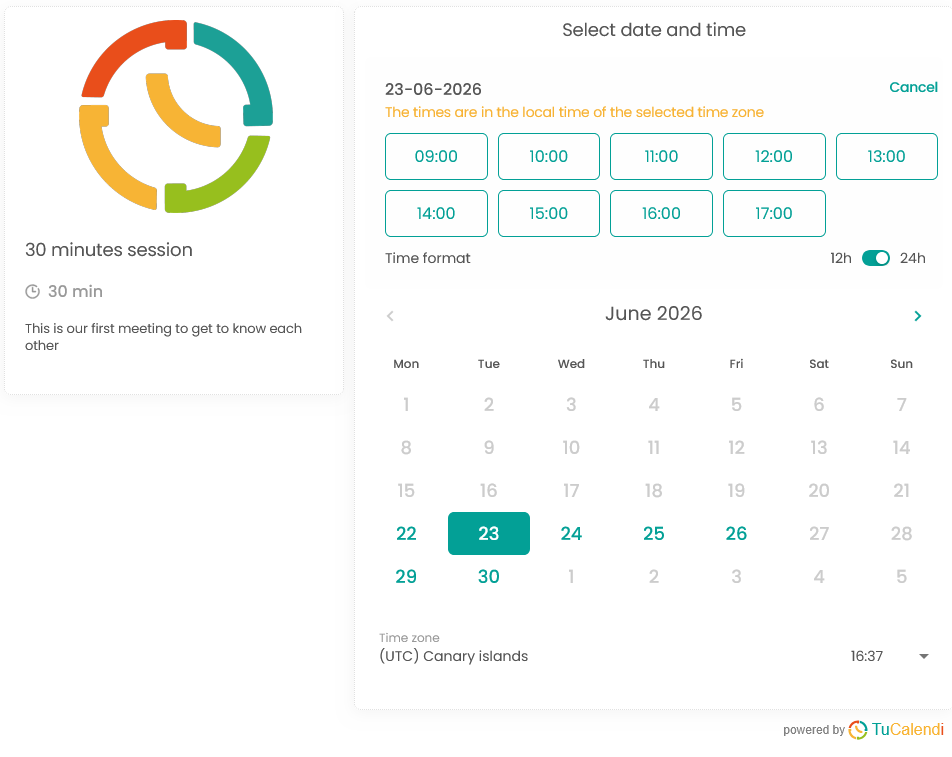
Step 2. Select a day and choose an available time
When the user selects one of the available days, the widget displays the open time slots for that date. This allows the user to directly choose the time slot that best fits their schedule.
This screen also displays the time format, with the option to view times in 12-hour or 24-hour format, depending on the widget’s settings.
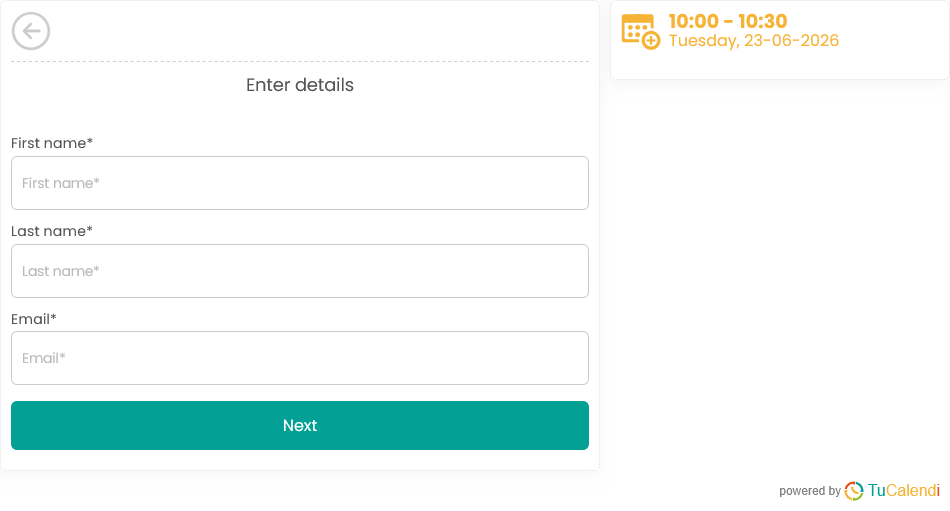
Step 3. Enter the reservation details
After selecting a time, the widget proceeds to the information form. In this step, the user must fill in the necessary information to confirm the reservation, such as first name, last name, and email address.
The selected time slot remains visible for reference, so the user can verify at any time which appointment they are booking before continuing.
Step 4. Confirm the booking
Once the information has been entered, the widget requests a final confirmation. On this screen, the user can review the email address provided and definitively confirm the booking.
This step reduces errors, as it allows the user to verify the email address before completing the process. If the user notices that the email address is incorrect, they can cancel and go back to modify the information.

Step 5. View the final confirmation
After confirming the reservation, the widget displays the final confirmation screen. It indicates that the meeting has been successfully booked, along with the date, time, confirmation code, and the email address to which the confirmation was sent.
From this screen, the user can also start a new booking if they need to schedule another event.

Summary
The TuCalendi Widget v3 has been developed from the ground up to offer a more efficient, clear booking experience that’s ready for upcoming AI agent features. Users can view available days, select a time, enter their information, and confirm the appointment in just a few steps. Additionally, the process keeps key meeting information visible to ensure that the booking is simple, secure, and easy to complete.
This new version is also ready for more advanced scenarios, such as bookings with a physical location, map views, and workflows linked to surveys. These options will be explained in specific tutorials.