How to Configure the Widget's Shadow
This tutorial explains how to configure the shadow of the TuCalendi widget using a theme template. The shadow is the visual effect that appears around the widget and helps it blend naturally into the design of the page where it is embedded.
The "Widget Shadow" field offers two configuration options:
- Custom value. Enter a CSS shadow value directly into the text field.
- Predefined templates. Click "Select" to choose one of the 9 shadow templates provided by TuCalendi.
Before You Begin
To follow this tutorial, you must go to the widget’s Appearance section and have an appearance template either created or currently being edited. The complete process for creating and assigning templates is explained in the general tutorial on how to create and assign a widget appearance template.
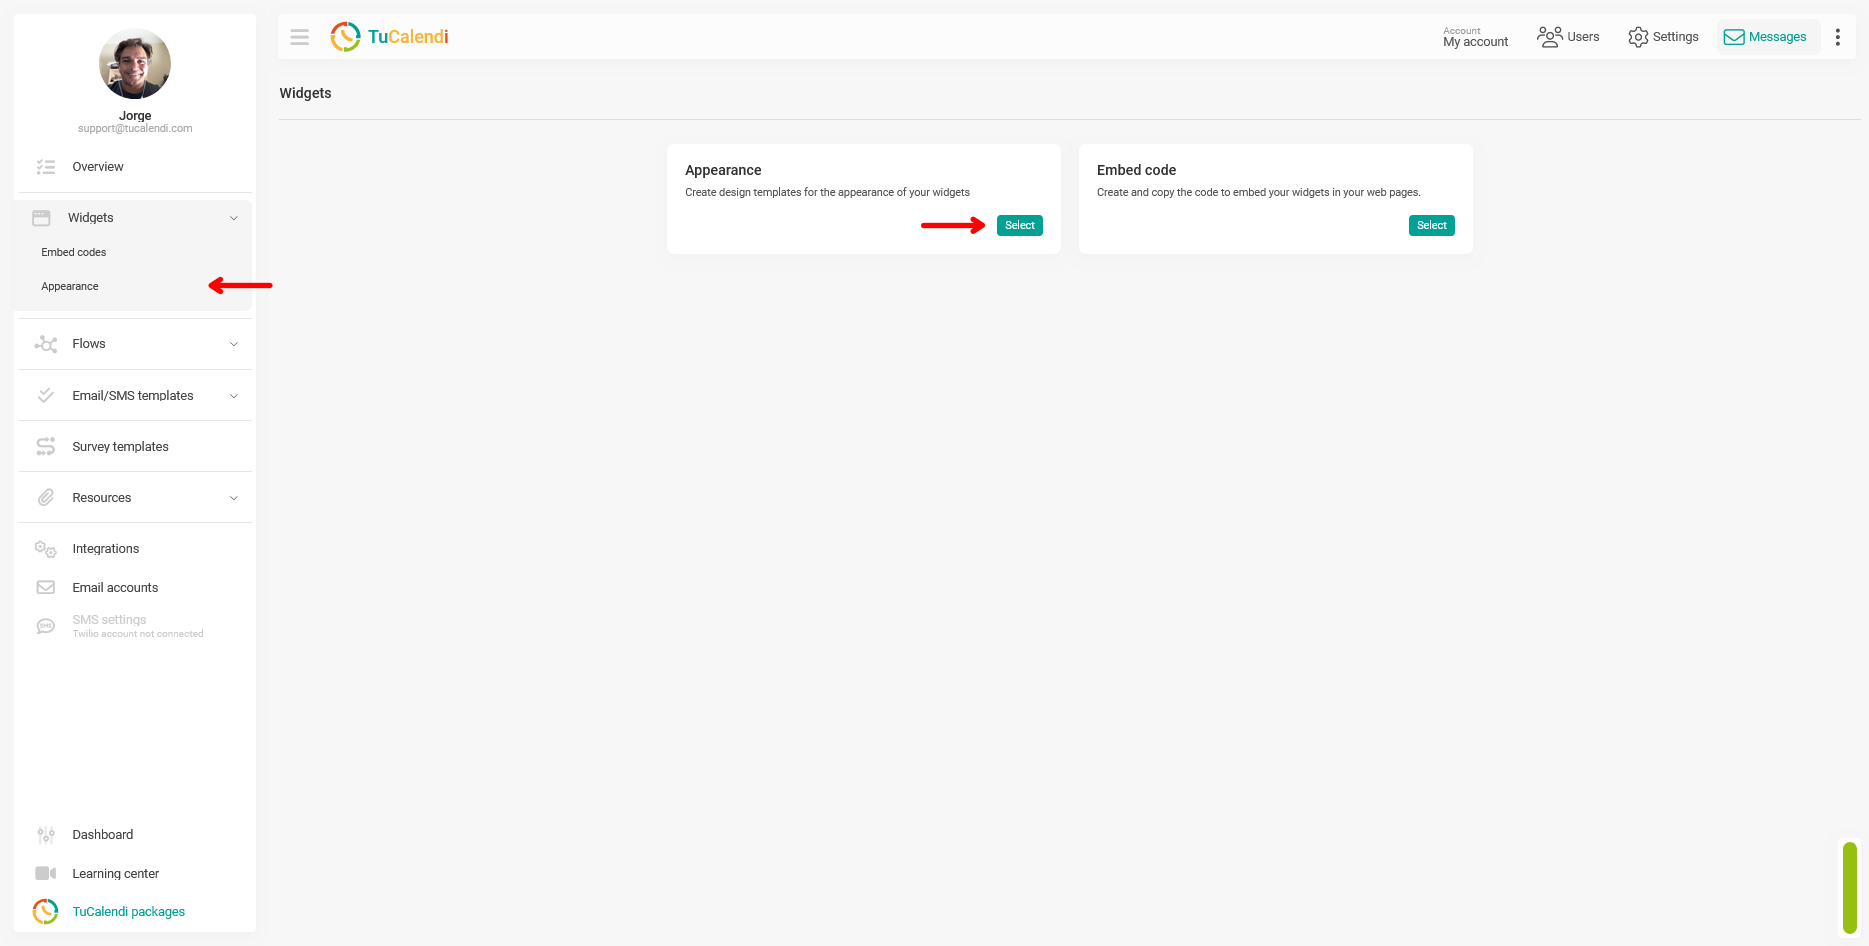
Step 1. Access the widget’s appearance
From the TuCalendi side menu, go to the "Widgets" section and select the "Appearance" option.
Step 2. Create or edit a widget appearance template
Within the "Appearance" section, create a new template or edit an existing one by clicking "Edit".

Step 3. Locate the Widget Shadow field
In the template editor, locate the "Widget Shadow" field. This field is located in the lower-left corner of the customization panel, below the color fields.
The field includes a text area displaying the CSS value for the active shadow, and a "Select" link to access predefined templates.
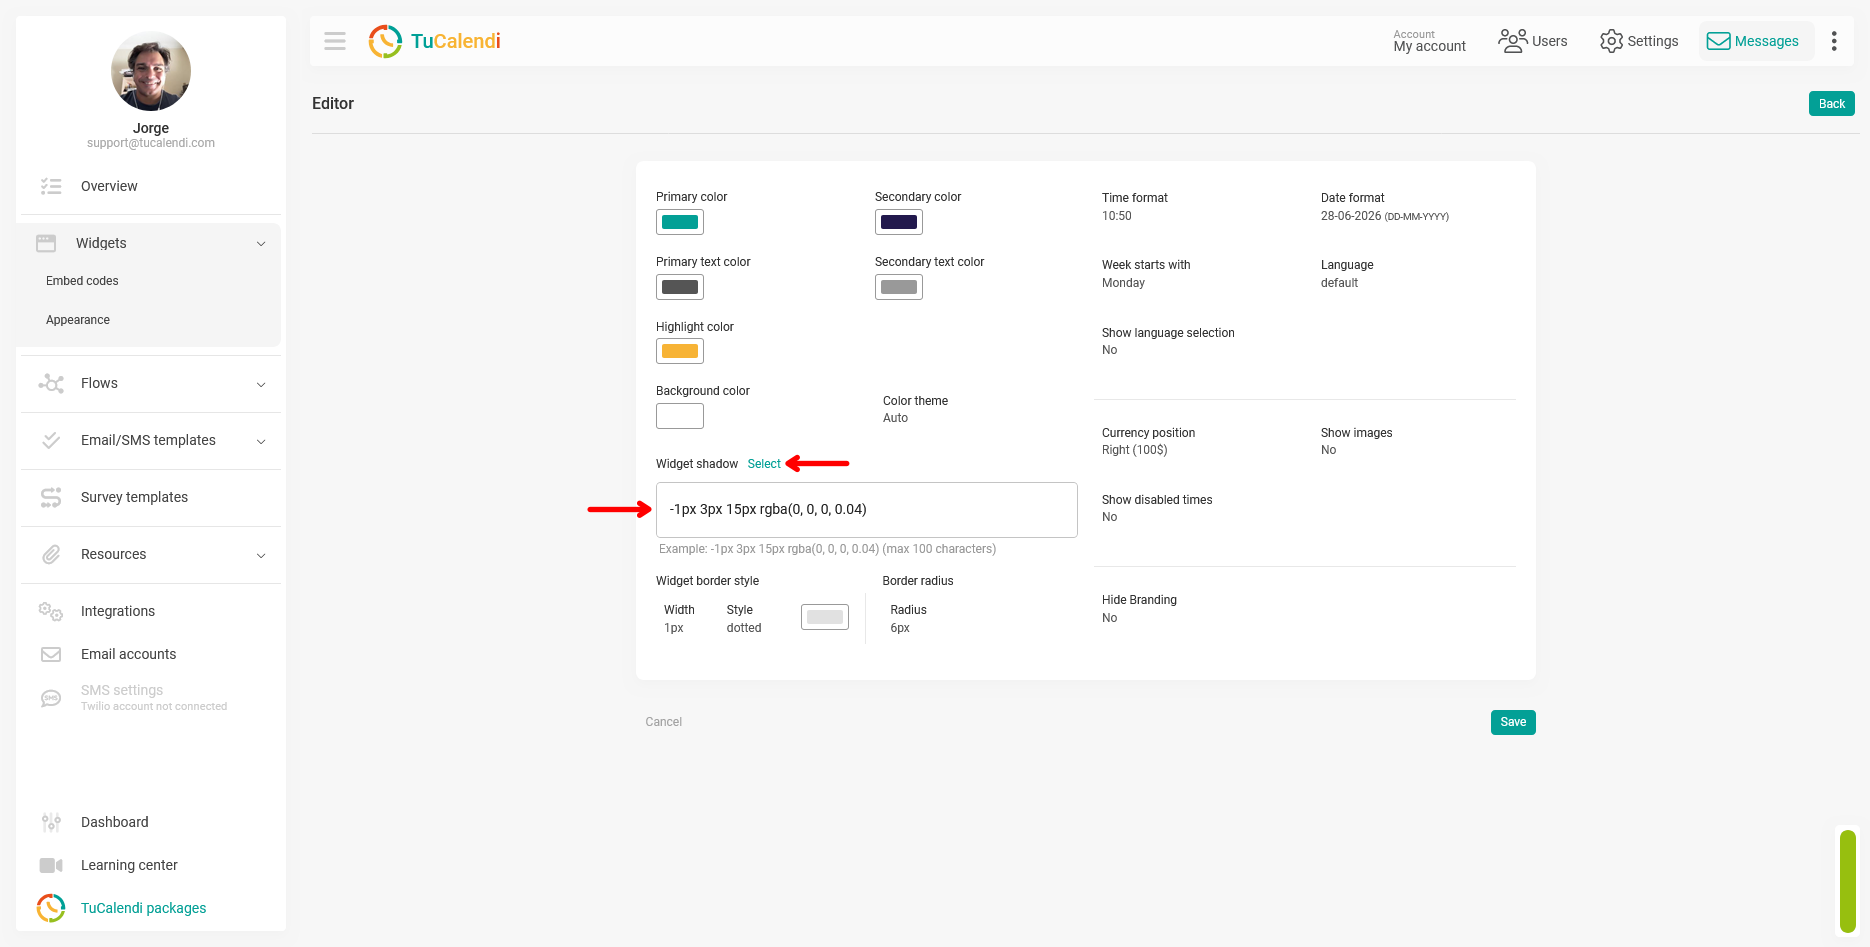
Step 4a. Enter a custom shadow value
If you know the CSS format for `box-shadow`, you can enter the value directly into the text field. The field supports up to 100 characters and displays an example of the expected format: -1px 3px 15px rgba(0, 0, 0, 0.04).
This method is suitable when you need a very specific shadow that matches your page’s design.
Step 4b. Choose a predefined shadow template
If you prefer a quicker, more visual option, click "Select" to open the shadow template selector. A window will appear with 9 predefined templates, numbered from #1 to #9, each with a different shadow effect that you can preview directly.
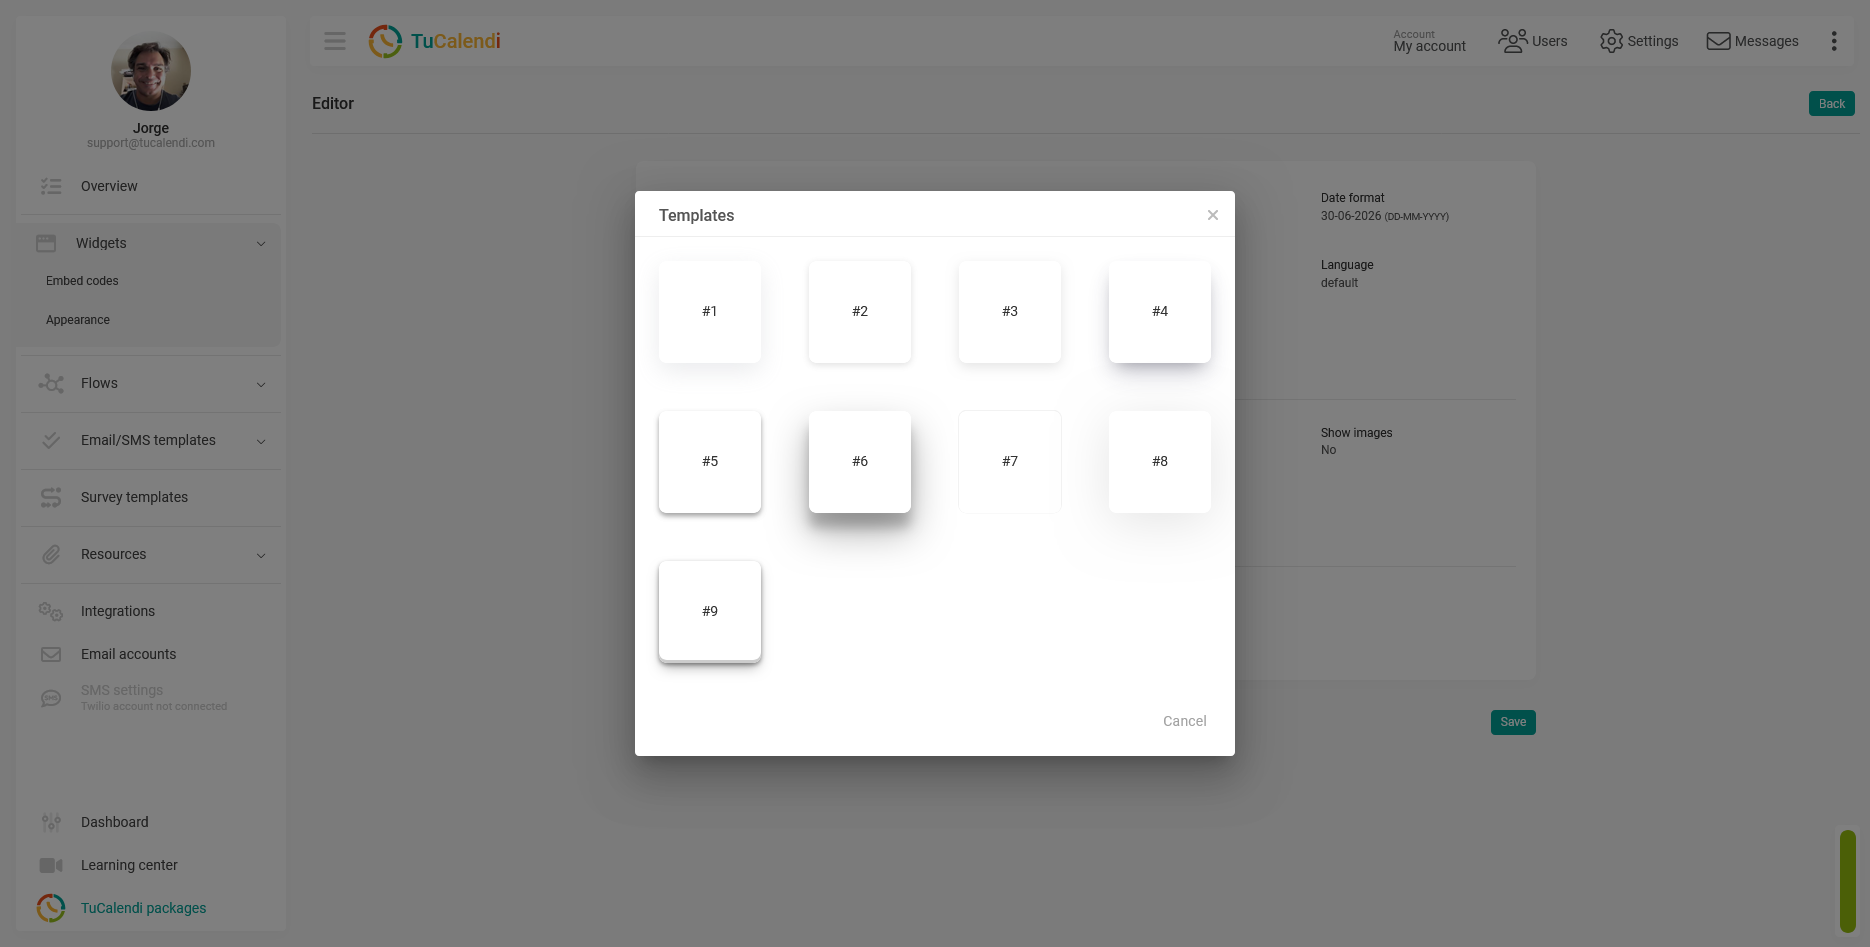
Click on the template that best suits your widget’s design, then click "Save" toselect the template. The corresponding CSS value will be automatically loaded into the text field.
Step 5. Save the changes
After configuring the shadow, click "Save" to apply the change to the appearance template.
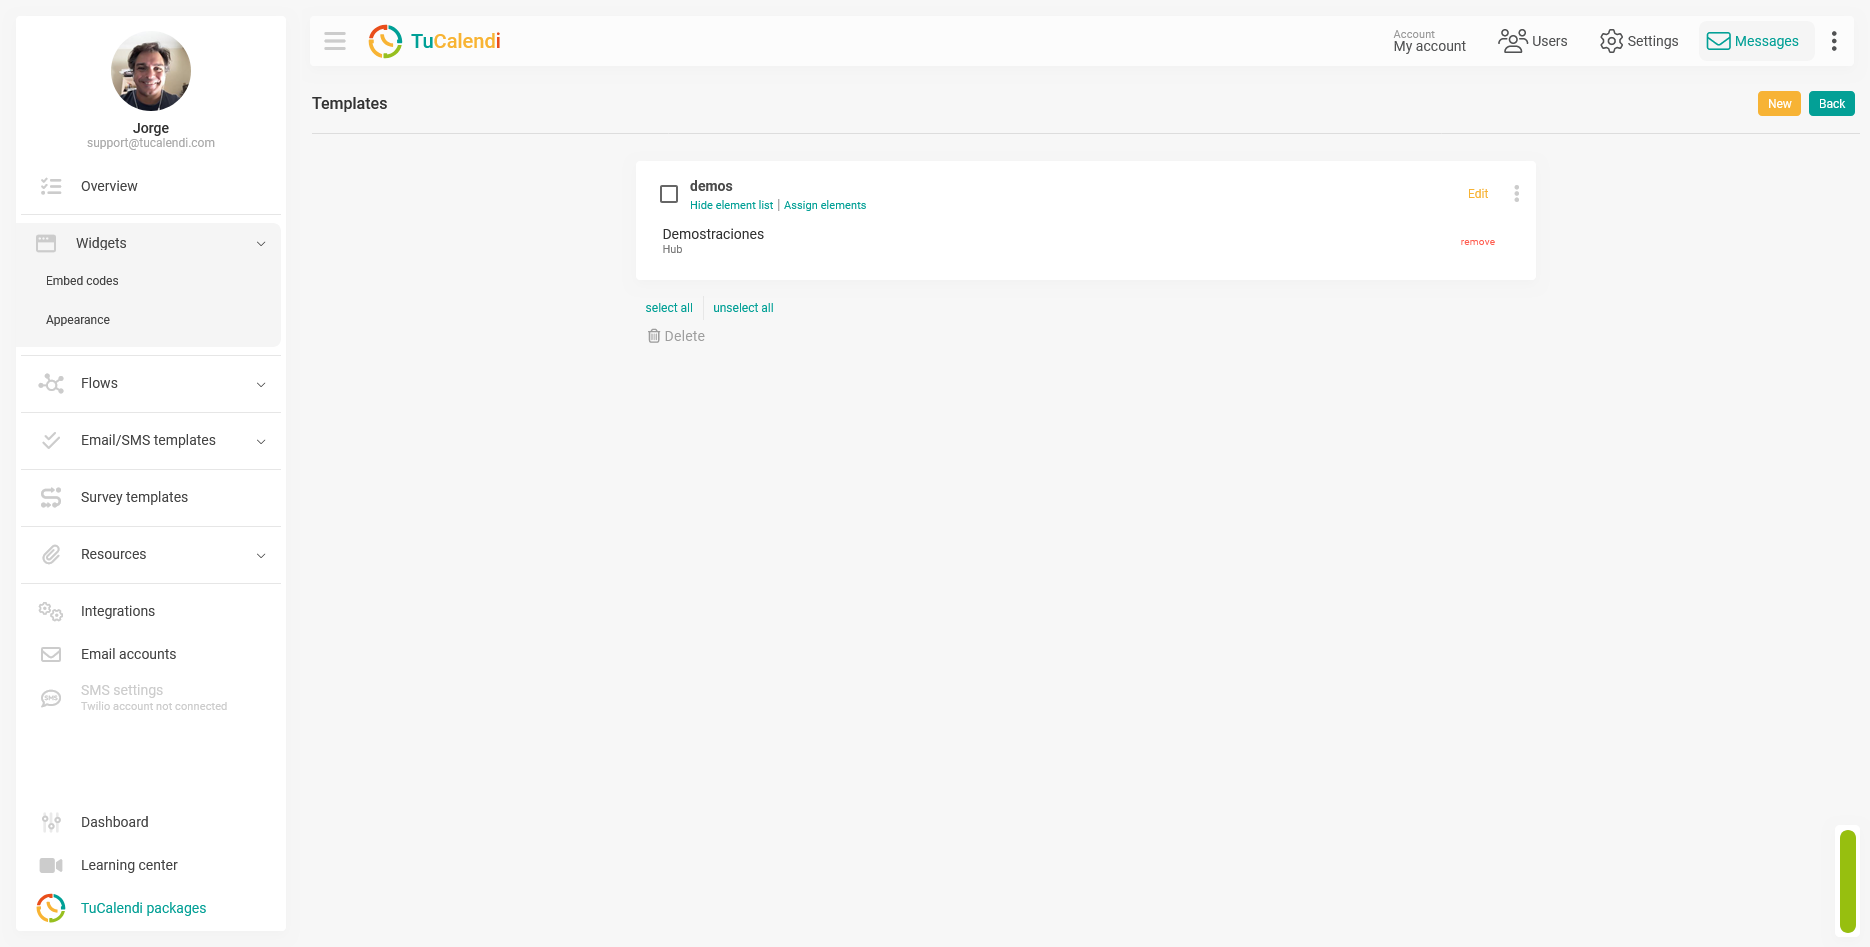
Step 6. Check element assignments
Once the template is saved, verify that it is assigned to the corresponding hub or survey with routing. If the template is not assigned to any element, the change will not be reflected in any widget.
Process Summary
To configure the widget’s shadow, go to "Widget Appearance", create or edit a template, and locate the "Widget Shadow" field. You can type a CSS value directly into the text field or click "Select" to choose one of the 9 predefined shadow templates. Click "Save" and verify that the template is assigned to the corresponding hub or survey.